


Building a DIY Bench from Wood Scraps
How to Transform Wood Scraps into Stylish Furniture
DIY and recycling are absolutely on-trend. Those with some woodworking skills and a passion for working with wood can easily create fantastic furniture pieces. Often, old wooden boards, strips, or even tree trunks are perfect for this purpose.
And even if you don't have your own wood reserves in the garden, you can usually purchase the suitable parts for the desired piece of furniture inexpensively from a nearby farmer. Especially beams from old timber-framed houses or whole tree trunks are ideal for quickly crafting a cosy garden bench.
Home DIY experts Mascha & Tobi from traumhausprojekt.runie will show you how it's done!
Your guide
by Mascha and Tobi

Good planning is the key
Firstly, think carefully about how you want your garden bench to look in the end:
- ➤ How big should the seat be, for example?
- ➤ At what height do you want to attach the backrest?
Ideally, you should take into account the materials you already have at home or find out in advance whether and where you can get beams or logs for your bench.
As soon as you have defined the most important key data, you can get started.
Good to know
Difficulty level: easy to medium
Costs: < 400 €
Duration: about 1 day
The must-haves for your project
Nothing beats good tools
Tools
- ➤ Cordless Chainsaw
- ➤ Cordless Planer
- ➤ Cordless Polishing / Sanding Machine
- ➤ Cordless Drill
- ➤ Ratchet with matching socket spanners
- ➤ Wood drill bits (6 mm for pre-drilling)
- ➤ Flat router bits (32 mm
Materials
- ➤ ½ wooden beam each for seat and backrest (length: 2 m, diameter: 30 cm)
- ➤ Two shorter wooden beams as a base (length: 38 cm, diameter: 30 cm)
- ➤ Two square timbers (length: 80 cm, min. 6 x 8 cm)
- ➤ Four hexagonal wood screws 4 x 160 mm (or depending on the trunk thickness)
- ➤ Eight hexagonal wood screws 8 x 120 mm (or depending on the trunk thickness)
- ➤ Twelve washers
- ➤ Wooden wedges for alignment
- ➤ Suitable sandpaper for wood (120 to 240 grit)
- ➤ Wood shavings
- ➤ Colourless wood glue
- ➤ Wood oil for glazing
Further Tools
- ➤ Pencil
- ➤ Spirit Level
- ➤ Tape measure
- ➤ Ruler
- ➤ Two wooden folding blocks
- ➤ Paintbrush
- ➤ Angle rail
Grab the tools and get started!
Step by step to a DIY bench made from leftover wood
Step 1: Cut the Base
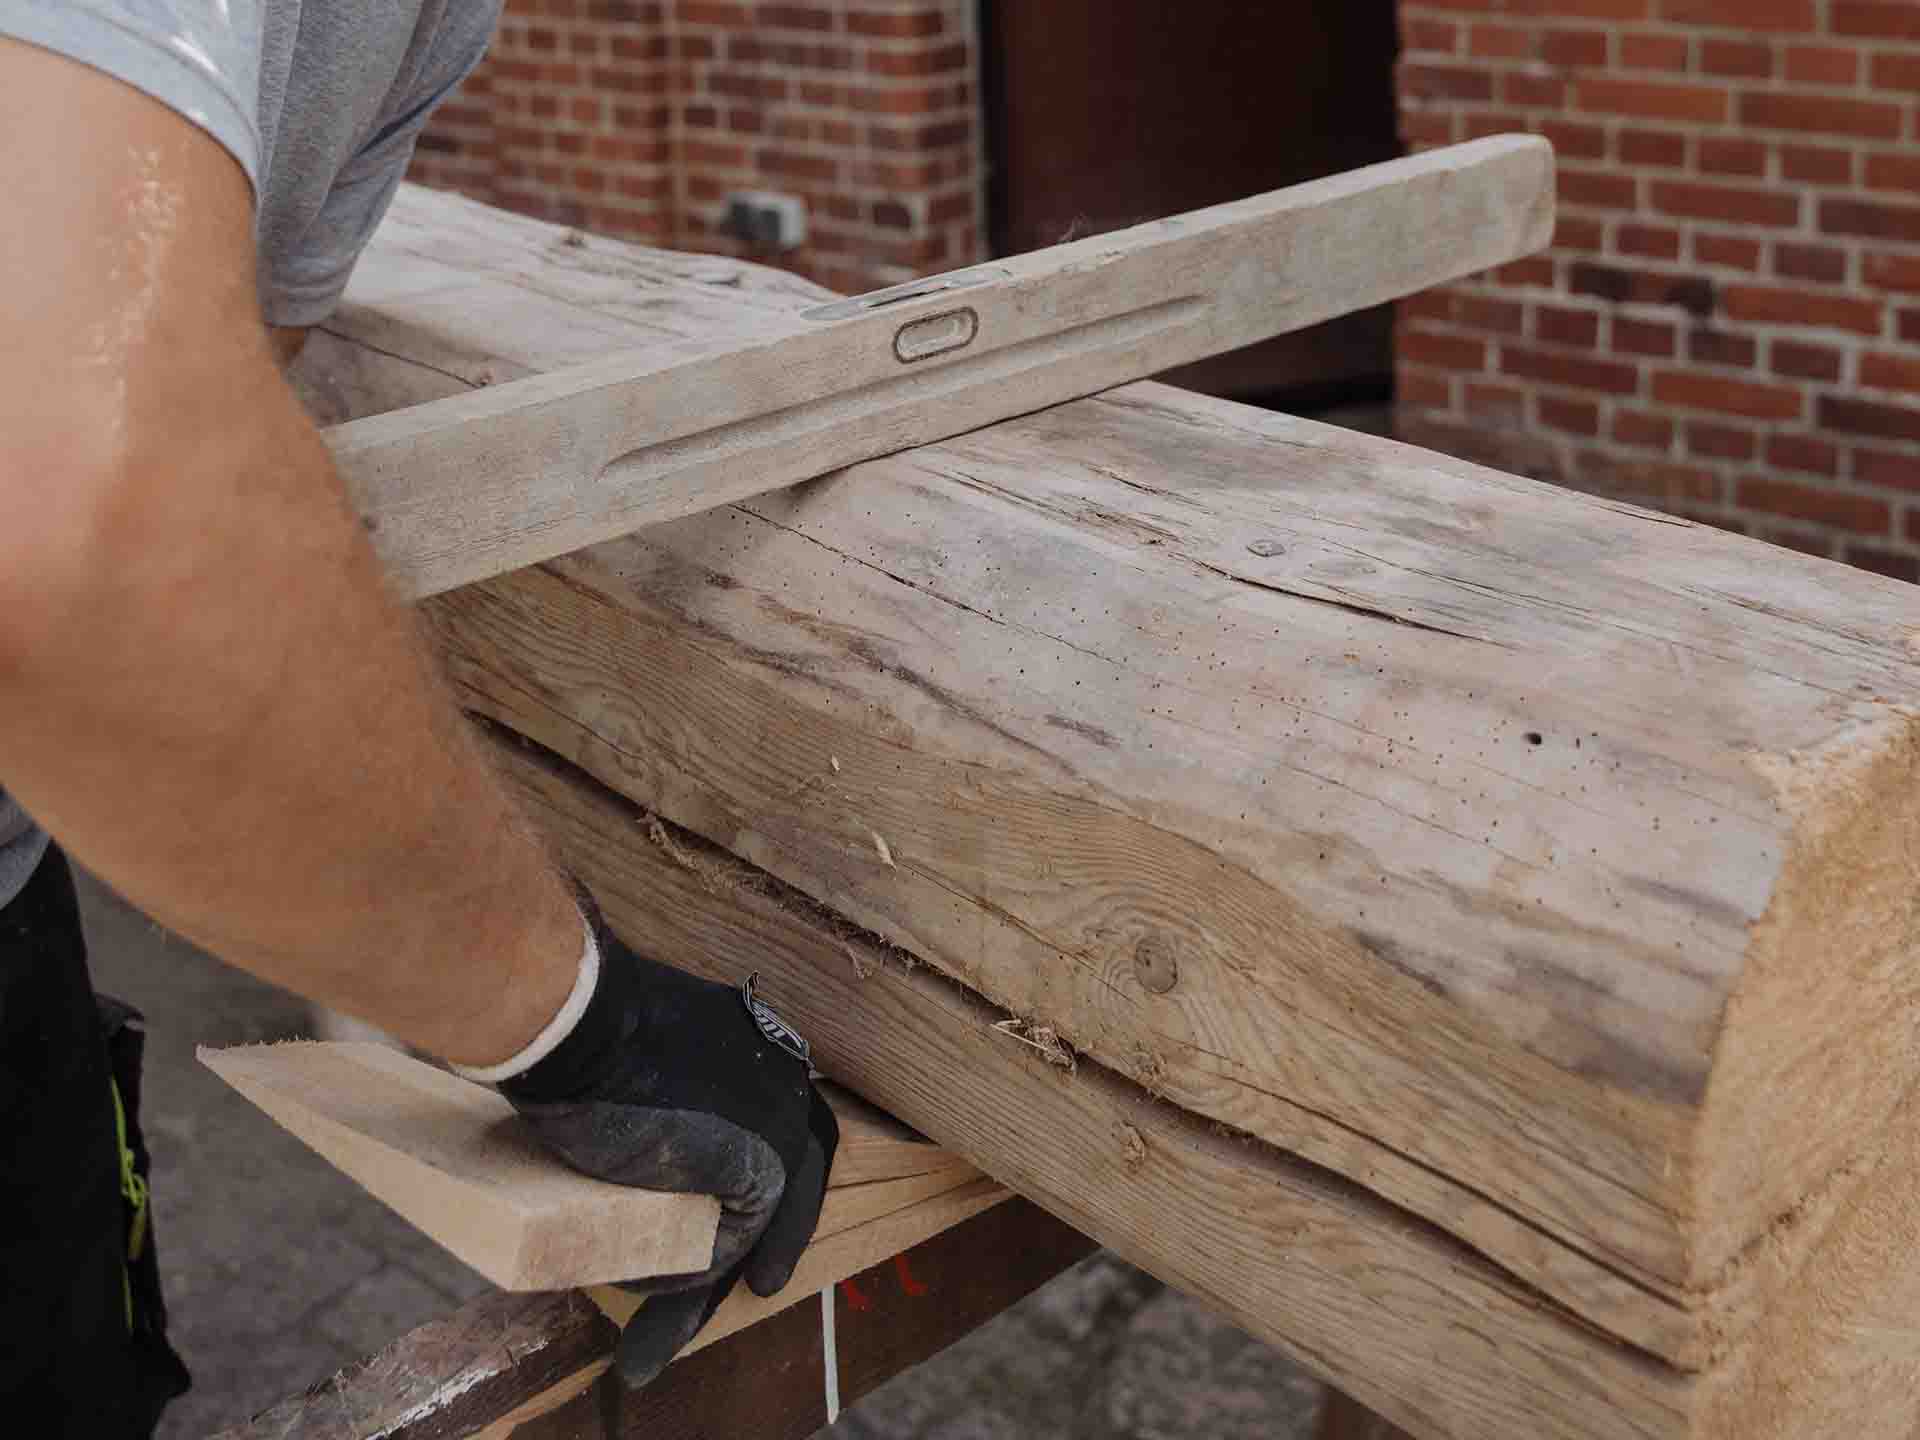
To work comfortably, it's a good idea to place the wooden beam on two wooden blocks at the beginning and balance it with wooden wedges if necessary.
Since the wooden bench will later rest on two shorter pieces of the wooden beam, you'll need to first cut two equally sized pieces (length: 38 cm) from the chosen wooden beam. These can be leveled on the underside for a more stable base and will serve as the base later on.
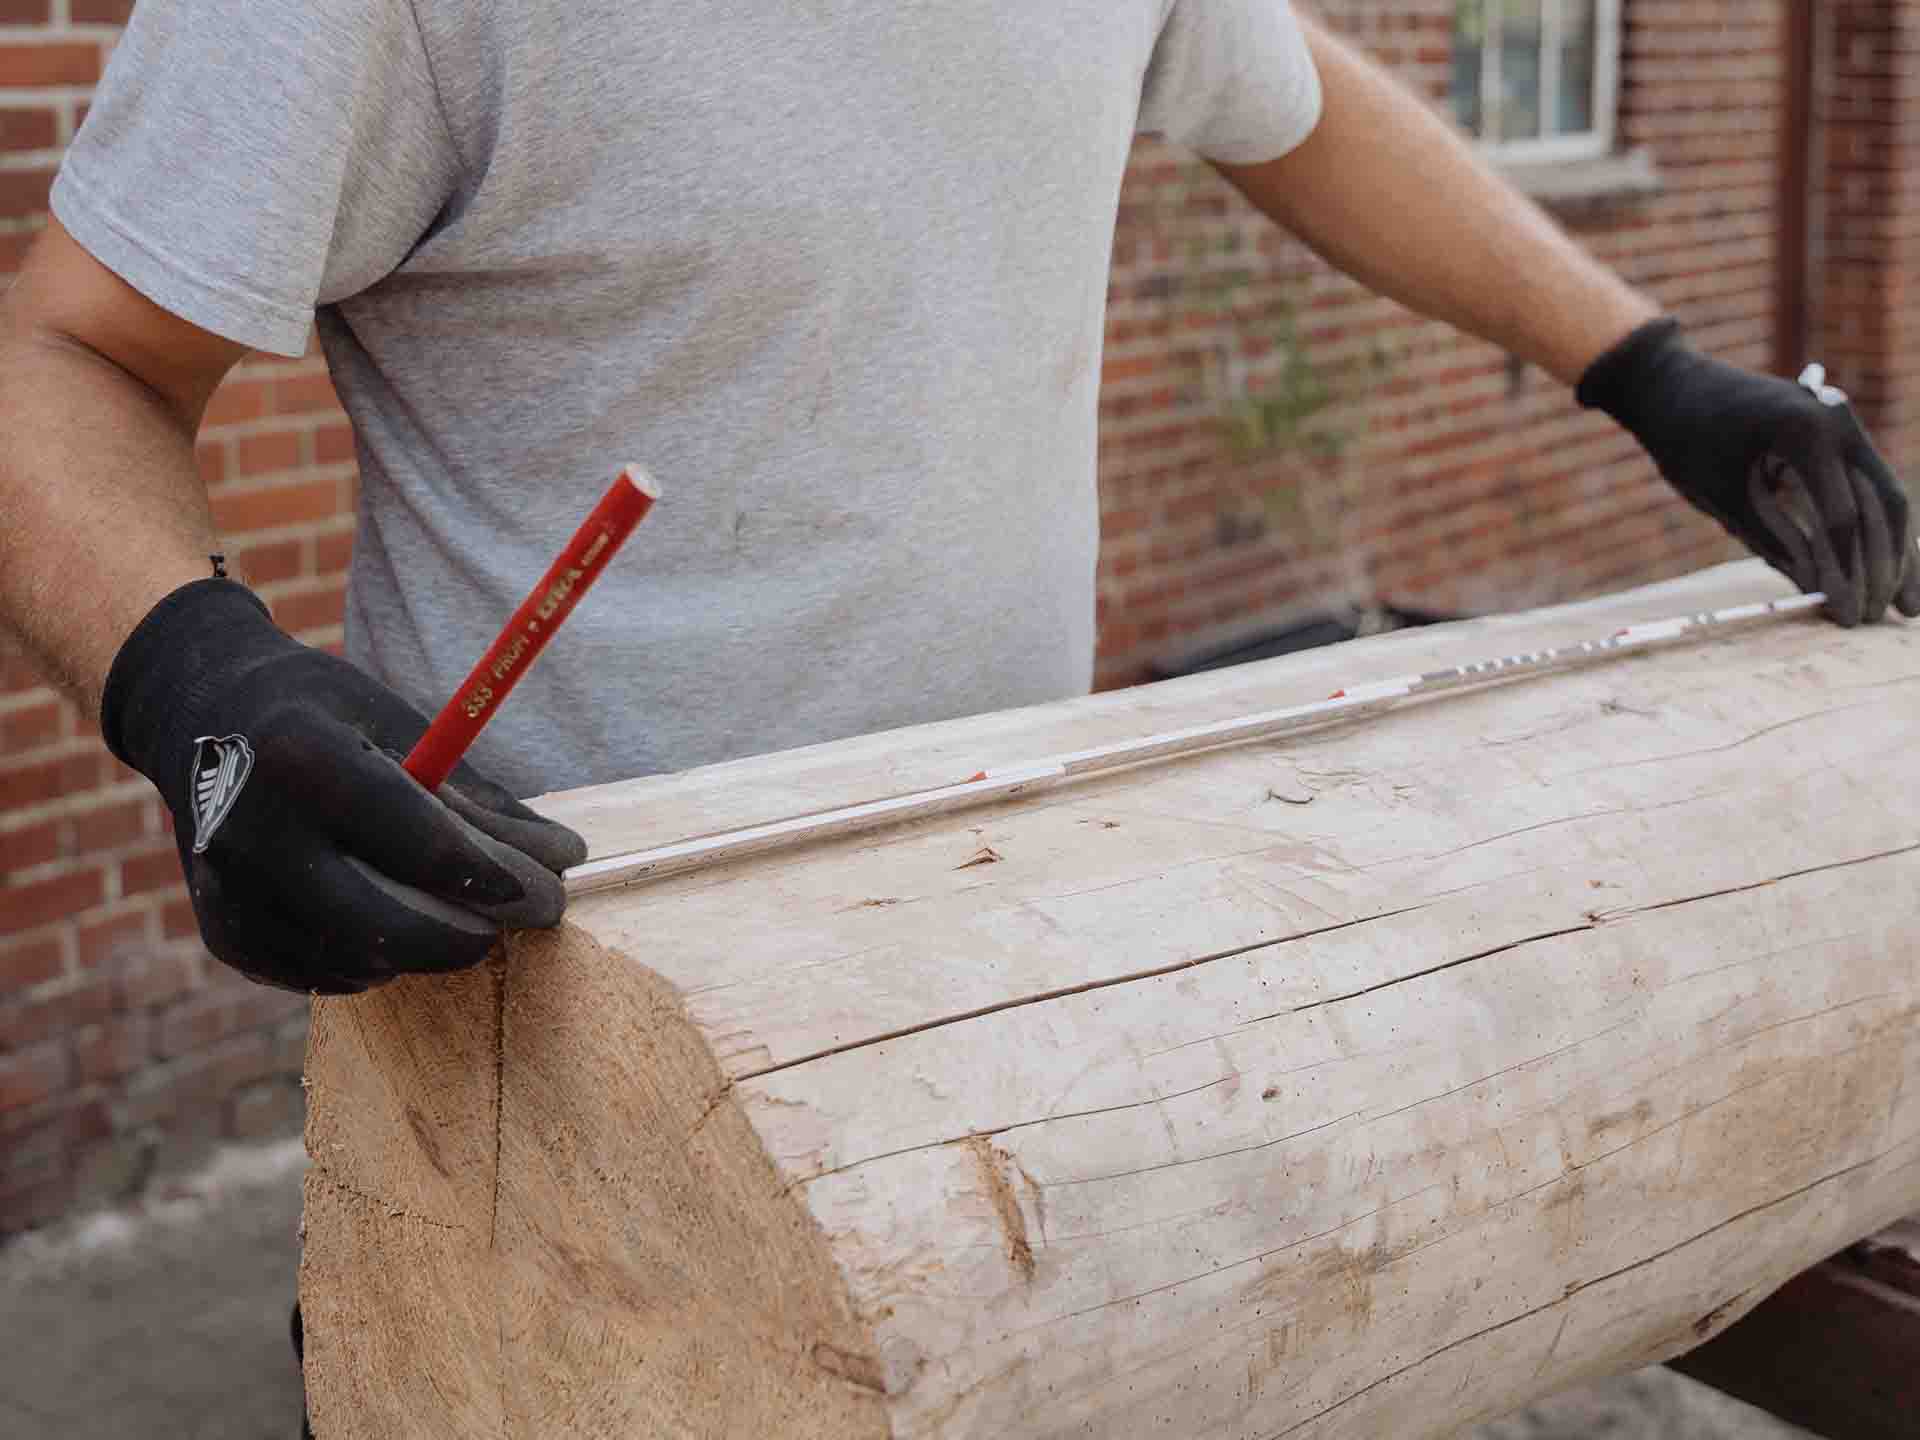
Step 2: Prepare the Seat and Backrest
Next, the remaining wooden beam will be used to create the seat and backrest of the DIY wooden bench. To do this, you'll need to mark the beam lengthwise with a pencil and ruler (or angle iron). It's helpful to mark on both sides of the beam as a guide while cutting.
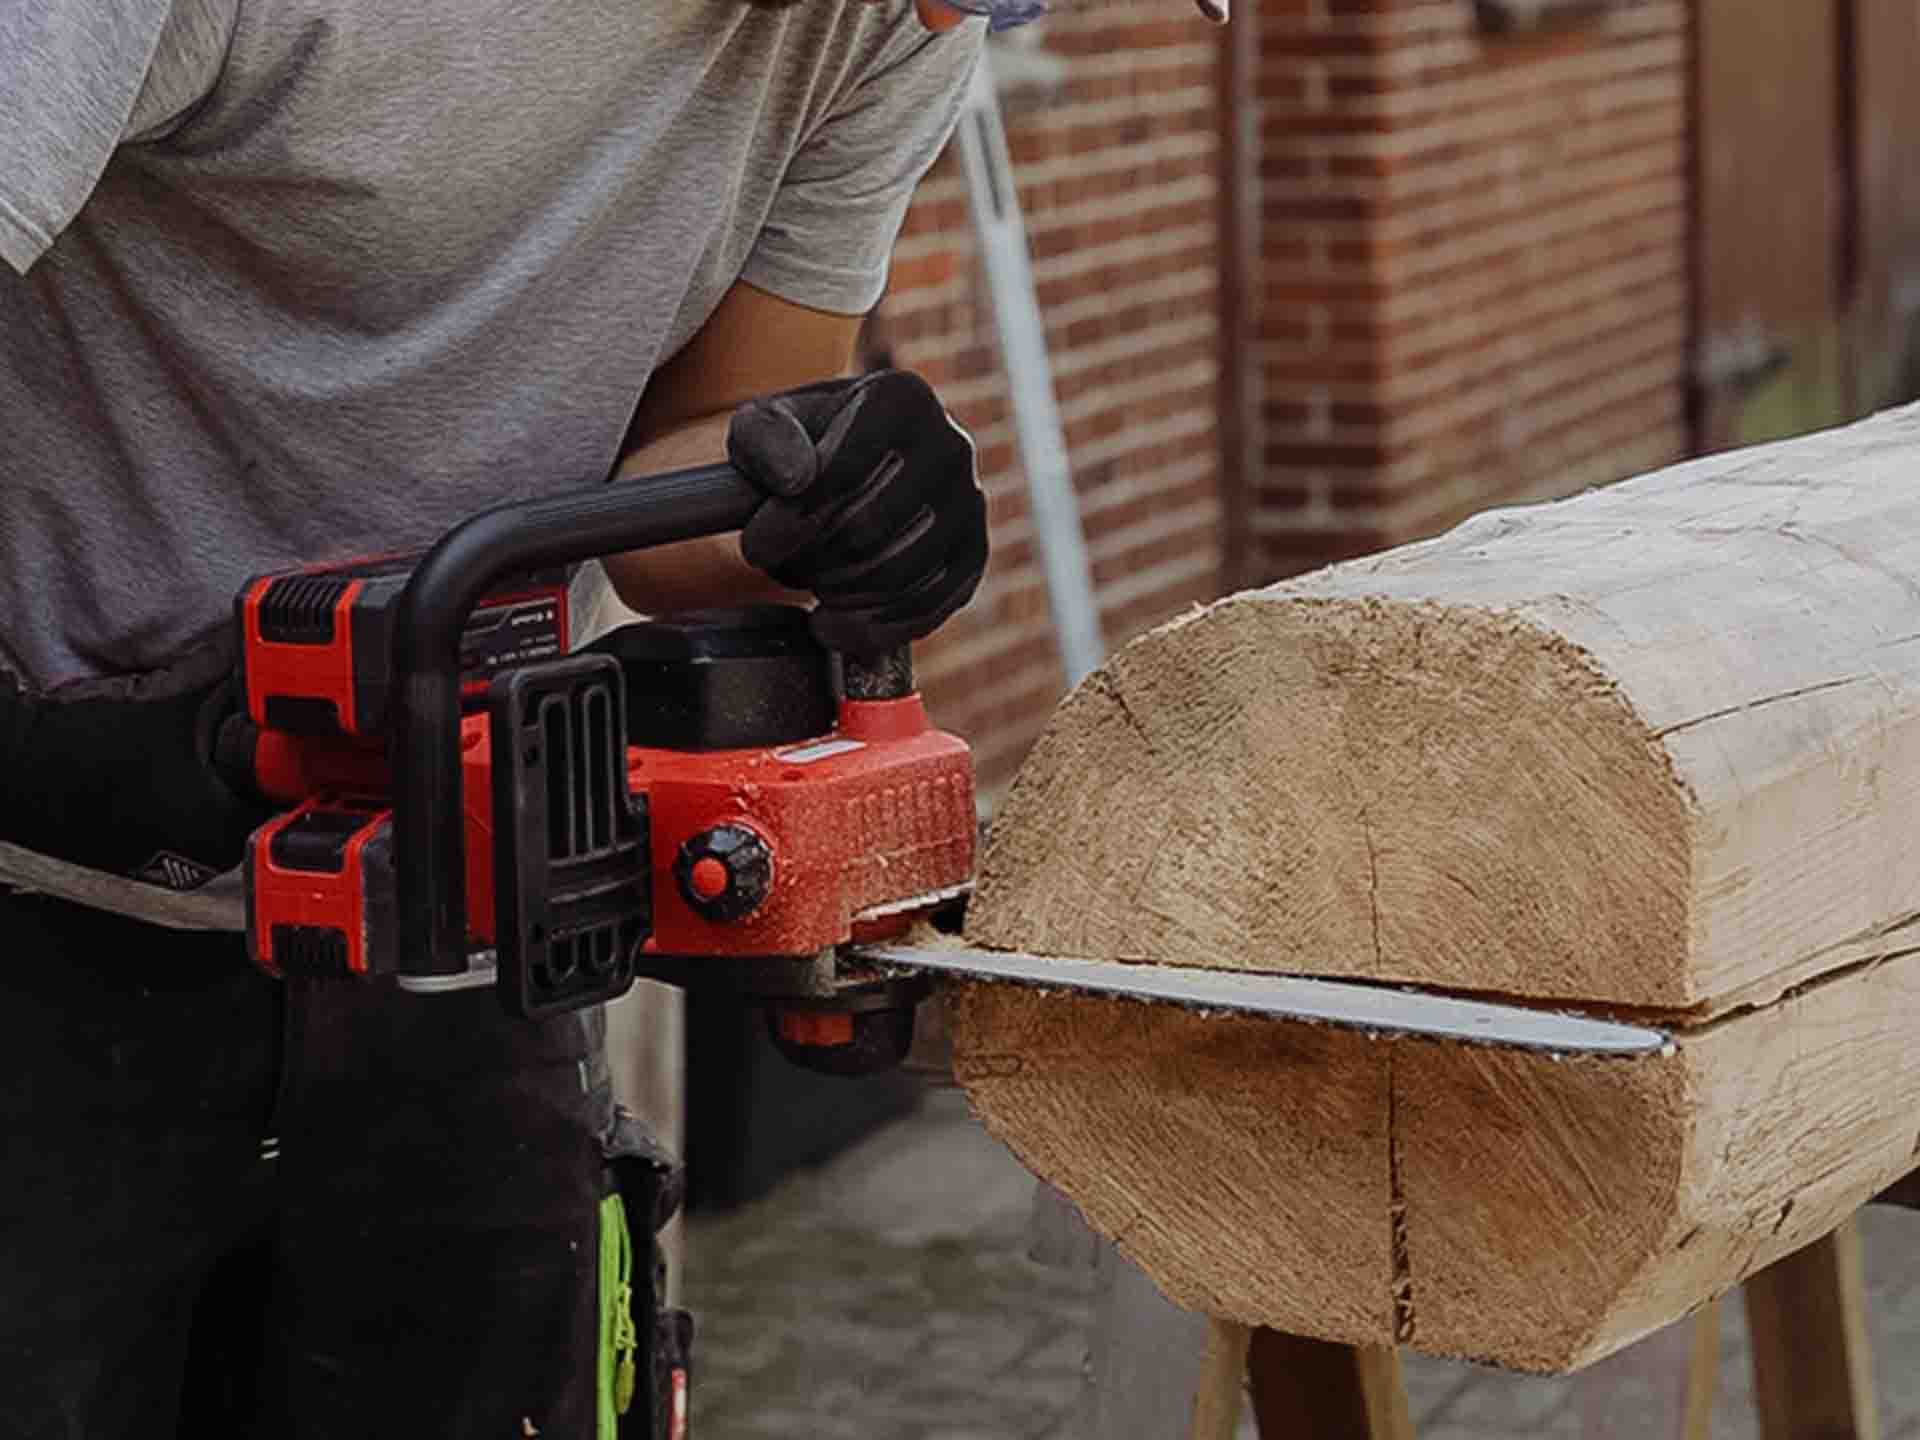
Step 3: Cut the Wooden Beam Horizontally
Now, you can use a cordless chainsaw to cut the wooden beam horizontally along the markings. If needed, you can use wooden wedges to help split the beam.
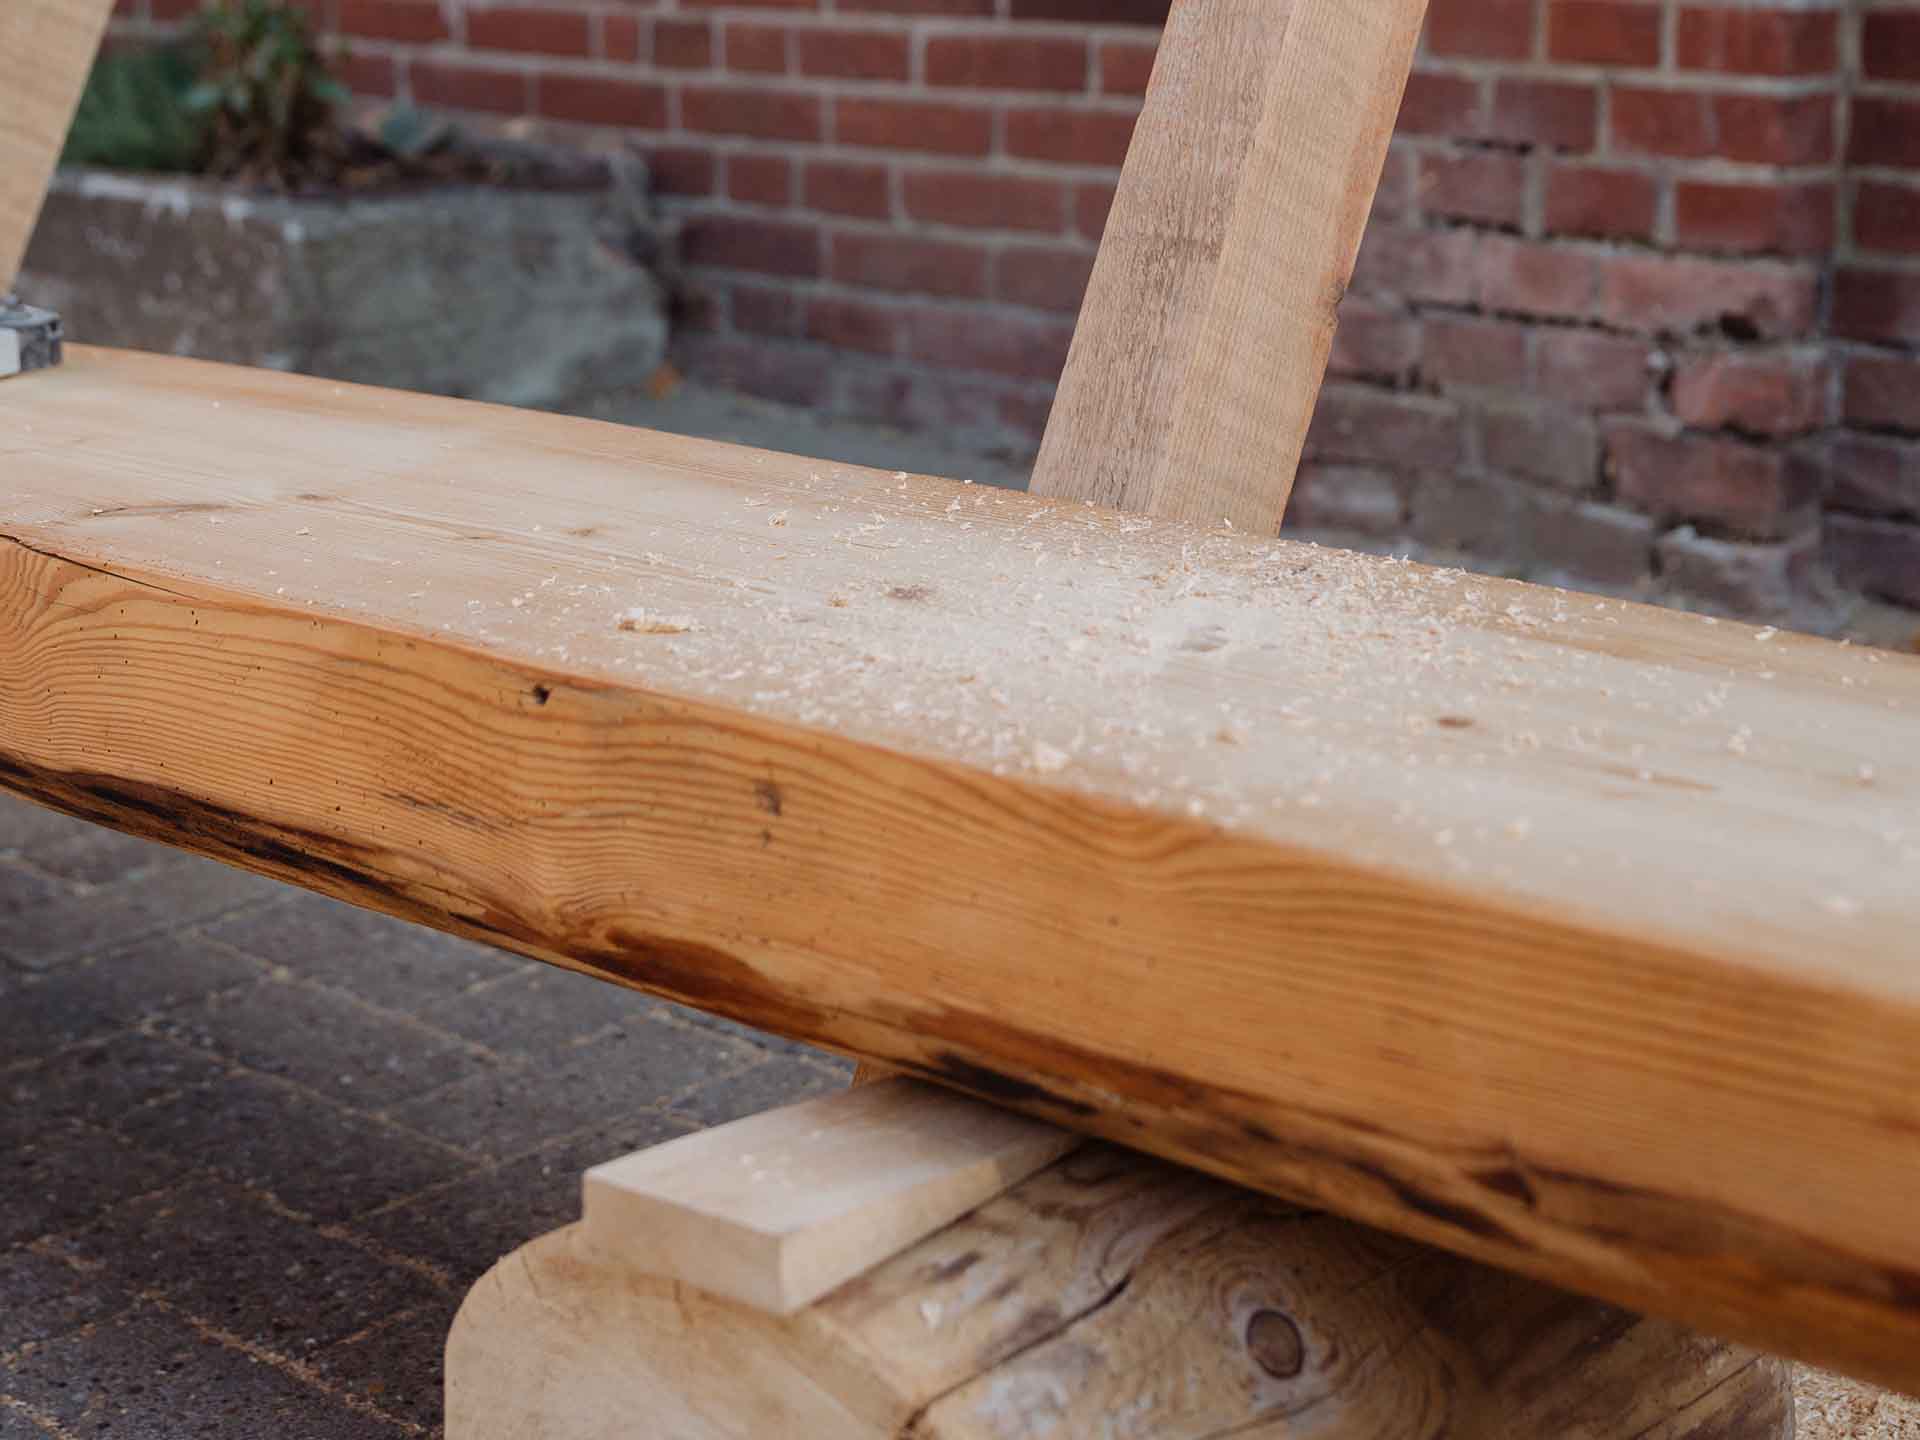
Step 4: Plane the Seat and Backrest
In the next step, you can use a cordless planer to plane the seat and backrest of your DIY wooden bench as straight as possible. Remember: the more precise your work, the more comfortable your bench will be in the end.
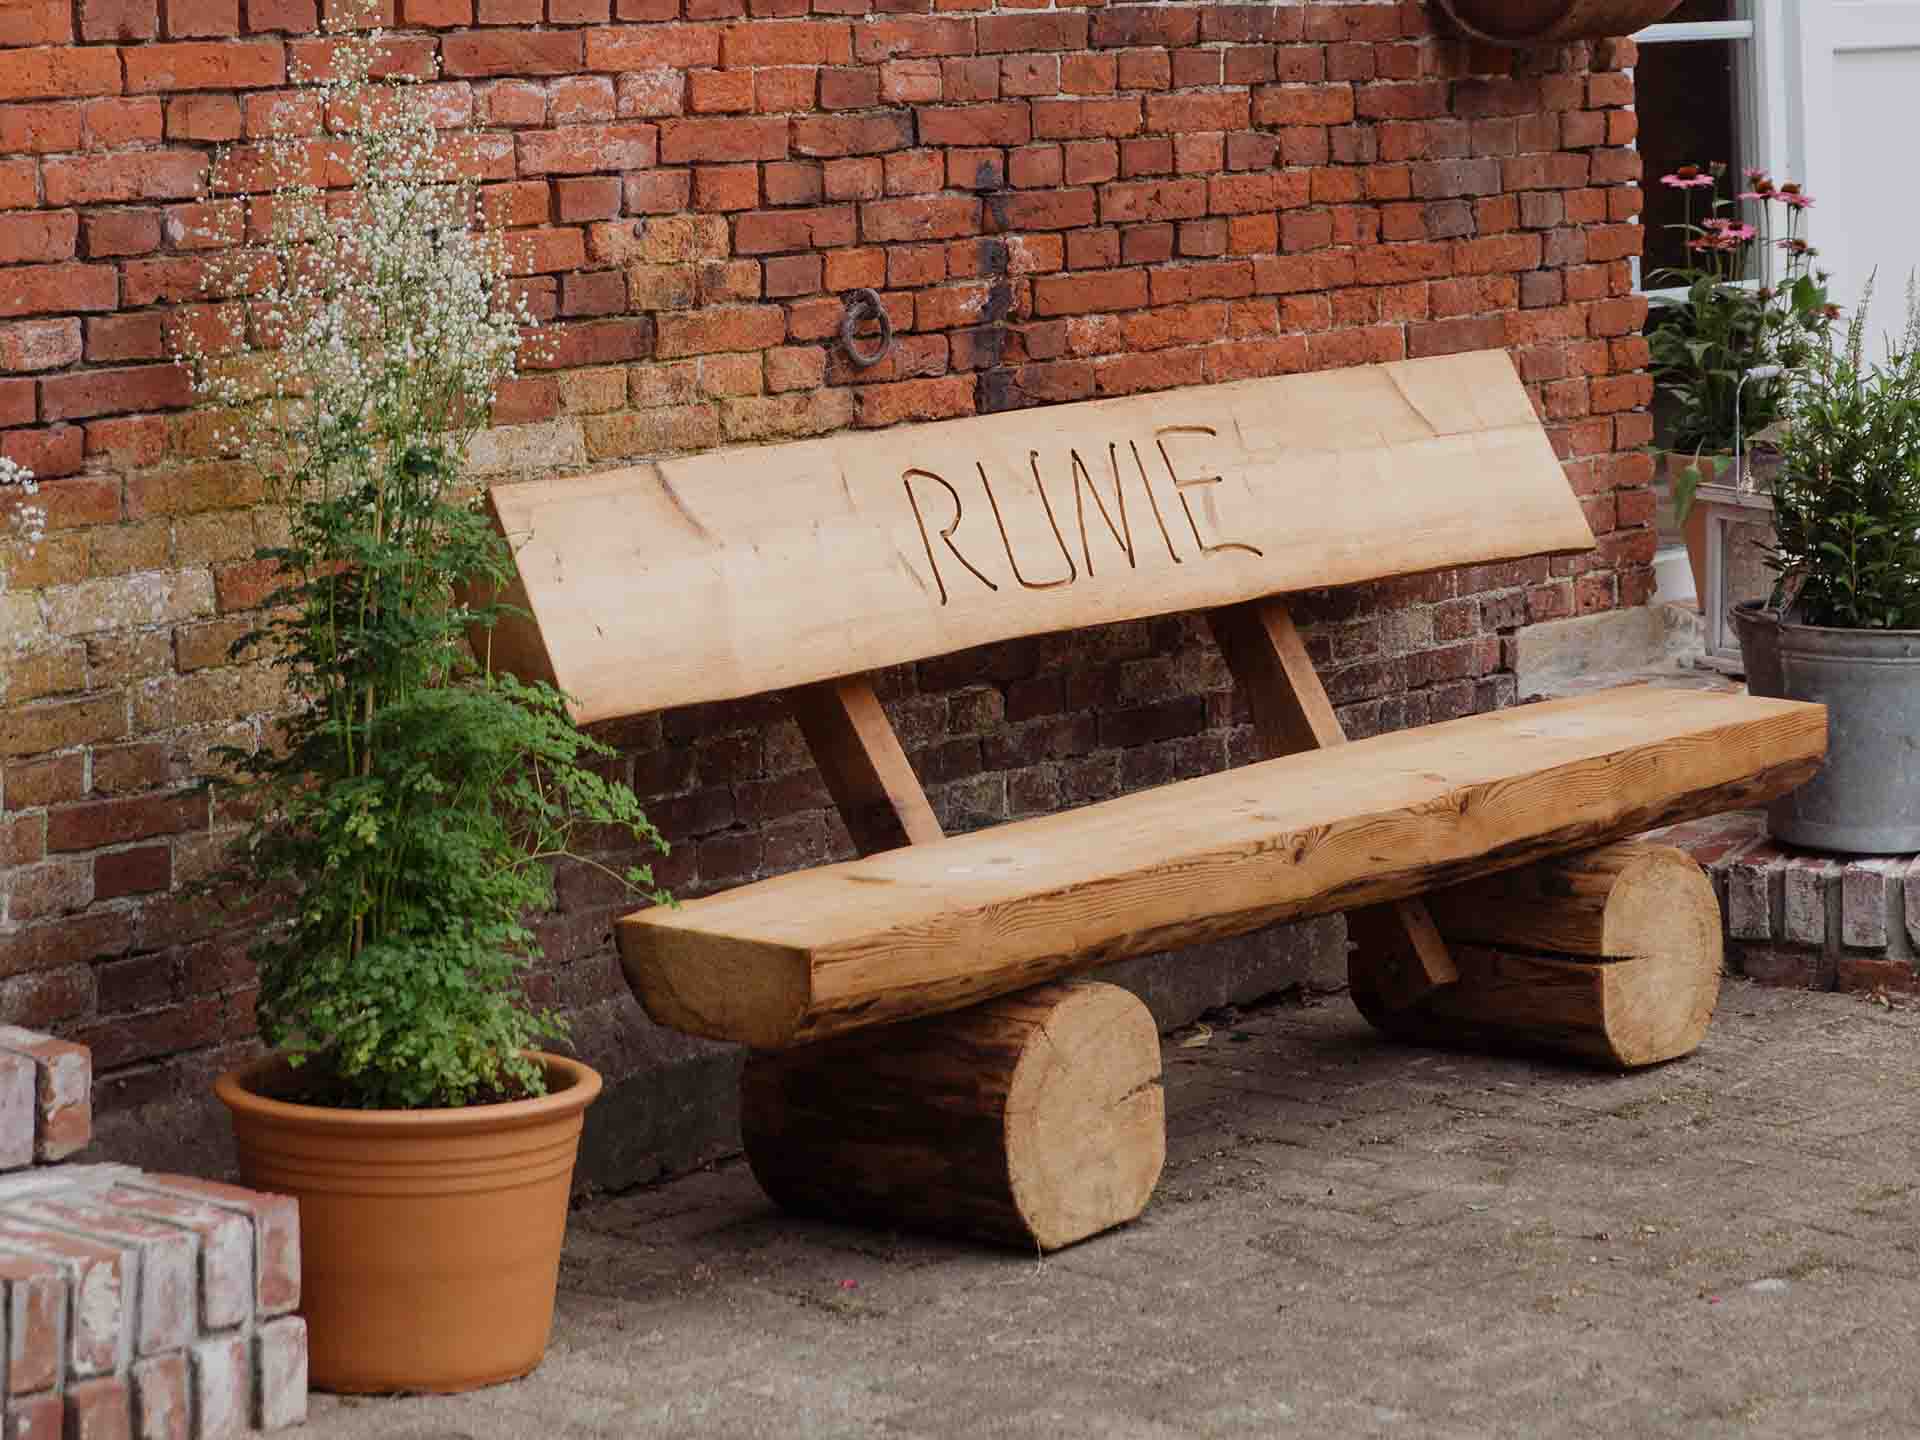
Intermediate Step: Tobi's Surprise - the Engraving (optional)
If you wish, you can then use a router to engrave a custom design into the backrest of the bench.
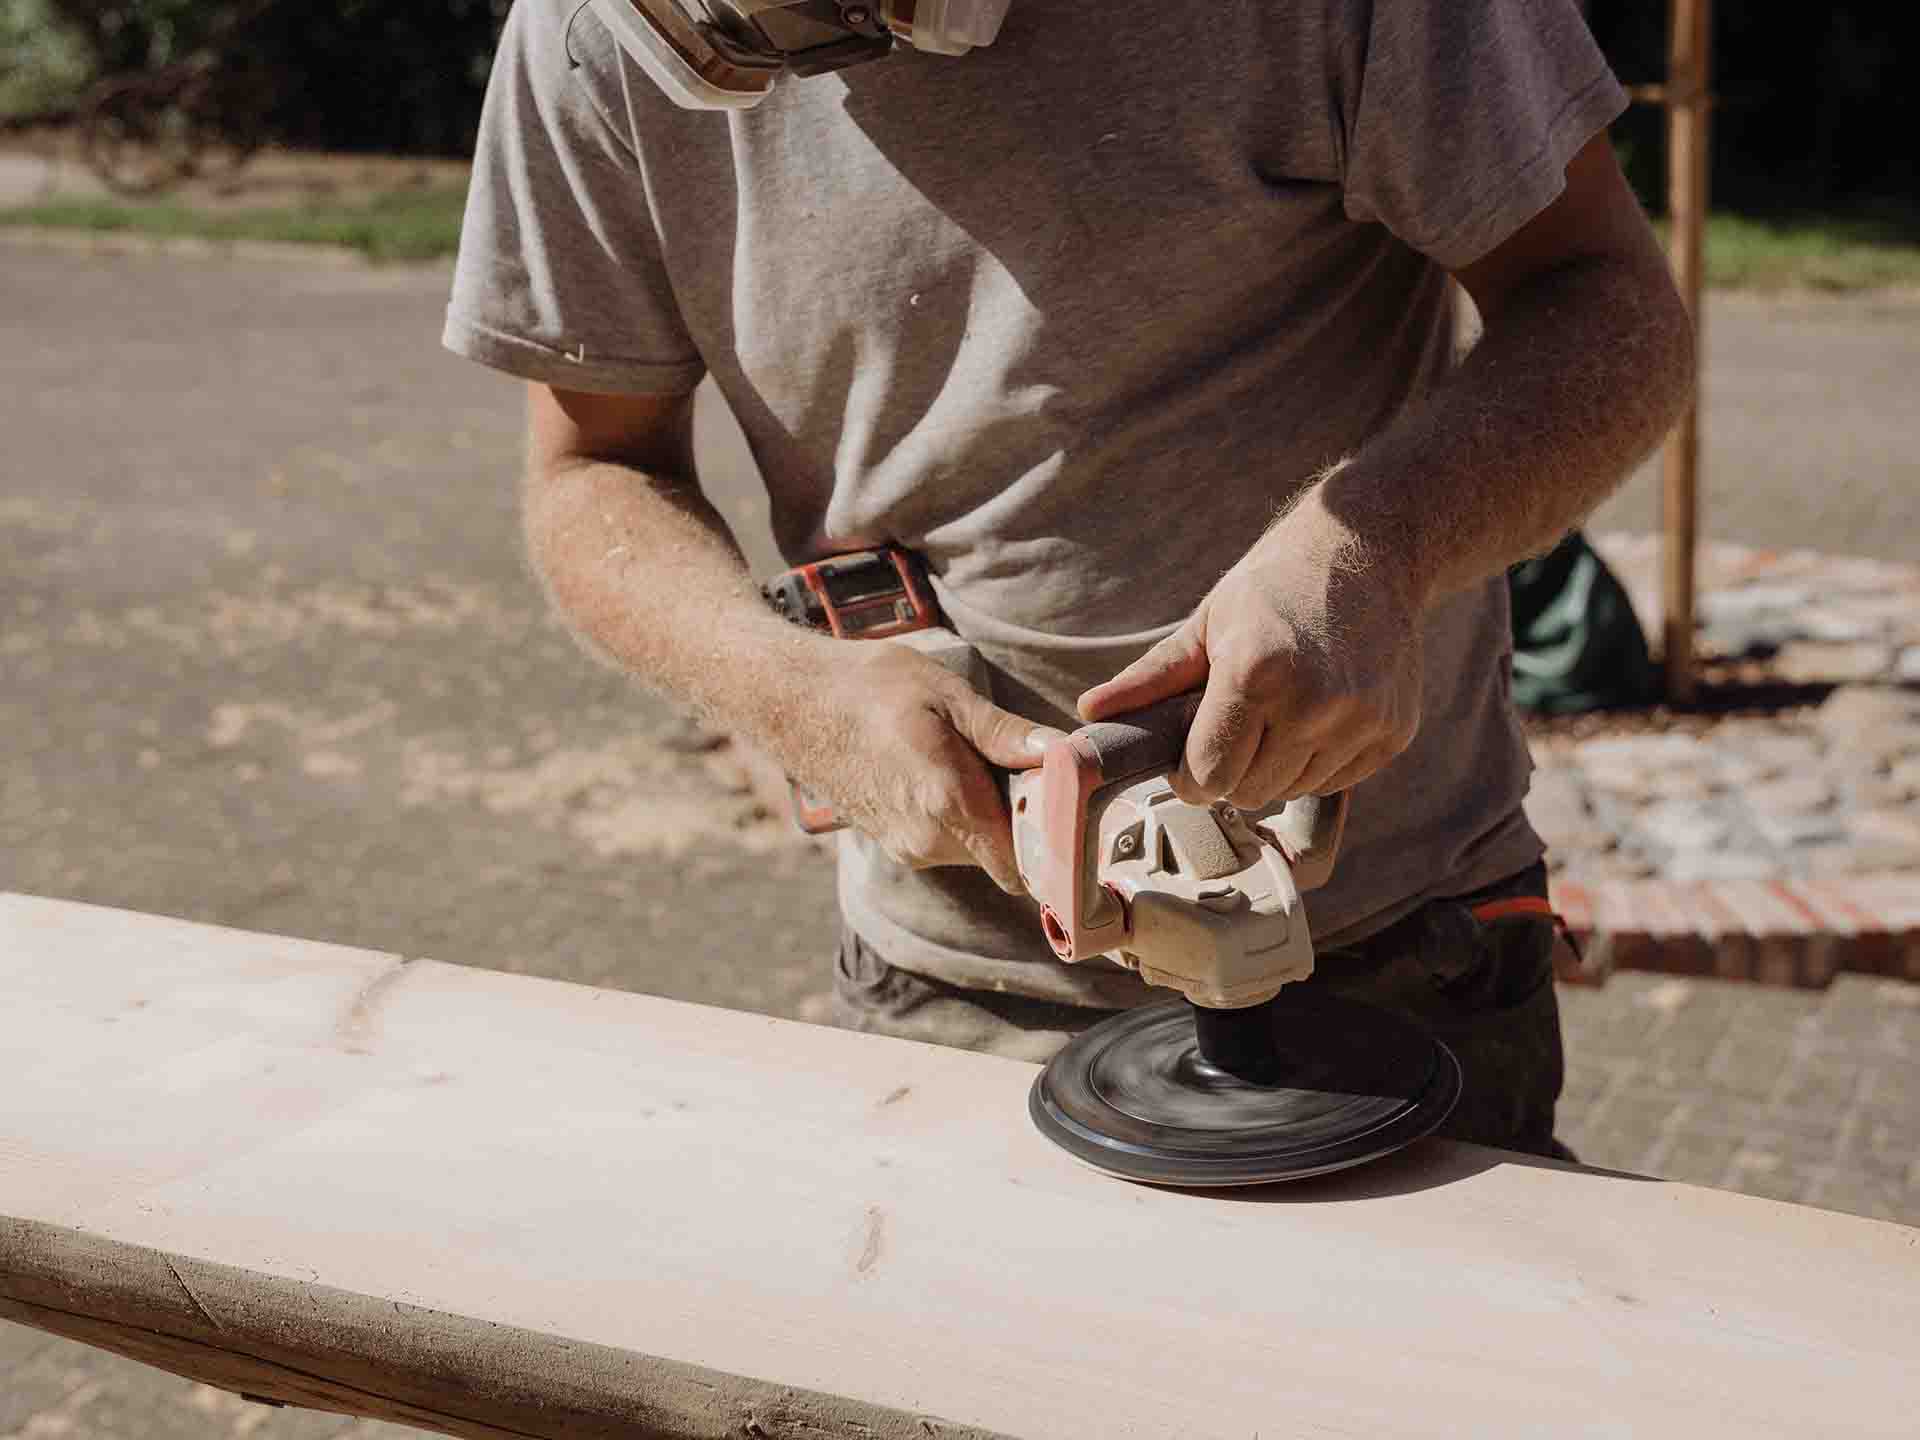
Step 5: Sanding
Next, all you need to do is sand your DIY wooden bench using a cordless sander or a polishing device. Start with a 120-grit sandpaper. Then, depending on your preference, you can also use sandpaper with a grit of up to 240.
Step 6: Oiling
To ensure optimal protection for the wood of your bench and to preserve your DIY furniture piece for a long time, you'll need to oil the entire wood surface or alternatively protect it with special wood stain.
Step 7: Attaching the Seat and Base
Once the seat of your DIY wooden bench is fully oiled and completely dried, you can fasten it to the two prepared bases from Step 1 using two hex wood screws (160 mm) and the appropriate washers for each. However, before this, the holes for the screws need to be pre-drilled using a 6 mm wood drill bit and a 32 mm flat drill bit. Then, the screws can be easily tightened using a ratchet.
Step 8: Preparing the Backrests
To securely attach the backrest to the wooden bench, you can use two square timbers, each 80 cm long and with a thickness of at least 6 x 8 cm. It's important to ensure that the thickness of the timbers corresponds to the weight of the backrest. The heavier the beam, the thicker the timbers should be.
In this step, it's also advisable to pre-drill the necessary holes in the wood.
Step 9: Attaching the Backrest
Once all the parts for your DIY wooden bench are ready, you can screw the two back supports onto the backrest from behind using two hex wood screws (120 mm) each.
Now, choose the desired height for your backrest and also screw the lower end of the two back supports to the seat of your bench from behind, using two hex wood screws (120 mm) each.
Step 10: Completing the Bench
Finally, you can cover the drill holes with a mixture of sawdust and clear wood glue. Once everything is completely dry, you can sand your bench again and oil it a second time.
And now you can enjoy your DIY creation to the fullest!
We wish you all lots of success with your DIY outdoor wooden bench!