Gluing is the new drilling
No more holes!Sometimes you don’t want drill holes, so you often glue things in the home instead – we describe the most common methods in the Einhell blog!
Drill holes prove all over the place prove to be a real problem when moving out of an apartment, when a smorgasbord of drilled holes is inspected in empty rooms, the bathroom and kitchen.
What is relatively simple to solve with a spatula, quick cement and some paint on a normal wall with turns out to be a major challenge on tiled walls in the bathroom and kitchen, with little chance of success.
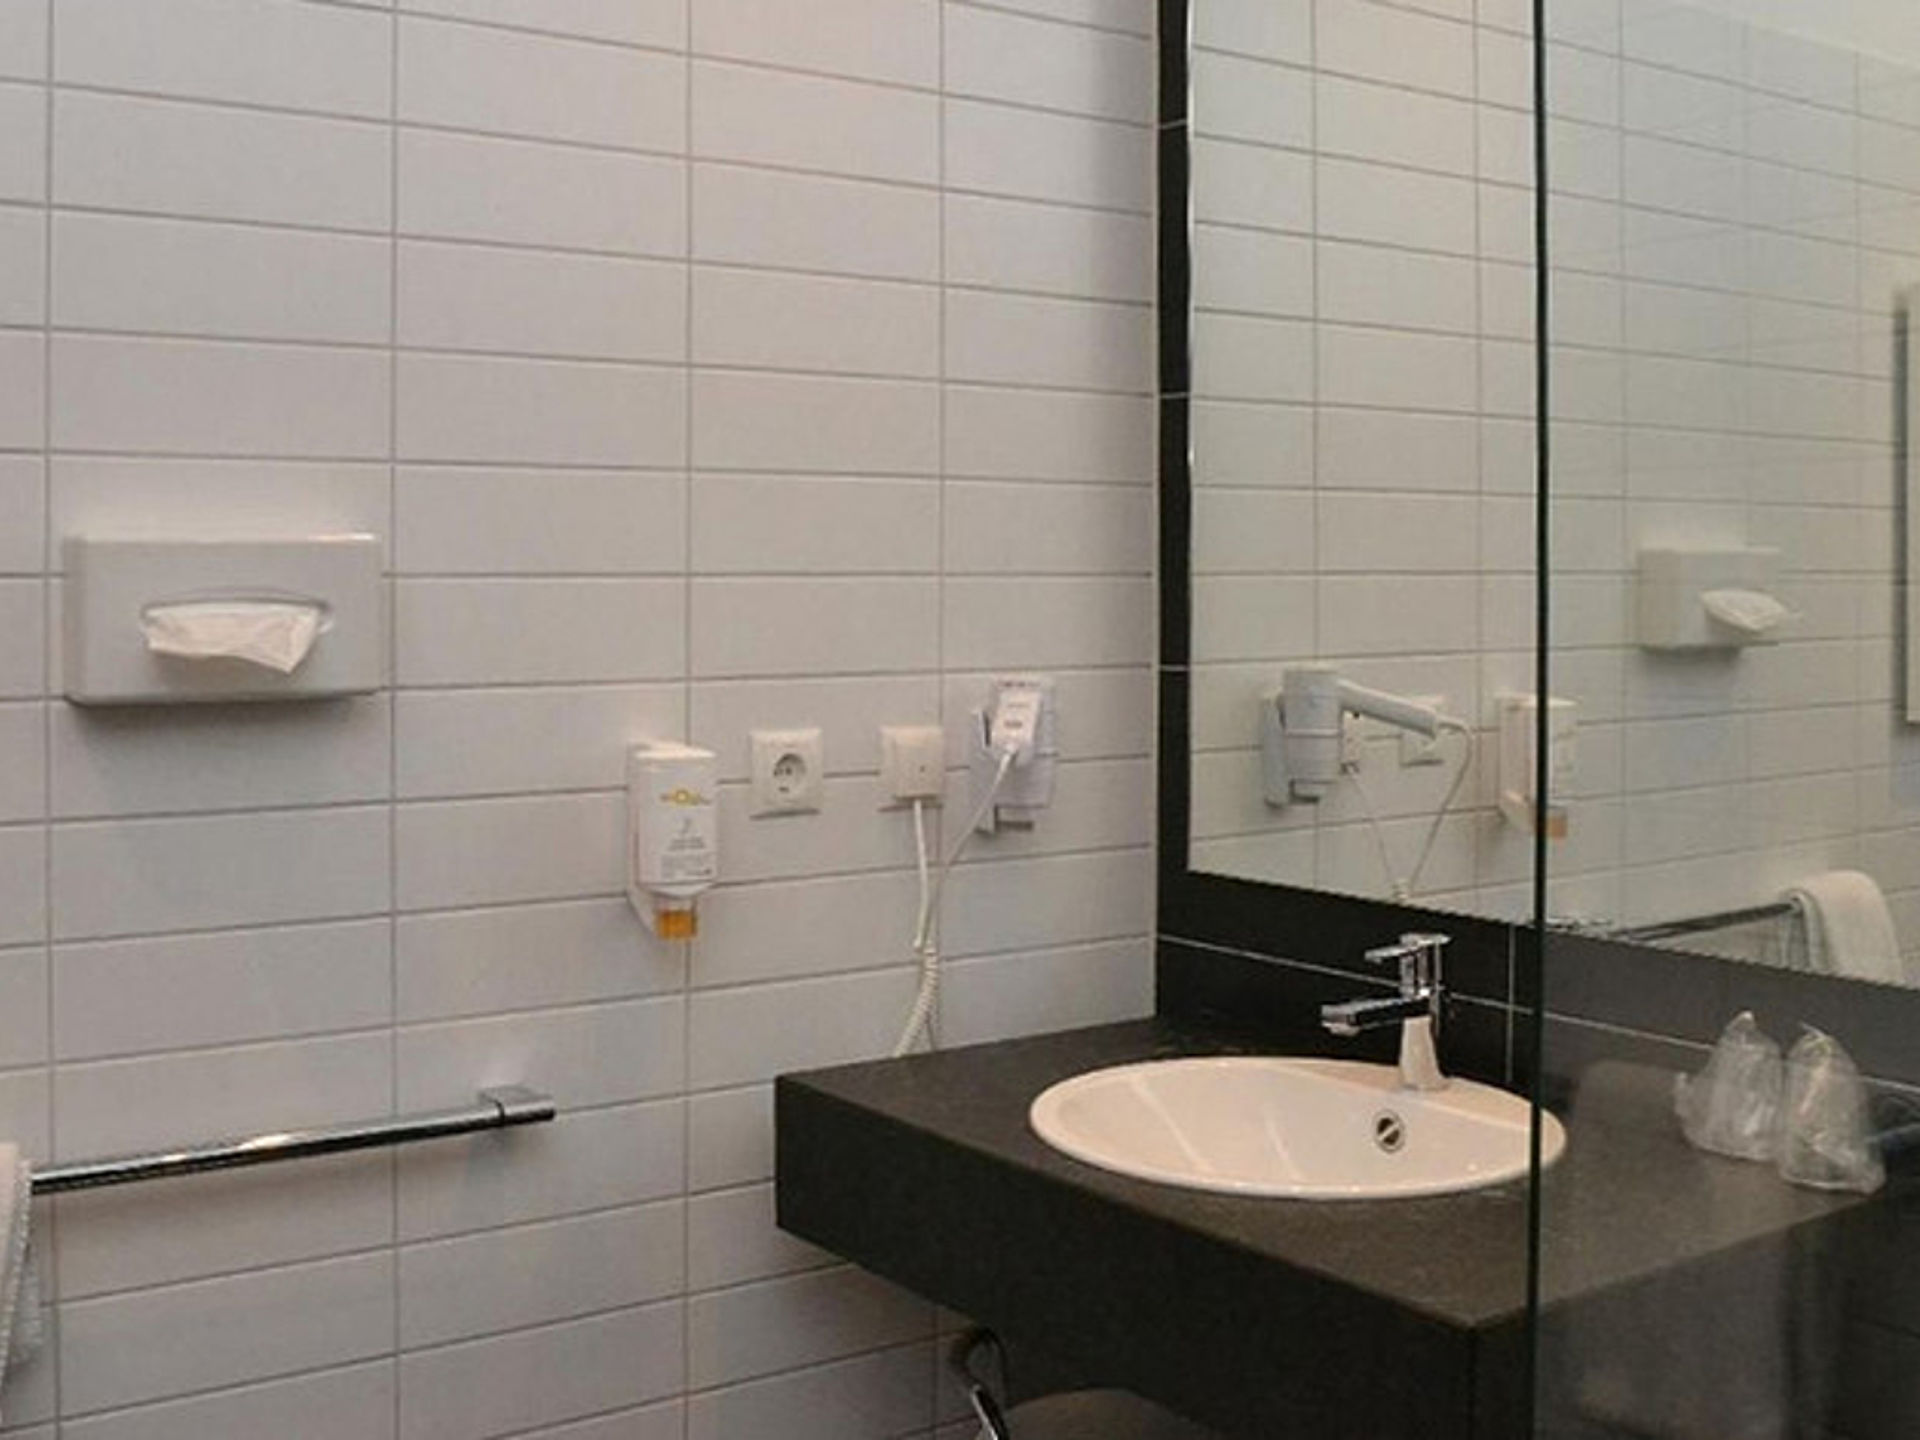
Even homeowners are more and more reluctant to drill holes in their own walls. It is rarely worth poking holes in new, hand‐painted, gilded and absolutely unique tiles in a newly renovated bathroom, just to attach towel rails, soap dispensers and so on. Especially when drilling holes for shelves, hobby craftspeople should rather leave the expert with the spirit level and the steady hand to it. In addition to putting up with ruining how everything looks, inexpertly drilled holes in the insulated facade or insulated interior wall can cause substantial damage. For example, a hole in the moisture barrier of roof insulation can cause devastating mould growth. Discovering the source of the problem to repair it is almost impossible!
To avoid such damage to the wall surface or even the substance, there are now a variety of adhesives on the market with the help of which you can manage without drilling any holes.

The different adhesives
With adhesives, two different concepts are primarily distinguished between:
On the one hand, there are solid adhesives in the form of pads or strips, on the other hand, there are liquid assembly adhesives.
Both types of adhesive are available at hardware stores in different strengths. When choosing an adhesive it is important to be clear about the purpose and the weight to be borne from the start.
With an adhesive that has too little adhesive power, the object could come off of the wall in the foreseeable future. And you can certainly test for yourself what kind of luck broken shards bring. If the adhesive is too strong, you won’t be able to remove the glued object from the wall.

Applications
The best holes are those that are never drilled in the first place! A few years ago, this fact was recognised by the manufacturers of adhesives and a whole series of products were launched on the market. The majority of adhesives can later be completely removed from the wall without leaving any residue!
In the bathroom
The classic application for „gluing instead of drilling products“ is and always will be the bathroom; whether it is a towel rail, a shelf in the shower or the bathroom mirror above the washbasin. Whenever it comes to the combination of tiles and holes, DIYers are always thankful for any alternative.
Most towel rails and shelves are already supplied with appropriate adhesive pads from the manufacturer and just need to be positioned at the desired location. For bathroom mirrors you can find special mirror glue in the hardware store. This is applied to the back of the mirror and sets when it comes into contact with the wall. The mirror should be supported from below during the drying process. Here it is necessary to ensure a vertical bond when applying the adhesive, as otherwise water may accumulate on the adhesive beads. Tiles and smooth surfaces should first be thoroughly cleaned, as dust, grease and soap residues have a negative effect on the adhesive force.
In the kitchen
Everything that applies for the towel rail in the bathroom can also be applied in the same way in the kitchen. Whether it’s an antique spoon rack or a clever wall storage system, such as rails with magnetic strips – they can all be simply glued as well. Adhesive pads can bear a load several kilograms, which is usually sufficient for whisks, wooden spoons, etc
On doors and windows
The closer we get to Christmas, the more often we see glowing stars or wreaths on windows and doors. In this case, self‐adhesive plastic hooks are the method of choice. These hooks can be detached from the surface at the end of the festive period without any problems and above all without leaving any residue. Here, the classic alternative would be a hook above the window. However, this is problematic, because either a load‐bearing concrete lintel or the shutter box is right here. Neither are really the ideal location for a hole!
Outside the Christmas season, adhesive pads are ideal for attaching blinds or half‐height curtain rods to the window profile.
The insulated exterior facade
Most residential buildings built today are clad externally with an External Thermal Insulation Composite System (ETICS). In most cases, an ETICS consists of an insulating material, a reinforced plaster layer and the upper plaster. Despite special dowels for this application, a hole here always results in a thermal bridge, i. e. a place where insulation is not as strong as it should be. When putting up house numbers, outside lights or mailboxes you should therefore consider whether you would prefer to use the corresponding assembly adhesive instead of a drill.
In living rooms
The classic application in living areas is when hanging up posters or pictures on a papered wall. If a simple adhesive strip or a thumbtack is used for posters, as you might usually have done in the past, you will be annoyed about the defective areas later on after removing the poster. Then there is only one thing you can do: repaint or repaper. Adhesive pads can be used for hanging posters. They have a tab: If you pull on the tab, the pad will detach itself completely from both the wall and the poster.
Even smaller shelves do not necessarily have to be attached to the wall with screws. You can obtain a firm connection with the wall using an assembly adhesive. Always make sure to observe the manufacturer’s instructions, but most adhesives of this type have a curing time of about 24 hours, in which time they may not be fully loaded with weight. As with the installation of the bathroom mirror, the glued objects should be supported in the first phase of drying. Especially with a shelf, not only the weight of the shelf and the objects located on it is relevant, but also the leverage effect which acts on the point where the adhesive is applied.
Tips:
- In order to prevent the wall from becoming contaminated by glue oozing out when mounting a shelf, I recommend covering the surrounding areas with masking tape.
- Particularly with insulated inner walls, this type of mounting is recommended. Moisture can penetrate the insulating material and massively reduce the insulating effect through a hole in the insulating material of the wall. In the worst case, you’re at risk of mould!


