Fire away: Tips on the best way to prepare for barbecue season
It is finally here: the days are getting longer, the weather warmer, and barbecue season is just around the corner. For many people, barbecues are an essential part of summer - whether it's a relaxing get-together with friends and family, or to make a change from cooking in the kitchen. But before you the barbecues begin, it is worth spending the time to prepare your grill and accessories properly.
In this article, we'll share some valuable tips on the best way to prepare for barbecue season, and show you how Einhell tools can help you achive the perfect barbecue experience.

Cleaning the grill properly
A clean grill is key to a successful cookout. Therefore, you should thoroughly clean your grill after each use. This will help you avoid major cleaning operations and let you relax and focus purely on your guests before your next barbecue party.
When cleaning your grill, make sure to thoroughly remove grease and food residue from all parts of the grill, such as grates, burners (for gas grills), and the housing. There are various methods to clean the grill. For some, you don't even need special grill cleaners:
- One of the most effective methods is pyrolysis. Or rather, a kind of pyrolysis. This process involves using high temperatures to burn food remnants more or less to ashes. Burning out works best with barbecue briquettes, because these smoulder longer than conventional charcoal. To do this, pick up a piece of the still glowing briquette with your barbecue tongs and rub it over the individual wires of the cooking grate. Then let everything cool down and remove anything that's left with a damp cloth.
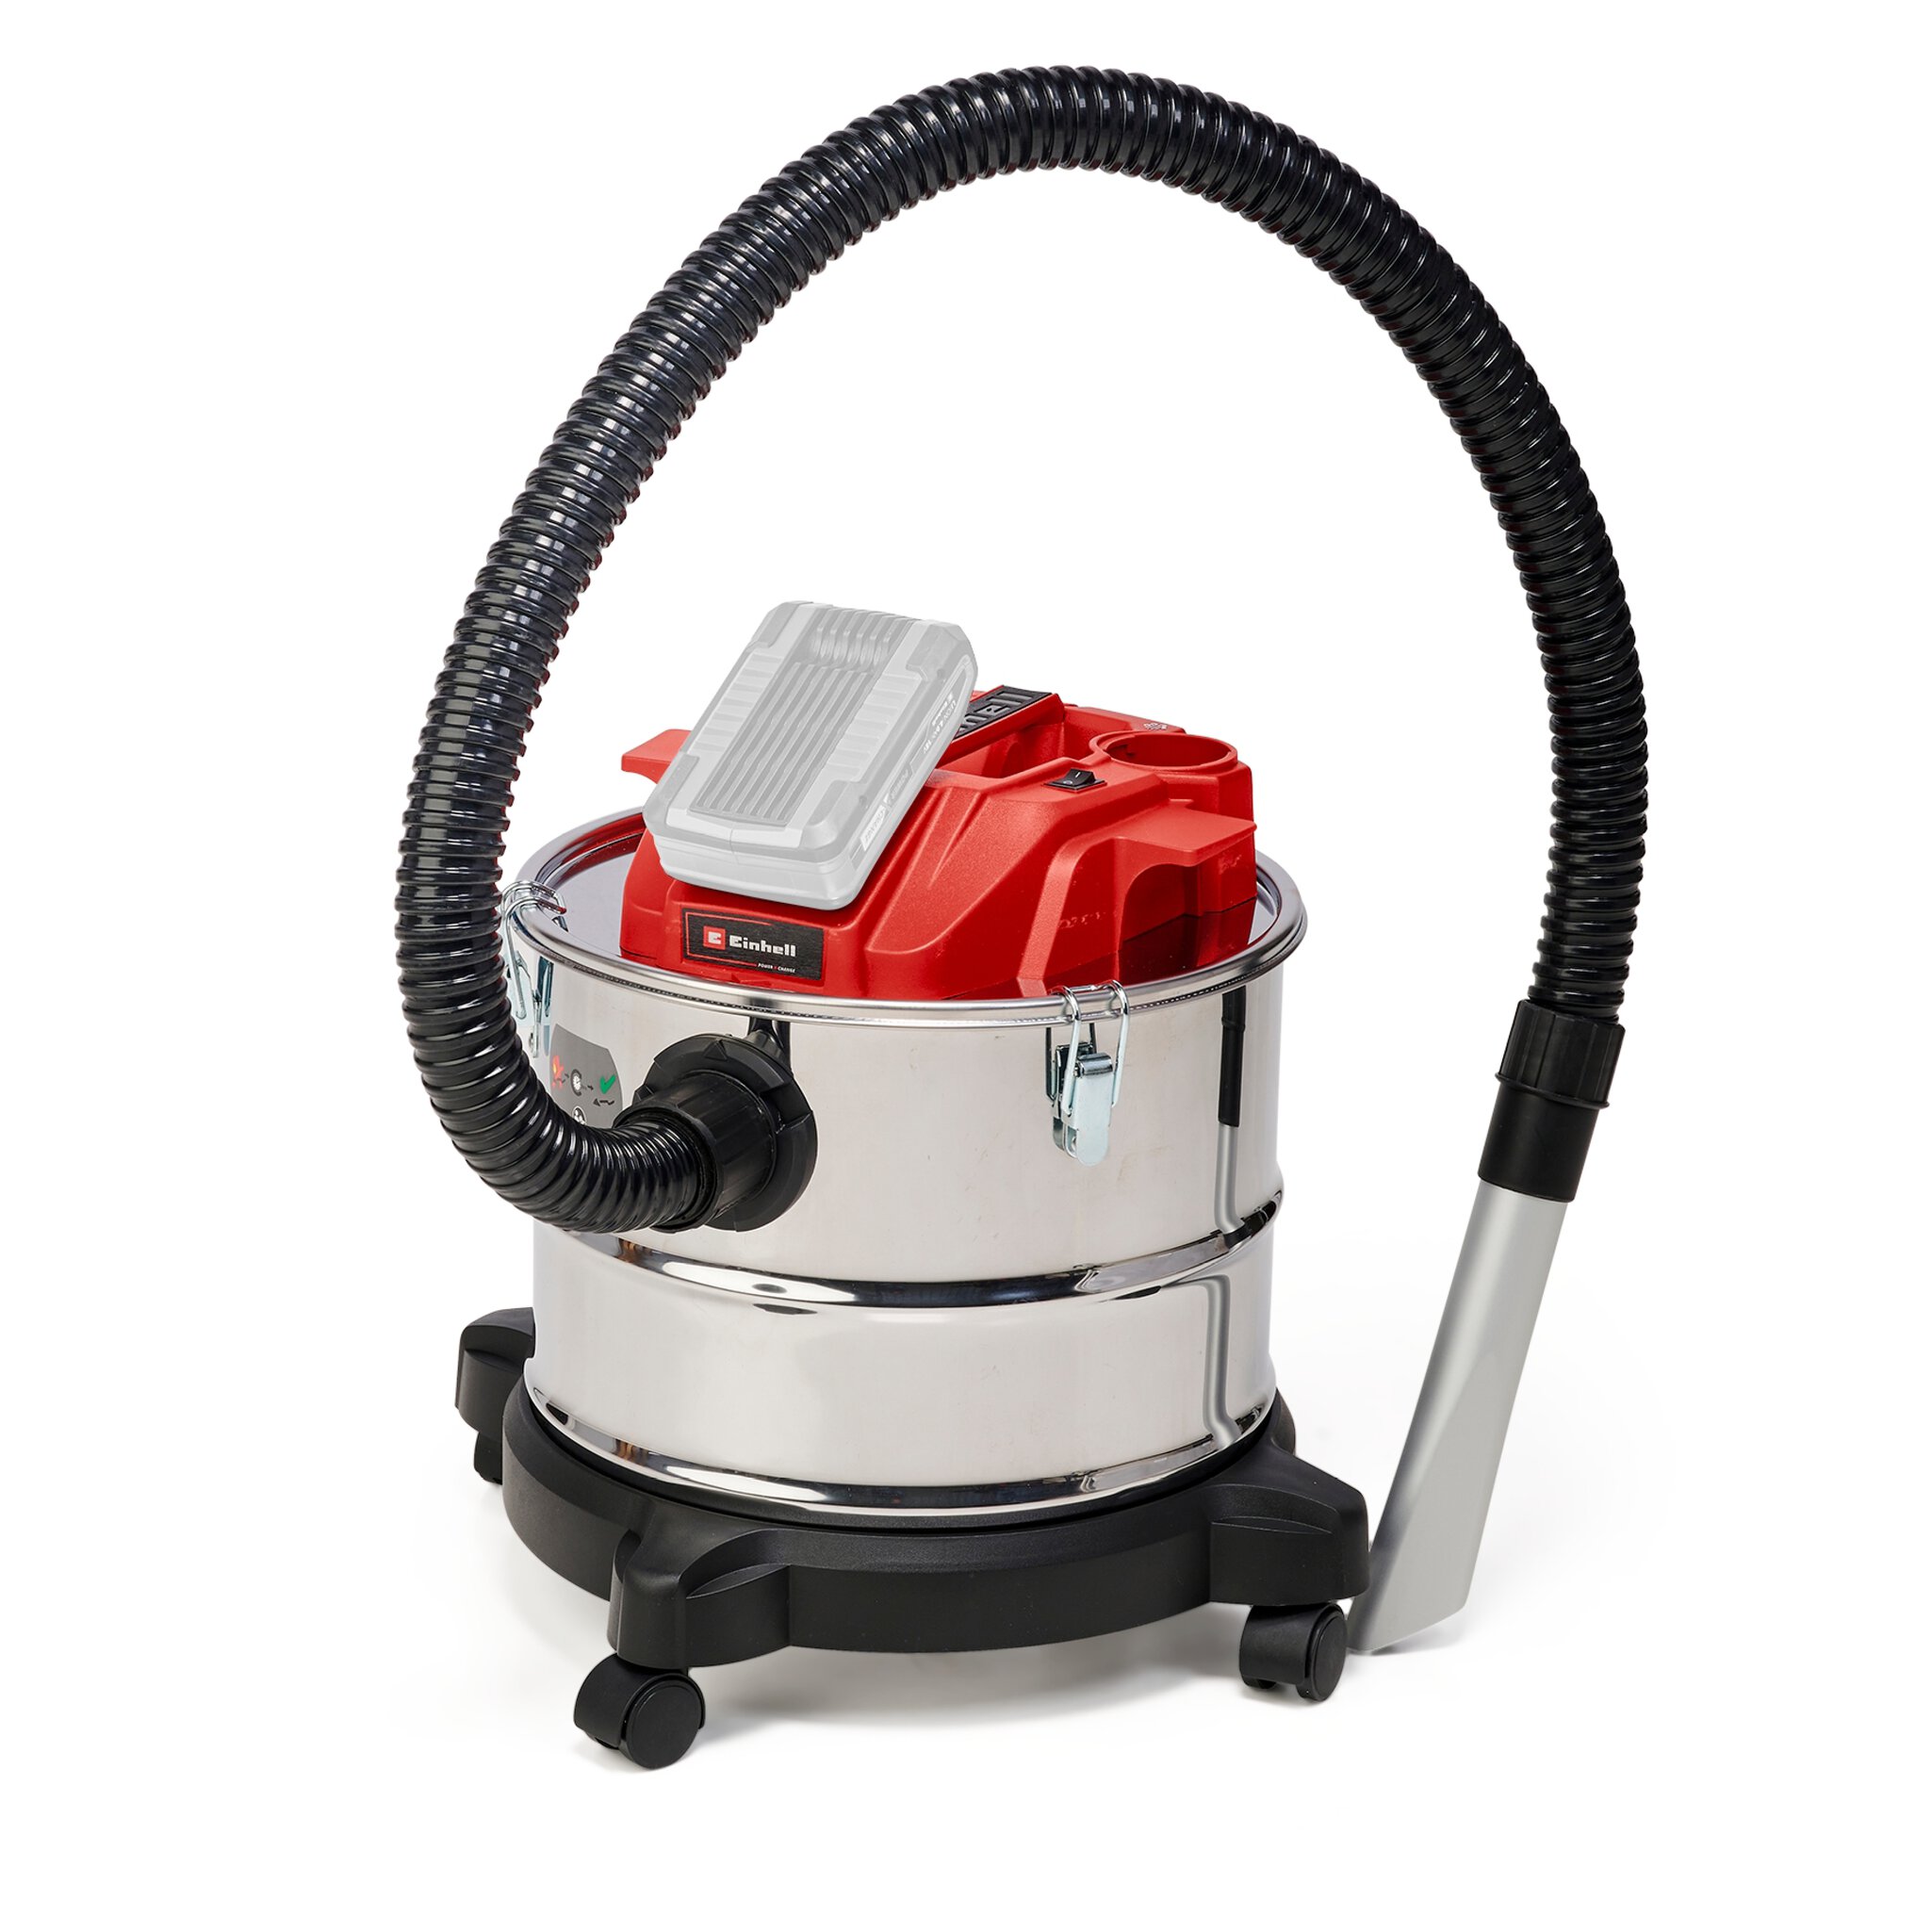
- When the remaining coals or briquettes have cooled down, you can easily vacuum up their ashes with the Einhell TE-AV 18/15 Li C cordless ash vaccum. Its pleated filter system removes fine dust and ash. When the 15-litre tank is full, you can simply empty the ashes into the residual waste. Please make sure that you do not dispose of hot ashes or embers in the plastic bin. They may come in contact with inflammable materials and cause a fire. Other grime and tough residues in the grill housing are best cleaned with a suitable grill cleaner and a brush. With these, it should be possible to remove even the most stubborn of dirt.
- Tip: Do not put wood ash in your garden or compost. Unfortunately, the ash does not make a good fertilizer due to its high alkalinity. Therefore, once the ash is cool, it should be disposed of with the household waste.

- One popular and effective "home remedy" for cleaning the grill is newspaper. Wait until the grill has completely cooled down. Then wrap it completely in wet newspaper and leave it for about an hour. You can then simply wipe burnt-on food leftovers with a damp cloth and rinse them off easily with clean water.
- Baking soda is another great home remedy to get your grill rack clean. Simply dissolve 100 g of baking soda in 1 liter of warm water and put it in a spray bottle. Once the grill has cooled, spray on the mixture and leave it for at least an hour, but preferably overnight. Again, you can then wipe off the food remnants with a damp cloth.
After cleaning, be sure to let the grill dry fully to prevent rust. With regular cleaning, you can keep your grill in top condition and enjoy the perfect grilling experience every time.
The barbecue party
Men probably only need two things at a barbecue party: Fire and meat. Oh, yeah...and beer! Some women prefer a little more sophistication and need a few more things to throw the perfect barbecue party. The right preparation is key to ensuring that all guests feel at ease.
Preparation
After a long winter, the first task is to get the terrace back into shape. Let's not forget the outdoor furniture, some of which is made of weather-resistant plastic and can usually only be cleaned with water. Even old beer garden furniture or marquee sets can easily be given a new lease of life. Just sand the varnish off the benches and tables – the Einhell cordless multi-sander TE-OS 18/150 Li is ideal for this. Then you paint the wood again – preferably using the Einhell cordless paint sprayer TC-SY 18/60 Li. All that's left now are some comfortable cushions and you have space for 8 to 10 guests again.

The right decoration
It takes more than grilled meat and a selection of side dishes to make a great BBQ; the ambience is also important. Of course, no gathering would be complete without the right lighting and the right music. Most gardens don't have suitable sockets for this. That is why our Power X-Change devices are a great choice. As they are wireless and ready for use everywhere. After all, what works in the workshop will naturally also work in your own garden. For example, the Einhell cordless radio TC-RA 18 Li or the cordless speaker TC-SR 18 Li. Both devices let you connect your smartphone via Bluetooth and play your favorite music.
Even the Einhell cordless lamp TE-CL 18/2000 LiAC can be used to provide indirect illumination your party.
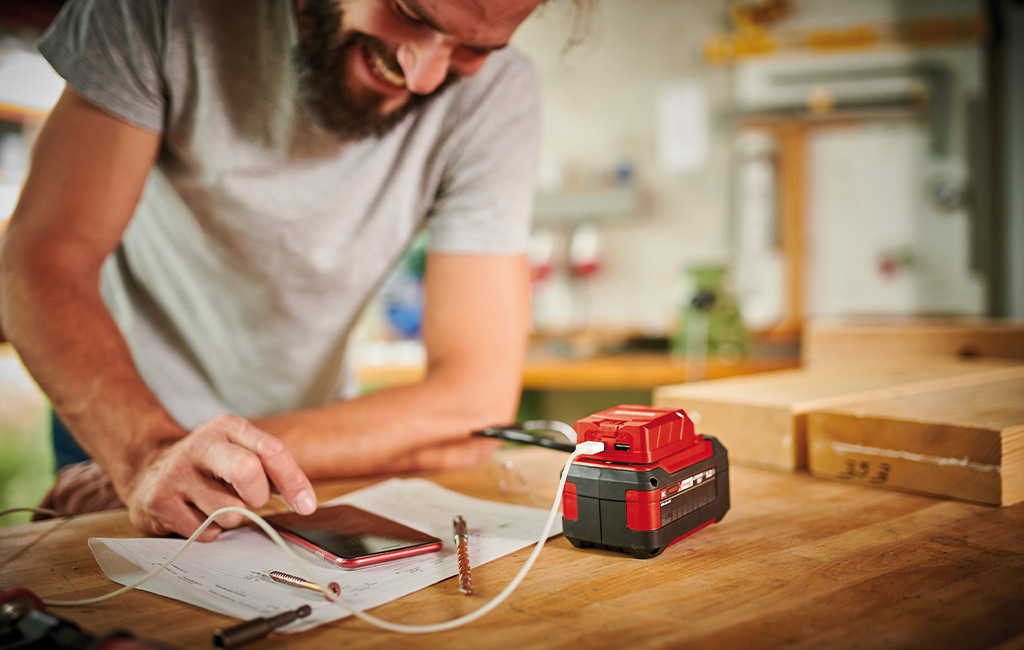
String lights and other small devices that can be powered via USB can be spread around the garden using the USB battery adapter TC-CP 18 Li. Just plug a Power X-Change battery into the adapter and you have a small, portable power source.
If it is especially hot on the day of your barbecue party, why not cool off with the Einhell GE-CF 18/2200 Li cordless fan. Thanks to its versatile mounting options, you can place or hang it almost anywhere to provide a cool, refereshing breeze.



The right way to light the grill
It's time to get serious: The decorations are in place, the food is prepared, and the guests are starting to arrive. Now it's a matter of lighting the barbecue as quickly and professionally as possible like a true barbecue master.
With a gas grill, lighting the flame takes no time at all: Gas from the bottle is lit according to the type of igniter used. Then you just have to wait a little while for the gas grill to heat up ready to throw on the meat.
With a charcoal grill, however, you have several options. Beforehand, you should decide how long you want to be cooking. Briquettes are made from compressed charcoal dust. This makes them particularly suitable if you're barbecuing for a large group or for a longer period of time. Their high density means briquettes stay hotter for much longer than traditional charcoal. However, it also takes a little longer for them to fully heat up. Charcoal is great when you don't have too much meat to grill. It doesn't burn or glow as long as briquettes do, but it does light faster.

You can use the same techniques to get your barbecue charcoal or briquettes glowing. Two popular methods have both proven succesful. Before you start, you need to remove the grill grate from your barbecue so that you can easily reach the charcoal grate:
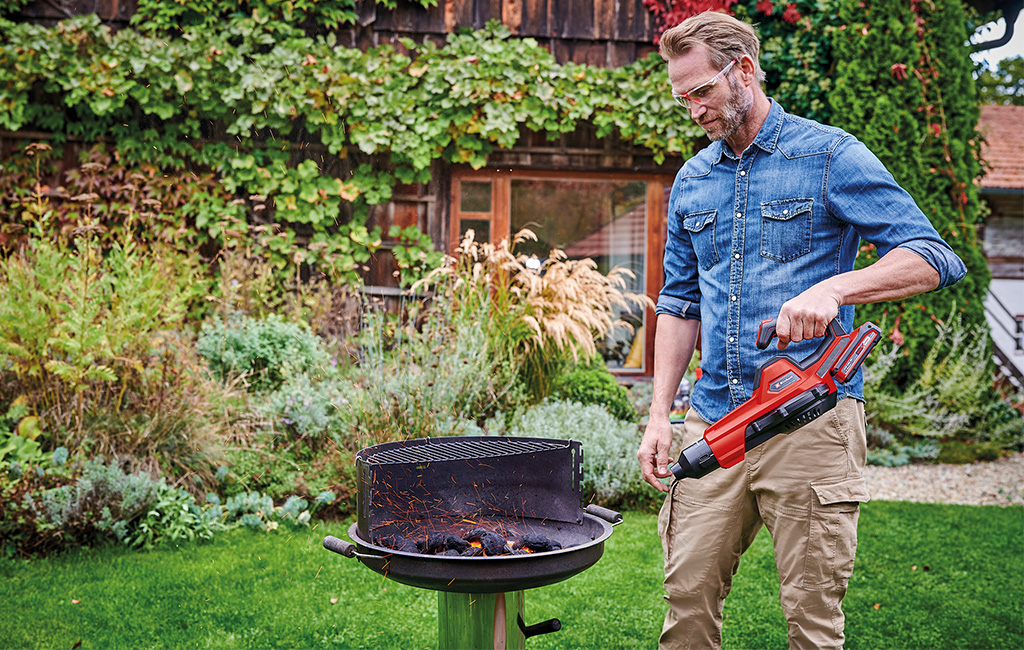
- The charcoal pyramid: with the stacking method, you build your charcoal or briquettes into a pile or pyramid, scattering a few solid barbecue lighters in between. Then you set fire to the lighters and wait until the charcoal is glowing evenly. You can speed up this process with the Einhell cordless blower GE-UB 18/250 Li E. Use the short precision nozzle, which is included in the kit. The coal is ready for grilling once you can see a fine layer of white ash.
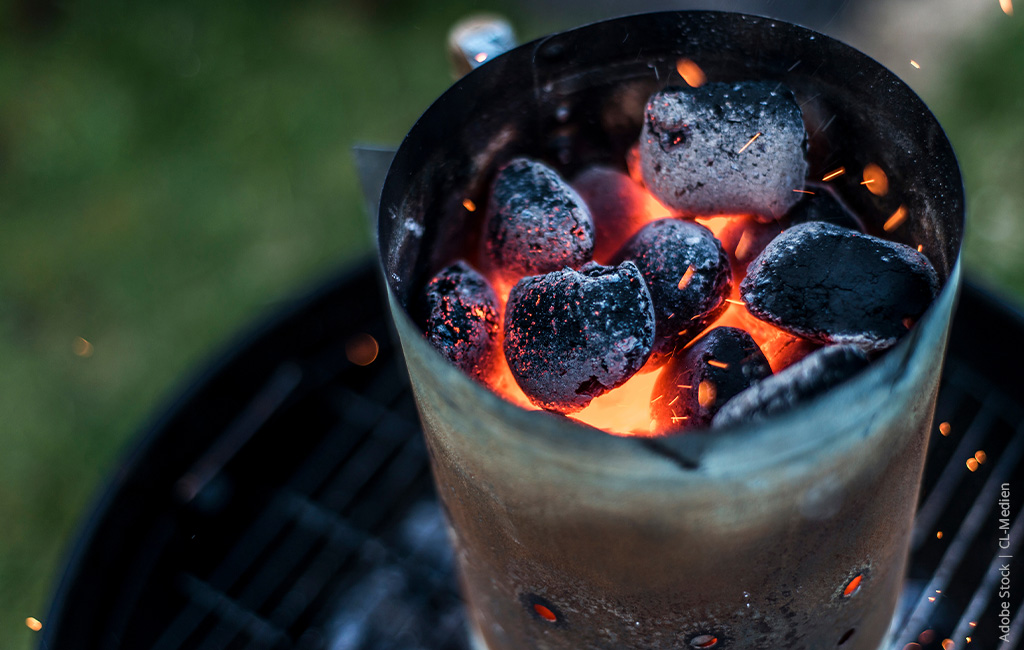
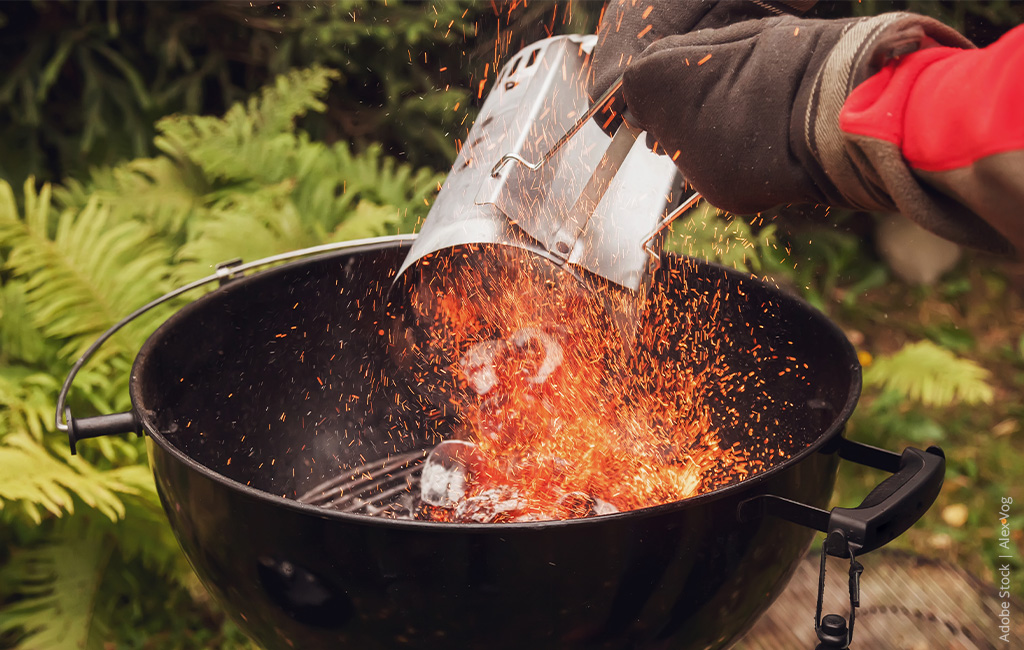
- The charcoal chimney starter: The charcoal chimeny starter is especially handy for briquettes. With its suction effect ensures that your barbecue briquettes heat up evenly and are ready for use within 15 to 30 minutes. All you have to do is fill the fireplace to the brim with briquettes (or charcoal) and place it on the charcoal grate. Again, you can use solid BBQ lighters, which you put under the coals and light. Now close the lid of your grill and open the vents. When the briquettes are ready, you can pour them out of the chimney onto the charcoal grate. Be sure to wear barbecue gloves, as the chimney gets very hot!
So, the grill is hot, the beer is cold, and you can finally start cooking the steaks. If you want to find out how to build the perfect barbecue area, we've covered that in another post. You'd rather have a BBQ smoker grill? It's easy to build one yourself. Find out complete DIY guide here.


