Do It Yourself: Wooden Easter Bunny
Easter is just around the corner, and what better way to welcome the season than by crafting something that brings a touch of festive spirit into your home each day? A charming wooden Easter bunny is the perfect solution. In this post, you’ll find out what materials you’ll need and how to create your own step by step!
Tools and Materials
| Tools | Materials |
|---|---|
| Cordless screwdriver | Wood: approx. 100 cm x 50 cm |
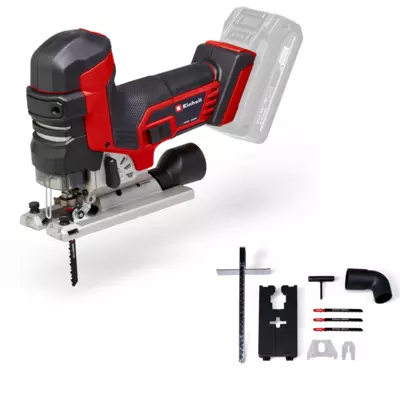
| Jigsaw | Scrap wood |
| Sandpaper | Screws |
| Decorative items: basket and eggs | |
| Suitable template (Tip: search online for “Easter decoration templates”) | |
| Pencil |
Product was added to the comparison list.
Product was removed from the comparison list.
Open comparison listStep-by-Step Instructions: How to Build the Easter Bunny
Step 1: Template
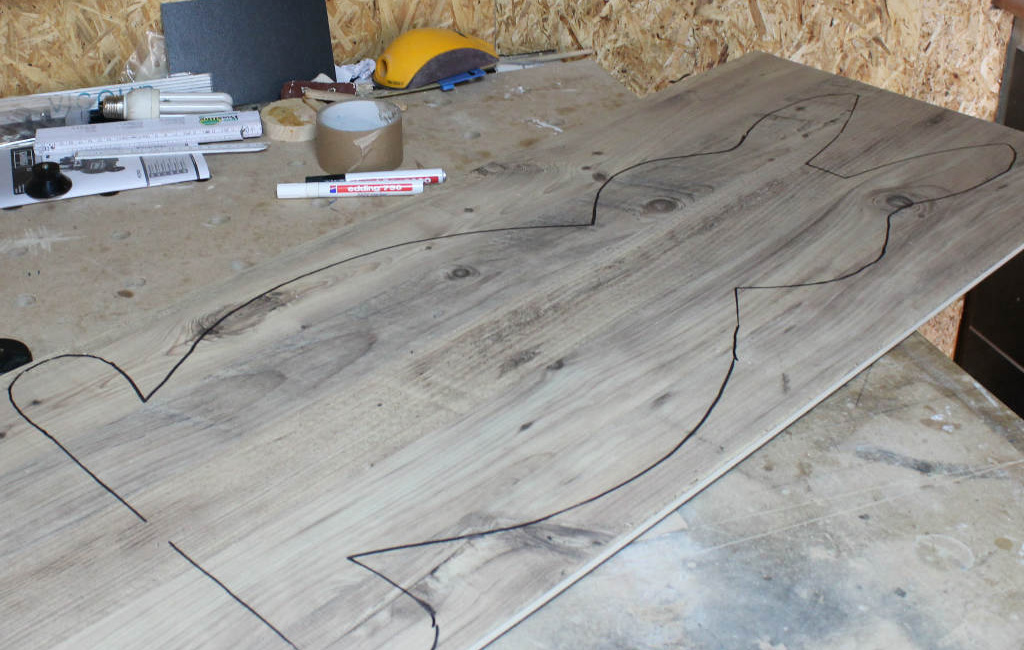
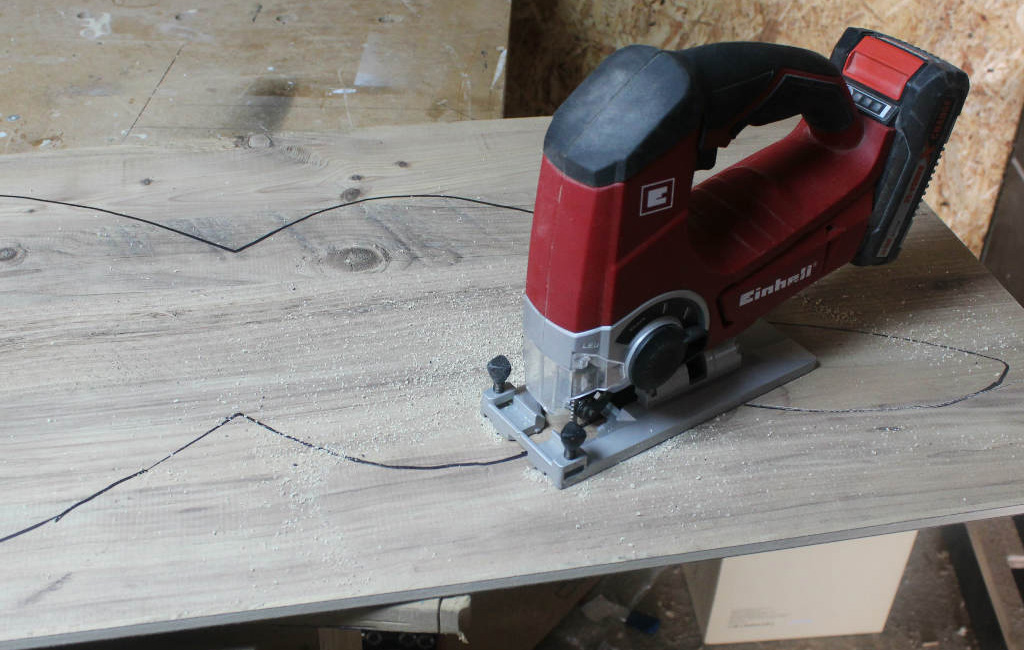
First, you'll need a template for the decoration you want to create from wood. I simply searched online for free “Easter decoration templates”, enlarged one and printed it out. I then fixed the template to the wood and traced the outline using a permanent marker. If you’re artistically inclined, of course, you can also sketch your chosen motif directly onto the wood freehand.
Step 2: Cutting Out
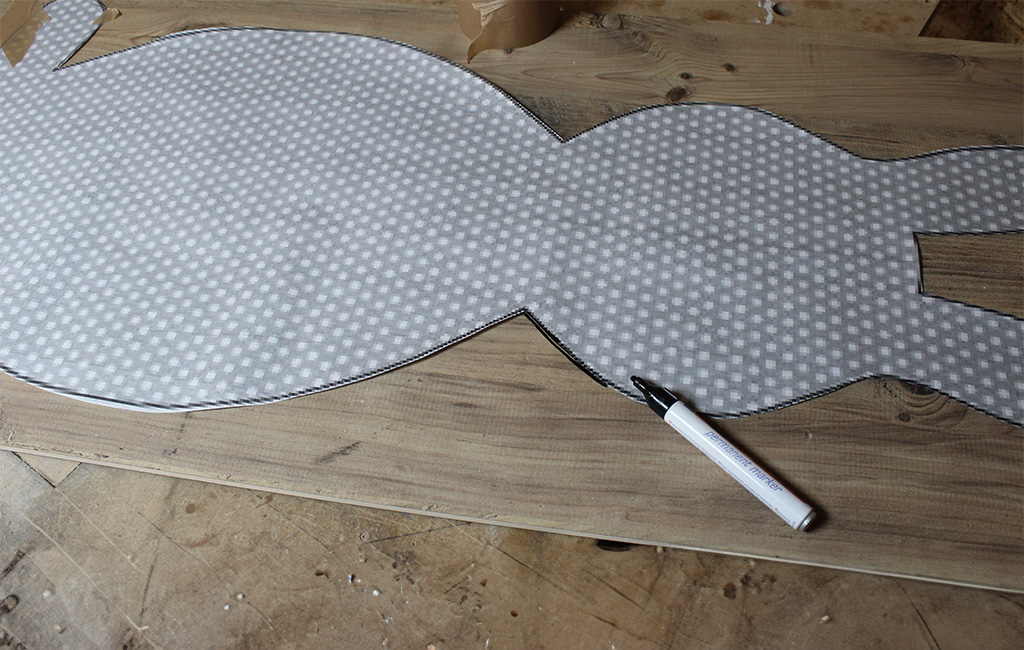
Now it’s time to cut out the outlined bunny using the jigsaw and sand down the edges. Be sure to guide the jigsaw slowly to avoid splintering or rough edges. Smaller imperfections can easily be smoothed out afterwards with sandpaper.
Step 3: Building the Support
Next, you'll create a support to keep the bunny from toppling over in the wind. For this, I use a piece of weather-resistant scrap wood. Alternatively, you can use regular wood and treat it with a wood preservative – that works just as well. Simply mark the shape of the support, cut it out, and you're good to go.
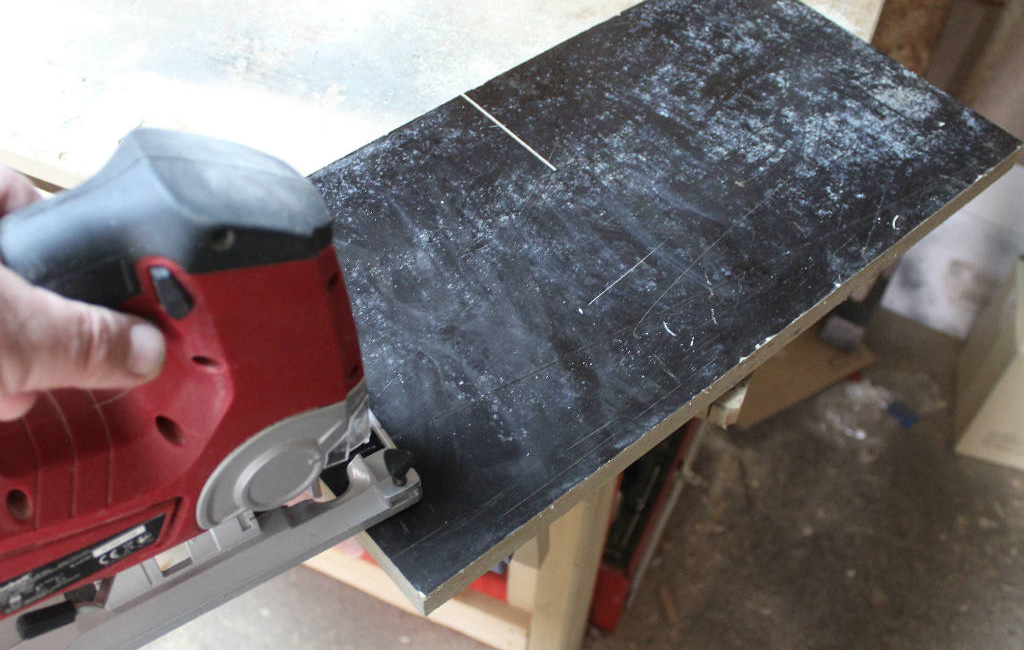
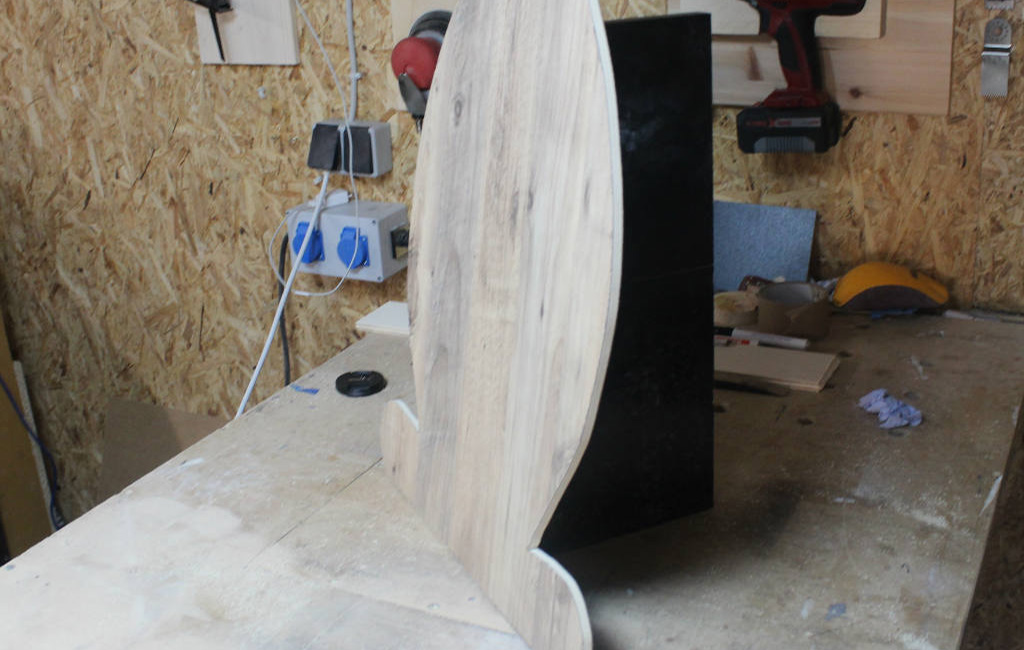
The support is cut at a slight angle to provide extra stability for the bunny. Then, I hold the support against the back of the bunny and drill through from the front, allowing me to securely attach the support with two screws.
Step 4: Decorating
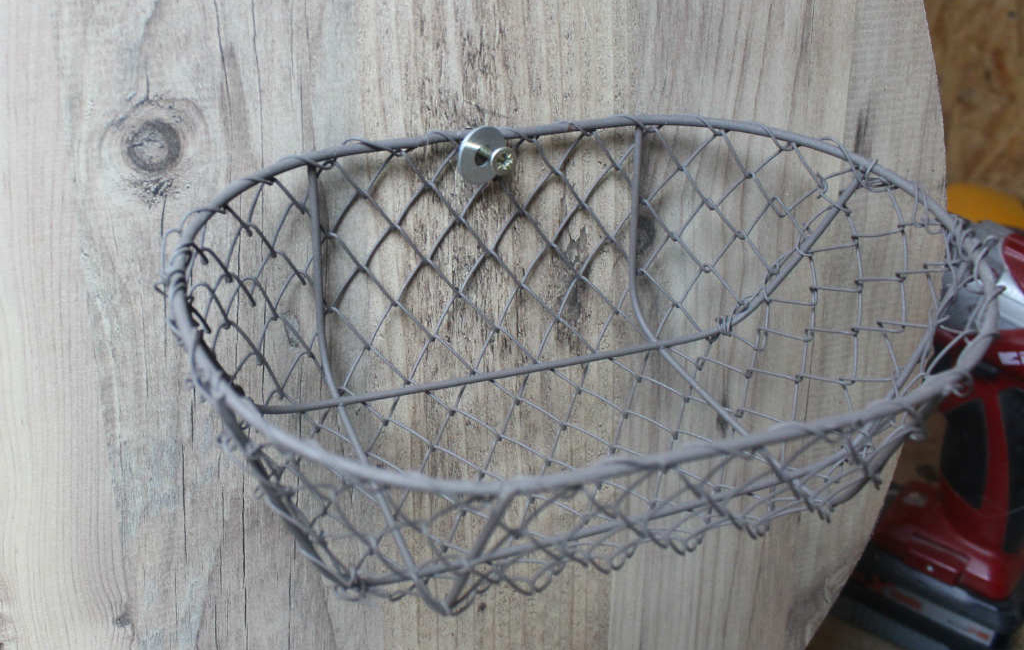
You can pick up a small basket from a florist or decoration shop, which you then simply attach using a washer and the top screw.
Result: Handmade Easter Decoration
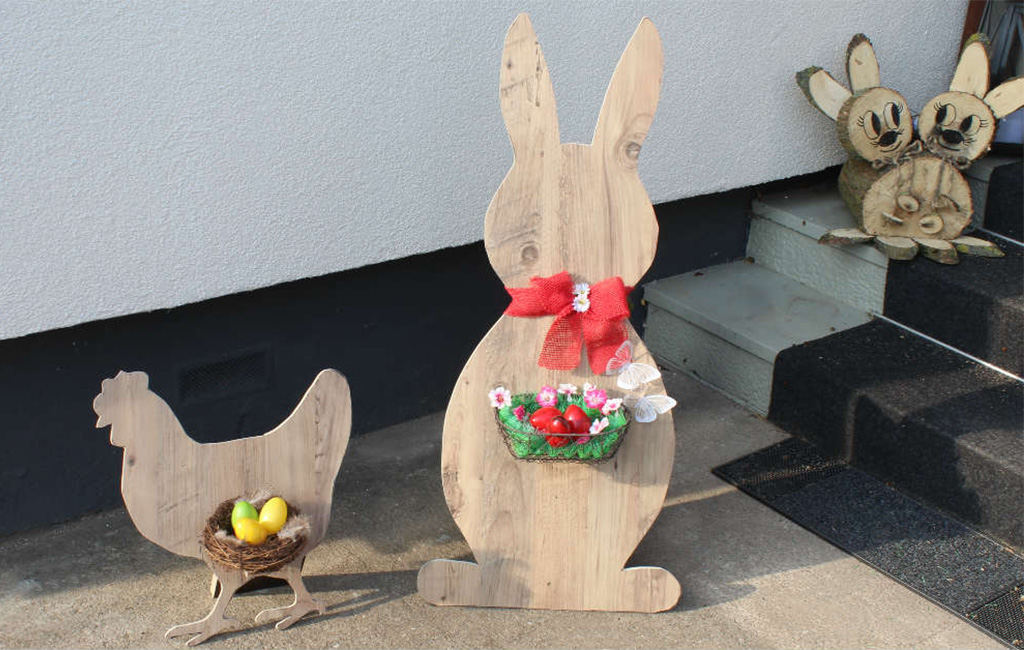
Your Easter bunny is finished! To complete the festive look, all that’s missing is a bit of decoration: you could tie a ribbon around it or add a splash of colour with just a few brushstrokes. Let your creativity run wild – the possibilities are endless.
