


Wooden Ladder Water Feature
DO IT YOURSELF
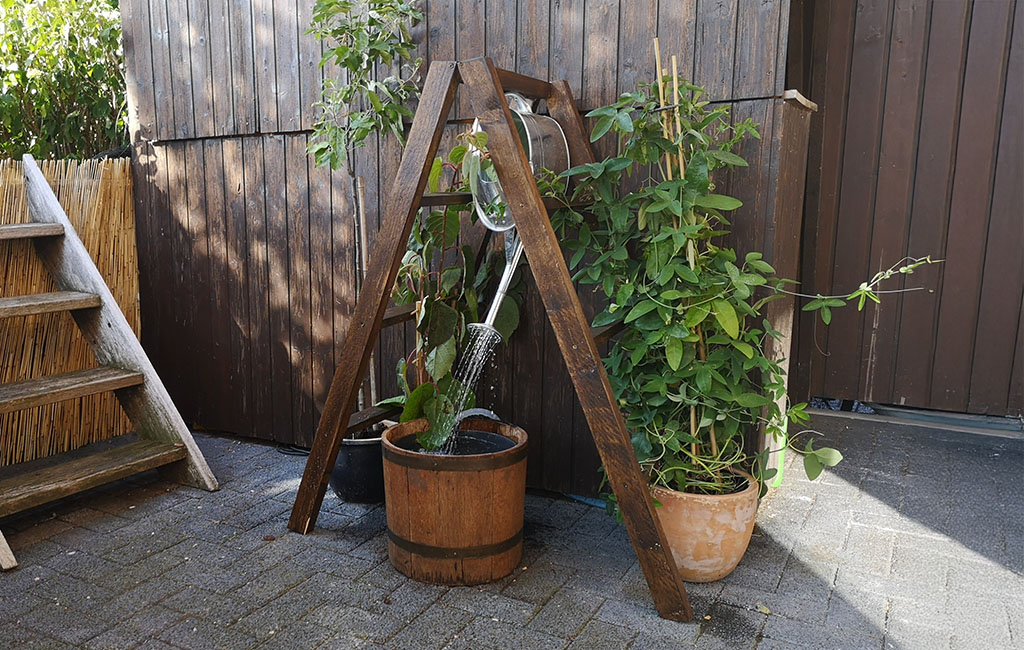
Whether on the terrace, in the garden or on the balcony – the gentle sound of trickling water has a calming effect on most people and creates a pleasant, feel-good atmosphere. With this DIY project, you can build your own fountain in the shape of a ladder. We’ll be using a watering can and a lovely barrel for the water feature. Add a few beautiful plants to the mix, and it will become the highlight of your garden or balcony.
Tools & Materials
Tools
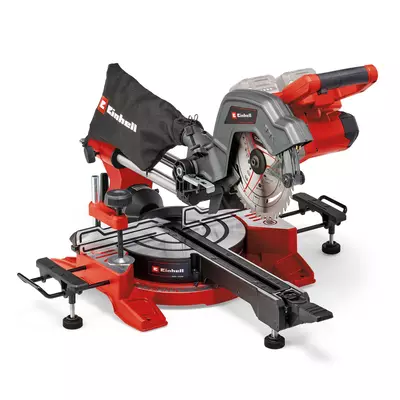
- Mitre saw, hand saw
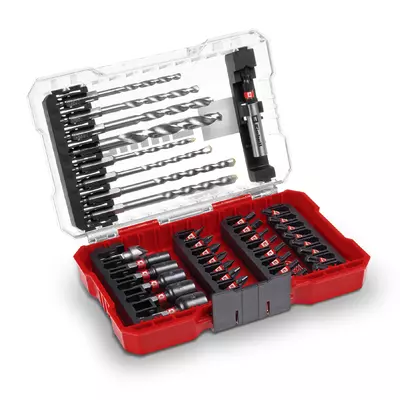
- Cordless screwdriver (power drill)
Materials
- Spruce wood battens, dimensions: 58 mm x 38 mm
- Spruce wood battens, dimensions: 48 mm x 22 mm
- Bucket/barrel
- Wood screws, 6 x 25 mm
- Wood stain
- Watering can
- Water pump including hose
- Cable clips
Building the ladder
Step 1: Cutting
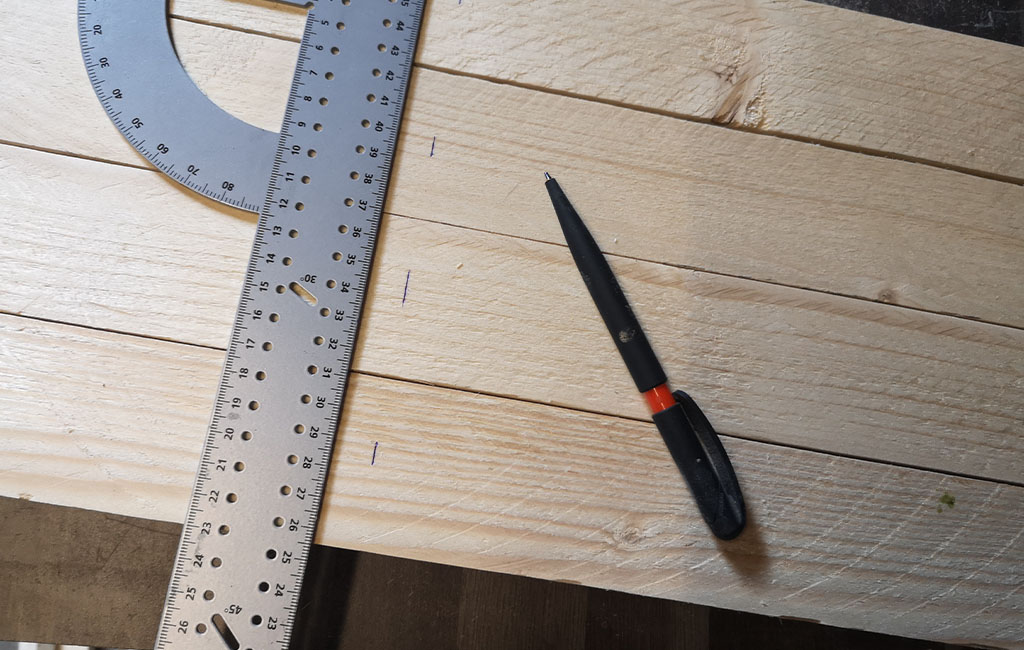
First, take the spruce wood battens measuring 58 mm x 38 mm. These will later serve as the frame of the ladder.
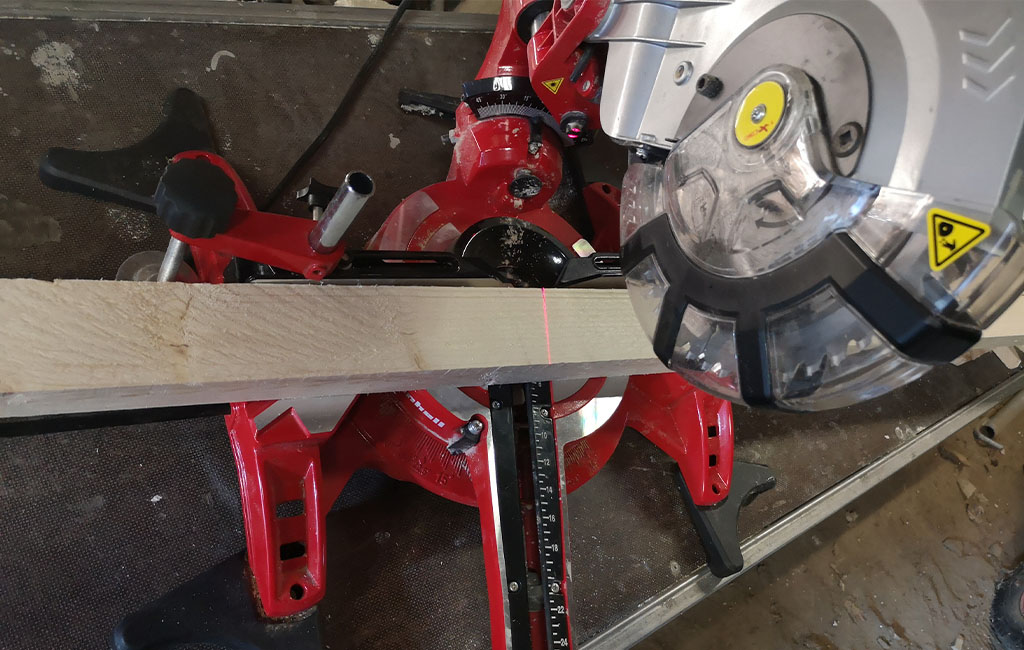
Now cut four pieces from these battens, each measuring 120 cm, using the mitre saw. To ensure the ladder stands securely later on, cut the ends at a 15-degree angle.
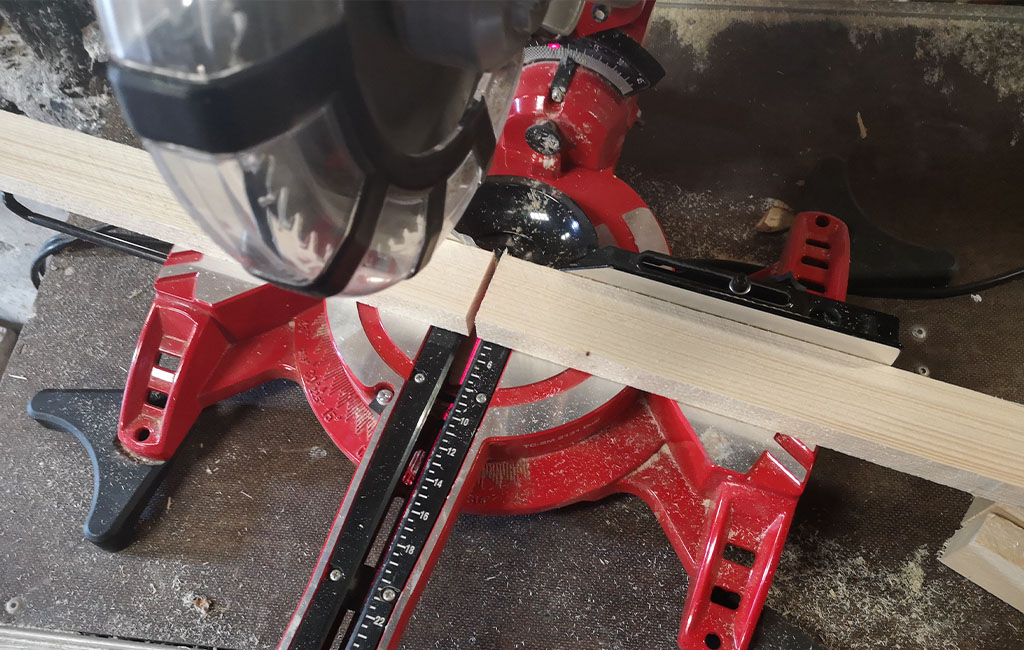
Now take the spruce wood battens measuring 48 mm x 22 mm and cut them to a length of 40 cm each. Since the ladder will have three steps later on, you'll need a total of six pieces.
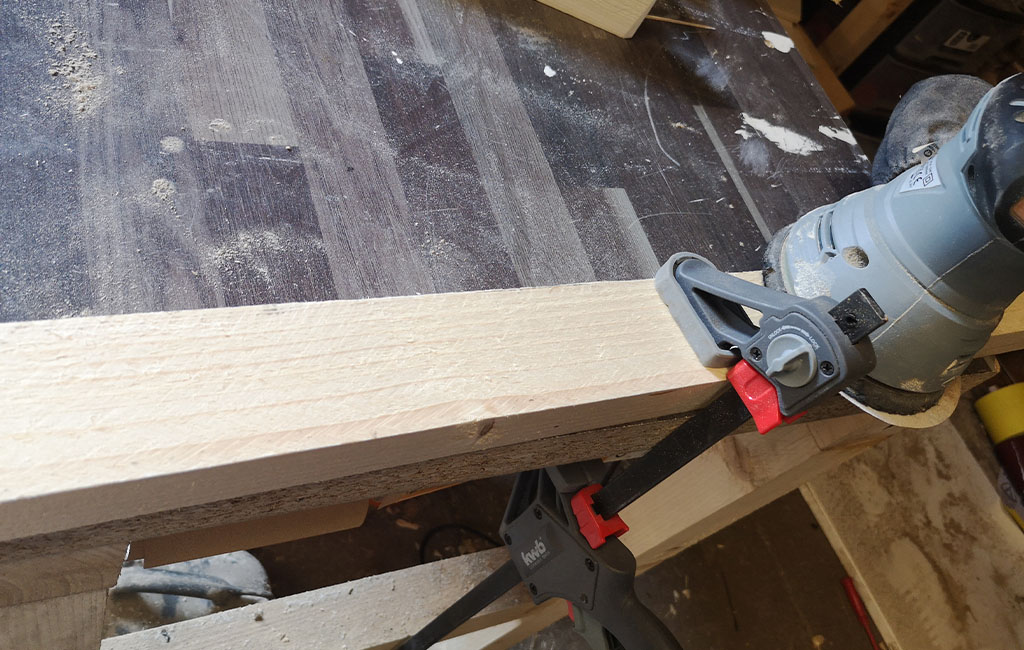
If you're using untreated spruce wood battens, you should sand them at this stage. You can use either an orbital sander or a belt sander for this. Of course, you can also sand the battens by hand. We recommend using 120-grit sandpaper.
Step 2: Assembling the Ladder
Once all the pieces have been cut and sanded, take the thicker wood battens that will form the ladder frame. It’s a good idea to lay all four battens flat and mark them at 30 cm, 60 cm, and 90 cm.
At these points, pre-drill holes using a 4 mm drill bit.
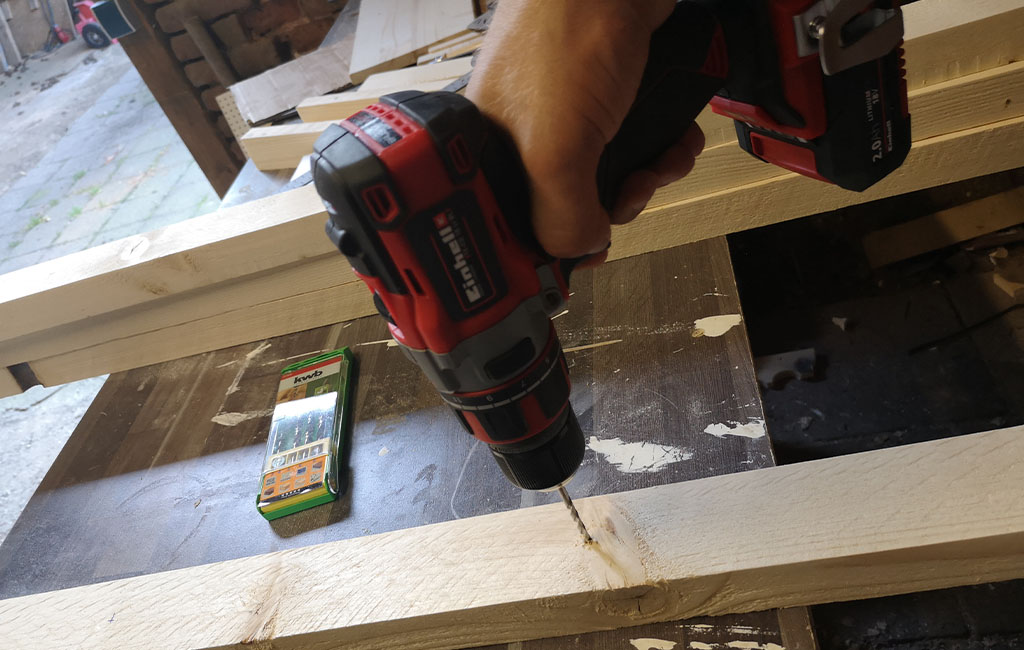
You can then position the steps between the two pre-drilled points and screw them into place.
💡 Tip
When screwing them in, make sure the steps are angled at roughly 15 degrees so that, when the ladder is set up, they sit parallel to the ground.
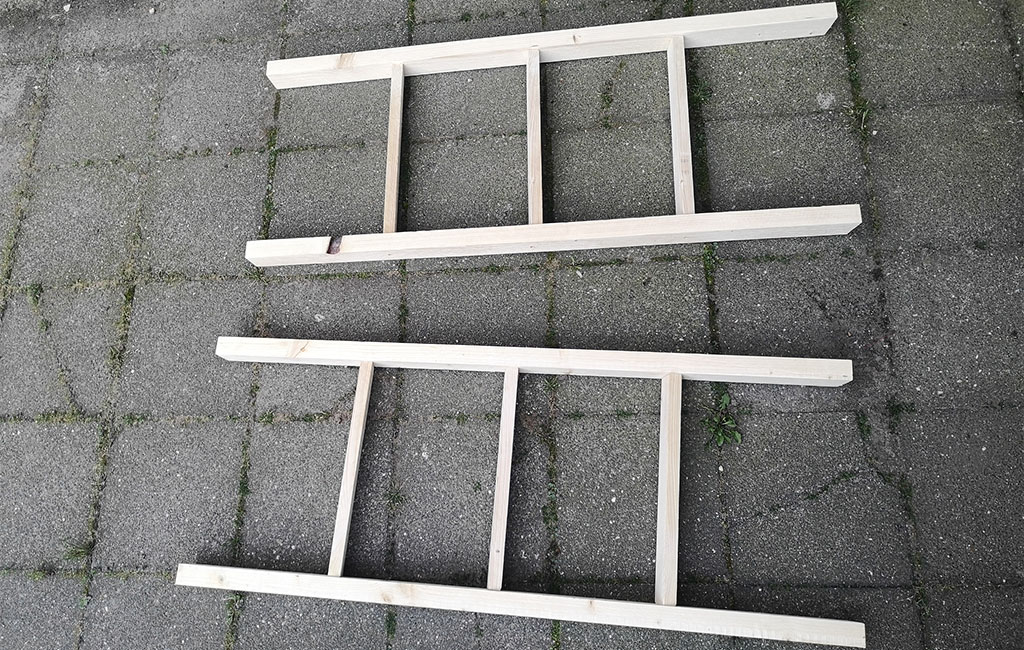
Once you’ve screwed all the pieces together, you’ll have the two sides of the ladder, each with three steps.

To connect these two parts using the top rung, take one of the thicker wood battens measuring 58 mm x 38 mm and cut it to 40 cm. After sanding it, attach the piece using four screws — two on each side of the ladder. This will join both halves together and allow the ladder to stand on its own.
💡 Tip
To prevent the wood from splitting, it’s a good idea to pre-drill the holes here as well using a 4 mm drill bit.
Step 3: Staining the Ladder
Once that’s done, you can oil or stain the ladder as you wish. I’m using a dark, waterproof stain since I’ll be placing the ladder outdoors without any protection from the rain.


Building the Water Feature
Now position the barrel or bucket beneath the ladder. If your wooden barrel isn’t watertight, you can simply place a plastic bucket inside it.
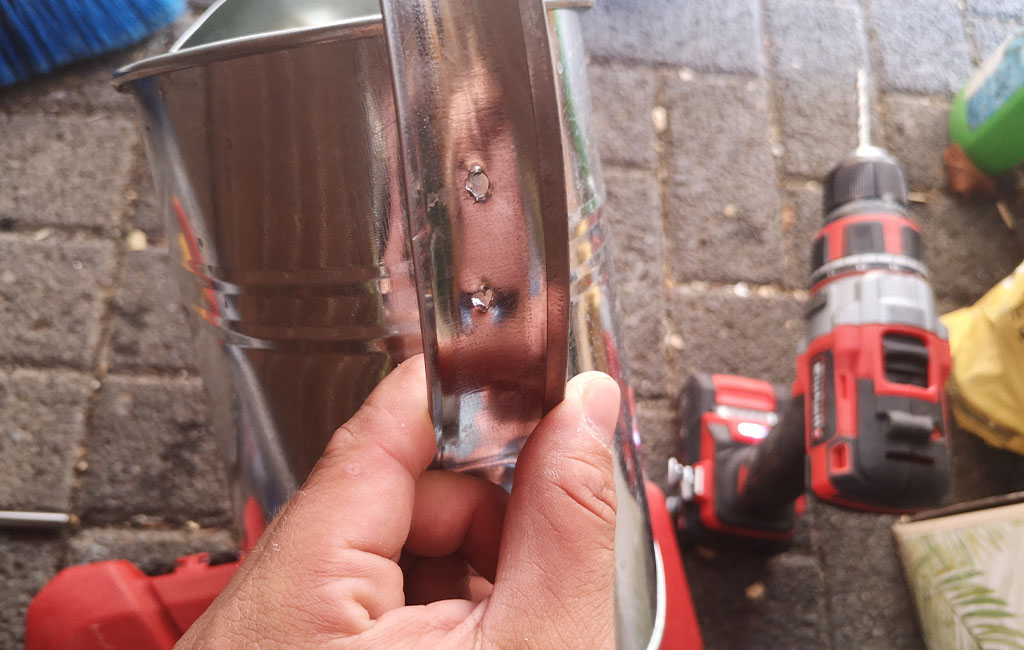
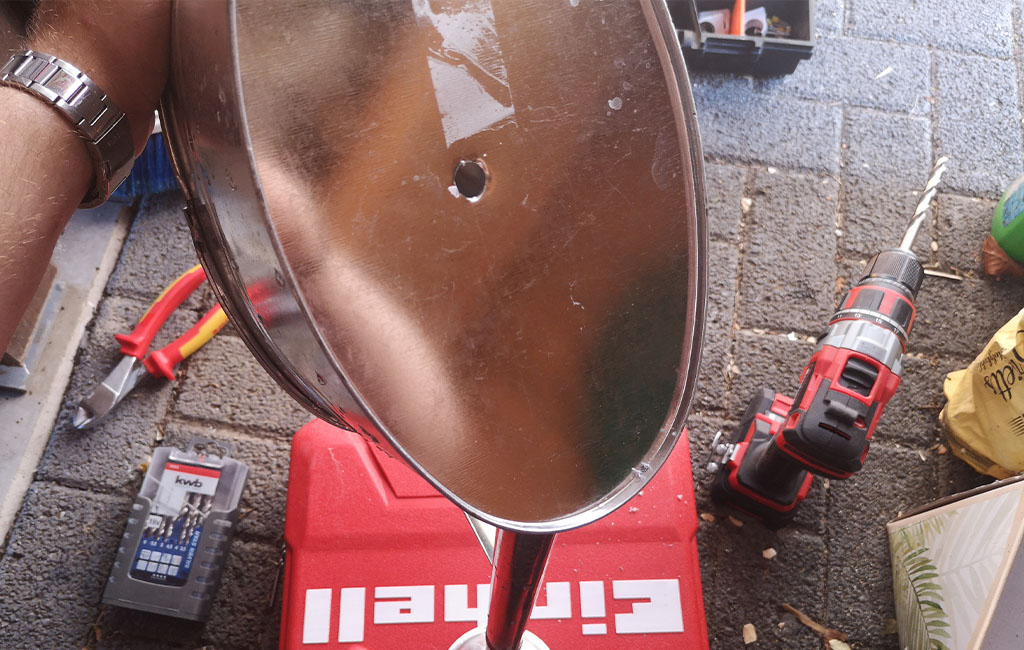
Drill two holes into the handle of the watering can using a 5 mm metal drill bit. Then attach it to the ladder using a 5 x 30 mm screw.
Next, drill a hole in the bottom of the watering can — just large enough for the hose to pass through. The size of the hole should match the diameter of your hose.
Now you can screw the watering can onto the top beam of the ladder. Once that’s done, run the hose from the barrel to the watering can along the back of the ladder. I use cable clips for this, which are secured with screws. The hose is then clamped into place.
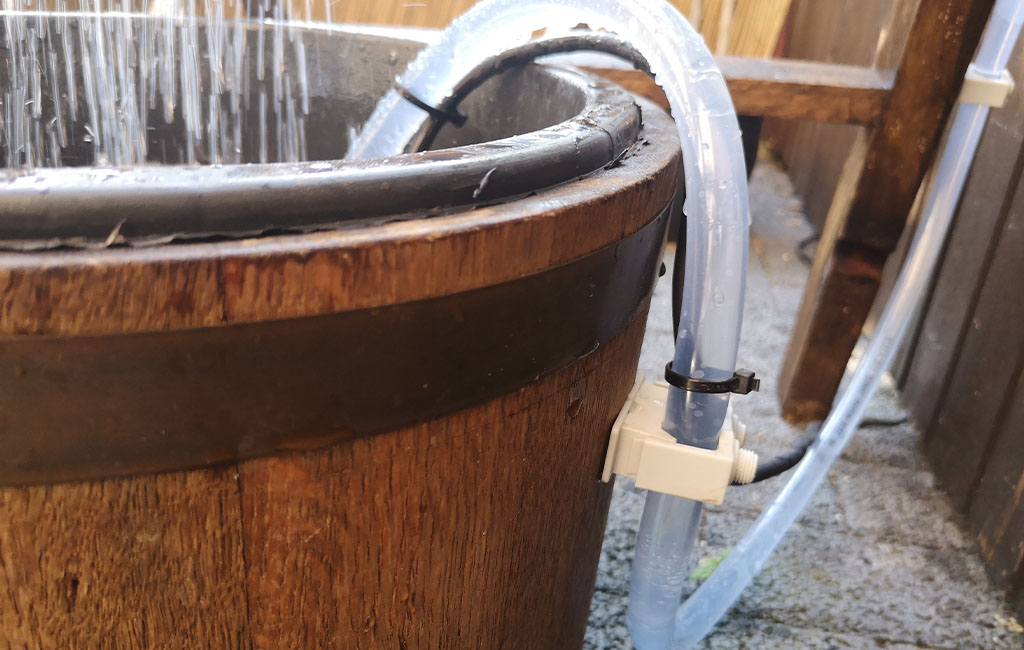
Place the pump into the bucket and connect the hose according to the manufacturer’s instructions. Now you can fill the bucket with water and switch on the pump. You can adjust the amount of water later if needed.
Add a few plants around it, and your water feature is complete—ready to bring lots of joy and a touch of tranquillity!
Tools Used
Here you’ll find the Einhell tools that were used during the build.

Product was added to the comparison list.
Product was removed from the comparison list.
Open comparison listIn this article you will learn all about:

Published on 18.06.2021
Tobias Peters is a passionate DIY enthusiast who shares a wide range of projects on Instagram @tobis_handcraft and his website tobis-handcraft.de – from furniture making and decoration to lighting design. Together with his partner Steffi, he is also renovating a 1950s country house. On the Einhell Blog, Tobi offers practical tips and step-by-step guides for creative home improvement projects.