


Homemade Wooden Mud Kitchen
DO IT YOURSELF
To give the kids space for outdoor play, @daniel_laqua decided a mud kitchen was a must. It’s the perfect place for children to whip up imaginative meals and bring small building ideas to life. A mud kitchen like this can be set up in virtually any garden or even on a balcony. As a DIY enthusiast, he naturally chose to build it himself – and the result speaks for itself! In this step-by-step guide, he explains exactly how he created this practical and creativity-boosting mud kitchen. Grab your tools and let’s get started!
The mud kitchen promises great fun for the little ones!
Tools and Materials
Tools
- Cordless stapler
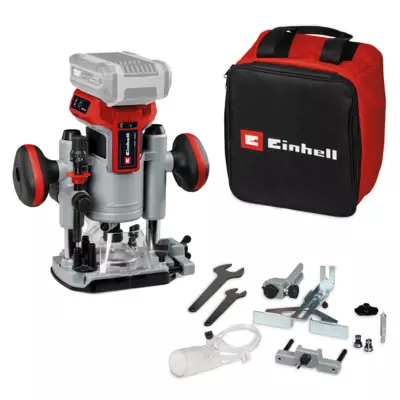
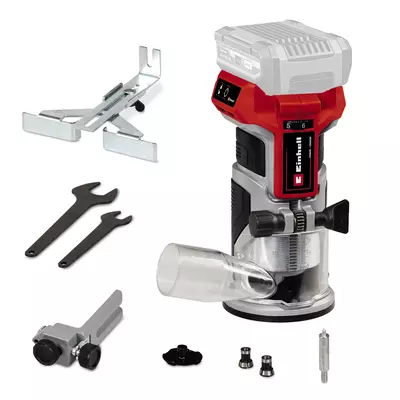
- Cordless router / edge router
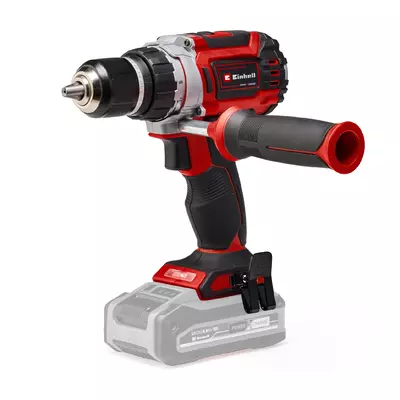
- Cordless drill/driver
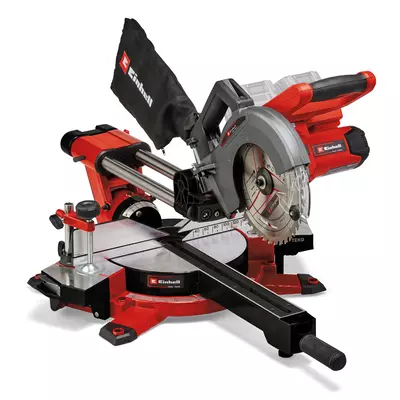
- Cordless sliding mitre saw
- Long ruler
- Pencil
- Clamps
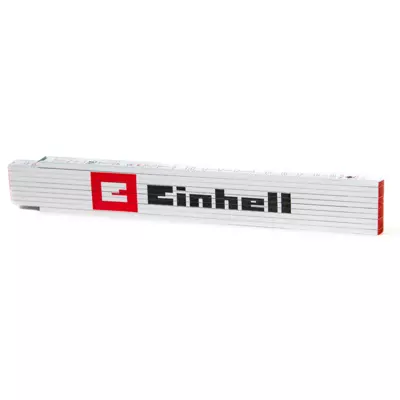
- Folding ruler
Materials
- 8x Spruce boards: 18 x 90 x 850 mm
- 6x Spruce boards: 18 x 90 x 2500 mm
- 1x Laminated wood panel (spruce/pine): 35 x 380 x 870 mm
- 2x Square timbers: 60 x 60 x 400 mm
- 2x Posts: 25 x 800 mm
- Wood screws: 5 x 40 mm
- Screws: 4 x 40 mm
- Bowl to be used as a sink
- Black wood varnish
Instructions: Building the Mud Kitchen
Before you get to work, you’ll need to define the dimensions of the mud kitchen. In our case, it has a base area of 38 x 87 cm. The back panel is 80 cm high. Of course, you can adjust the measurements to suit your preferences and your children’s needs. To add a splash of colour, you can paint the base frame with black wood varnish.
From the base frame to the finished mud kitchen for kids – we’ll show you how it’s done!
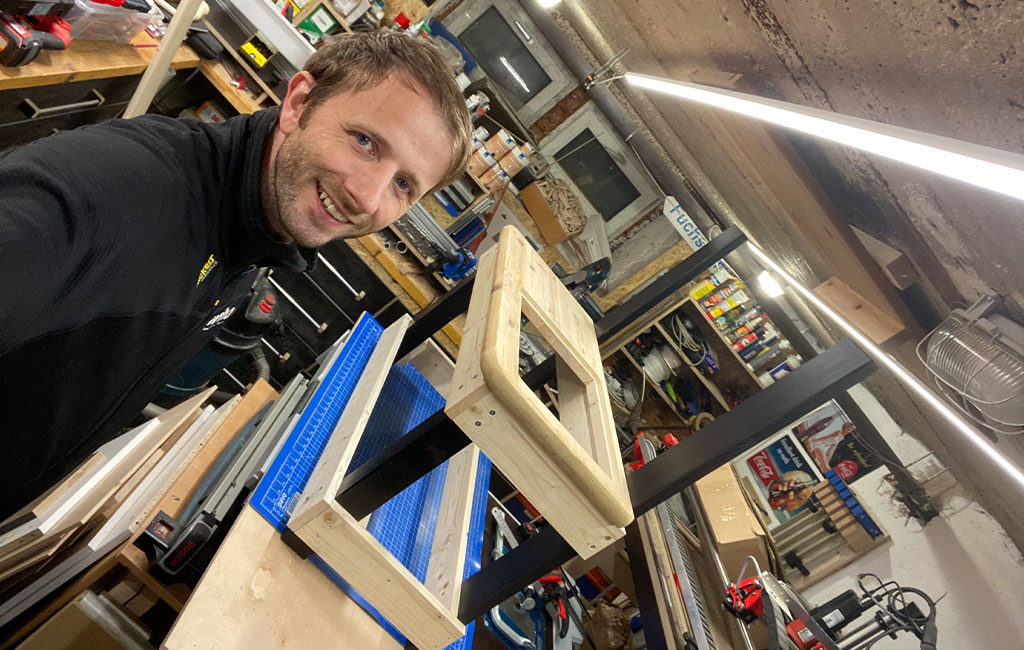
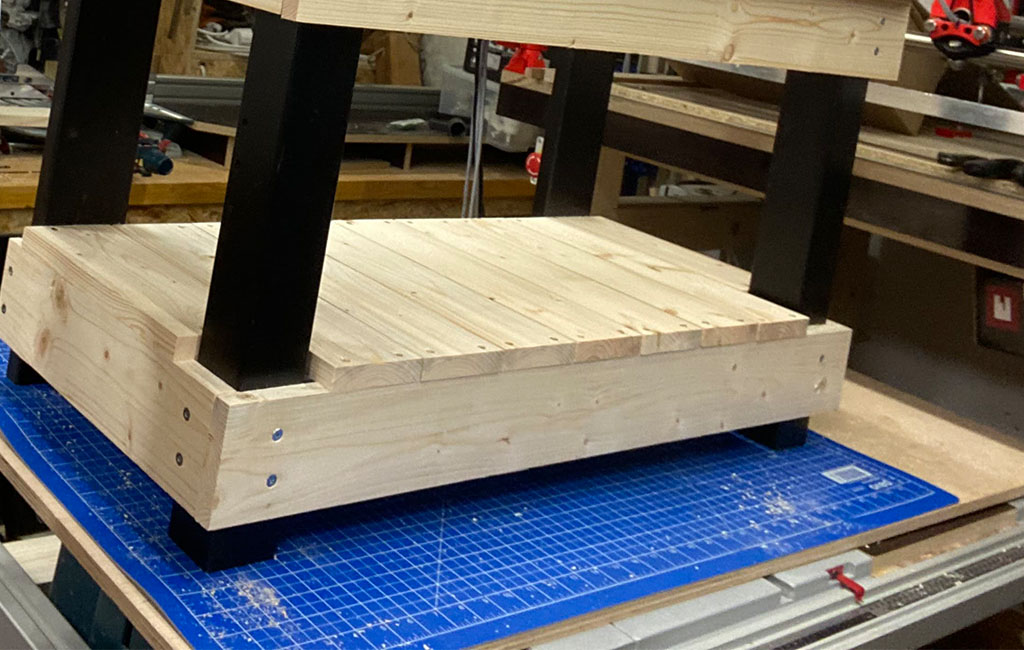
Step 1: Build the Base Frame
Start by cutting all the wooden parts for the mud kitchen’s base frame to the desired lengths. To position the frame correctly for assembly, place the 6 x 6 x 40 cm timbers at the front and the 2.5 x 9 x 80 cm timbers at the back. These longer timbers will later form the back panel. Make sure the timbers are spaced far enough apart to be covered by the four horizontal boards. Then clamp the boards a few centimetres above the ground to the table legs using clamps.
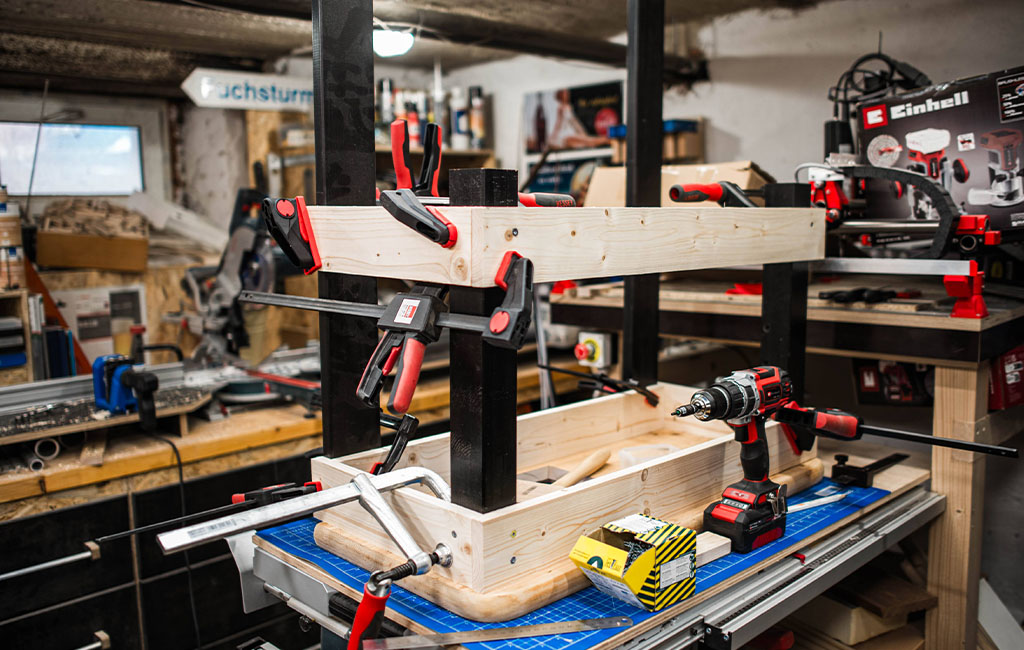
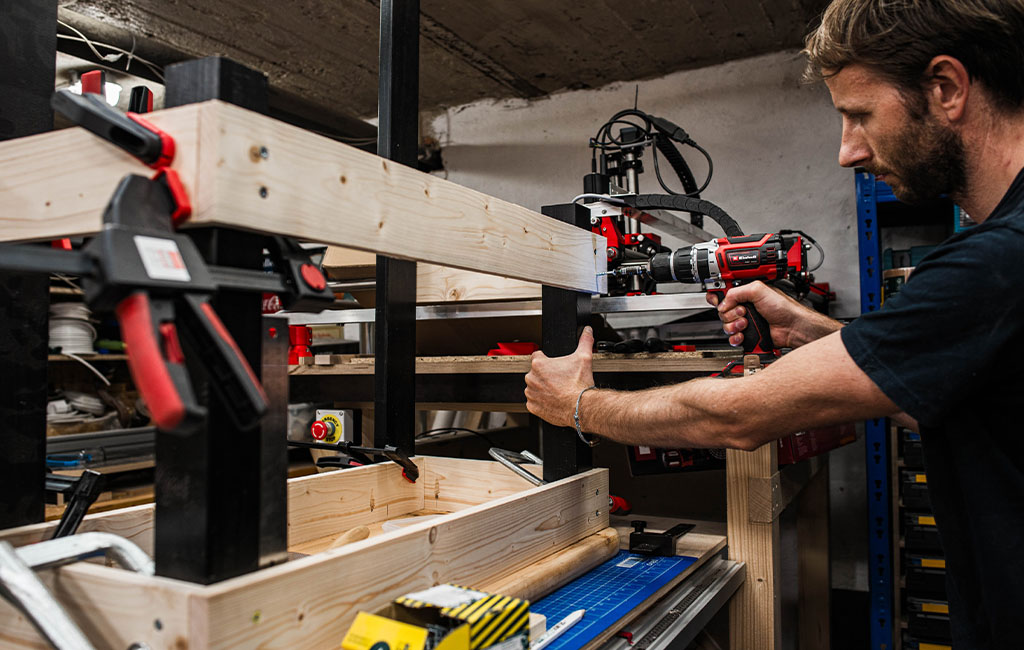
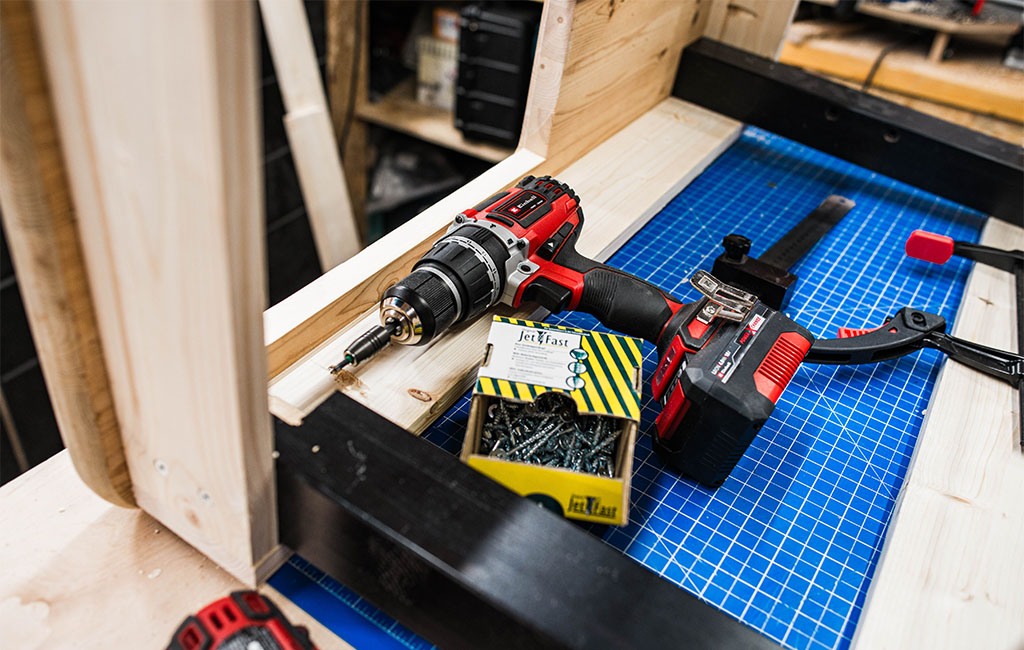
Next, take the cordless drill/driver and secure the outer cladding to stabilise the frame using two 5 x 40 mm wood screws on each side of the table legs. Once the cladding is in place, you can remove the clamps. Now repeat the same process a bit higher up, so that the worktop can later rest on the upper cladding.
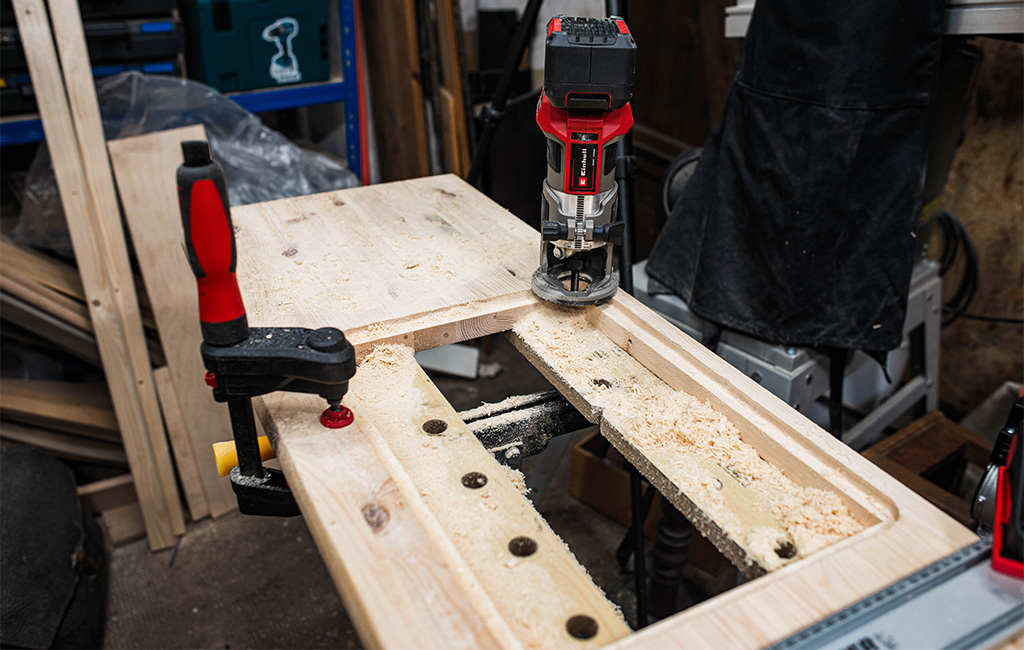
Step 2: Cutting the Worktop
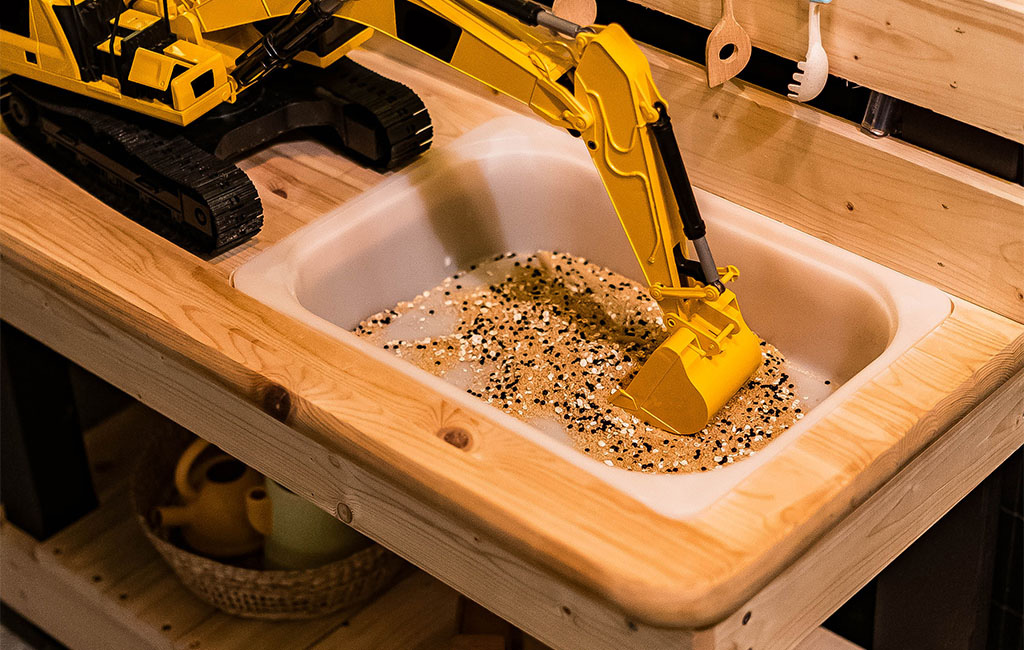
The worktop, made from a sturdy laminated wood panel, serves as the workspace in the mud kitchen for little explorers. First, cut the panel to the dimensions 3.5 x 38 x 87 cm. Then, round off the corners using the cordless edge router to eliminate any risk of injury. Next, place the bowl where the sink will later be, and trace its outline. Mark a second, smaller outline inside the first to define the edge that should remain after routing. Cut out the inner section. To ensure the bowl sits flush with the surface, route a groove around 10 mm deep. This keeps the bowl securely in place during play, while still allowing it to be removed if needed.

Step 3: Base Cladding
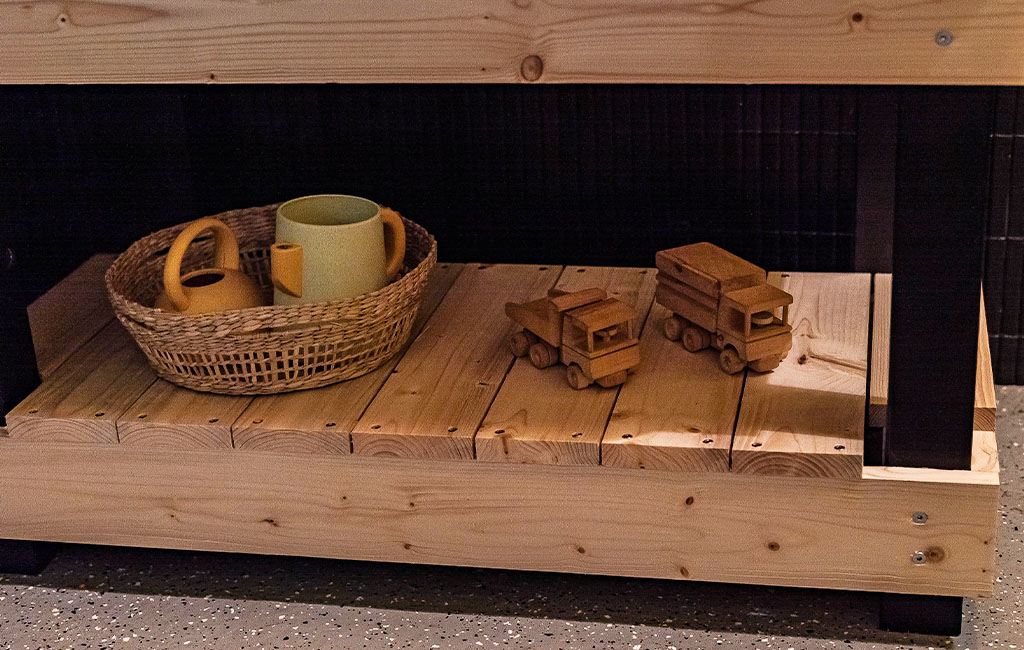
To create storage space later on, attach additional boards inside the frame beneath the outer cladding. Seven boards fit perfectly into the interior space, and the two outer boards should be cut to 29 cm to allow for the front table leg cut-outs. For added stability, secure the boards with additional screws from underneath.
Step 4: Attach the Worktop
Next, place the worktop onto the table legs and secure it using 4 x 40 mm screws.
Step 5: Cladding the Back Panel

To clad the back panel, attach the remaining wooden slats (1.8 x 90 x 85 cm) using the cordless stapler, securing each with two nails at the ends. These slats not only add stability but also serve a purpose: containers and utensils can later be hung from them.
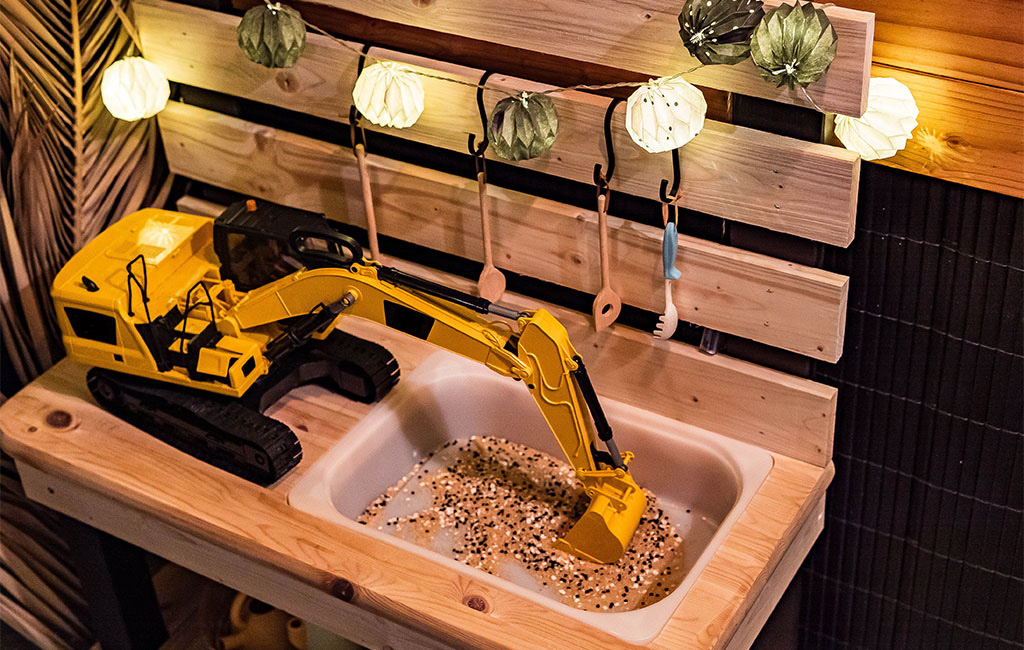
Step 6: Insert the Bowl as a Sink
Finally, insert the bowl to serve as the sink. It should sit flush with the worktop. From here, you can decorate the mud kitchen however you like – the possibilities are endless!
Result: Fun and Play in the Mud Kitchen
And there you have it – the modular table for our camper is complete. The table can be adjusted to various heights and mounted at different points on the vehicle, such as the front or rear. So no matter where or when you decide to take a cosy break in your camper – this table is the perfect place to relax, dine, and unwind!
Have fun building your own and enjoying delicious meals in the great outdoors!
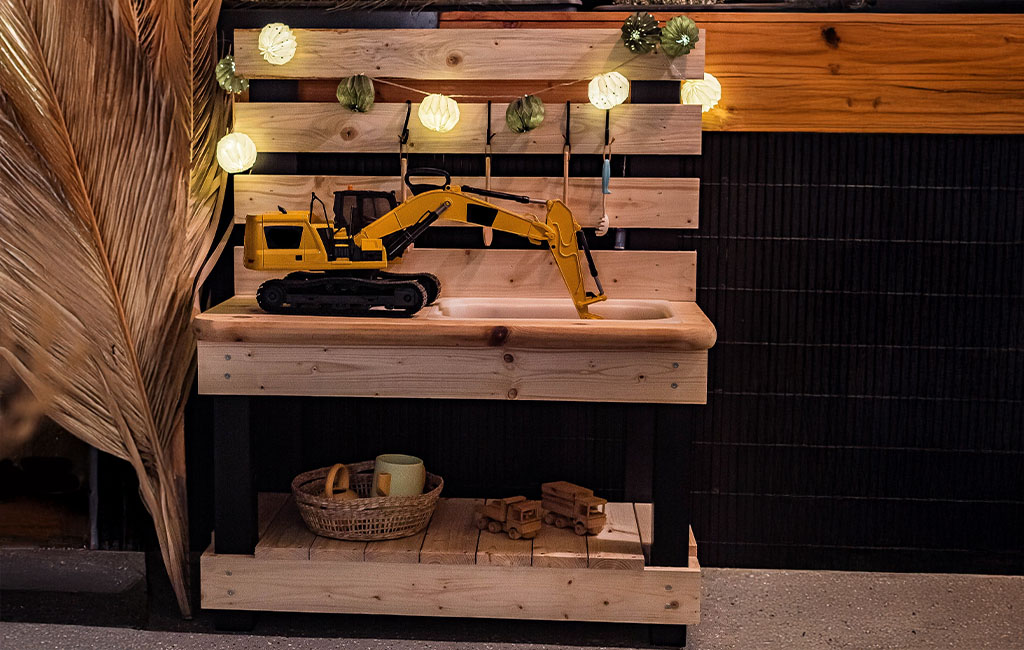
Whether in the garden or on the balcony – the mud kitchen is the perfect place for kids to play and explore.
Suitable Tools for the Project
Here you'll find Einhell tools and accessories that are perfect for bringing this DIY project to life.

Product was added to the comparison list.
Product was removed from the comparison list.
Open comparison listIn this article you will learn all about:

Published on 16.10.2023
From professional to professional: With their expertise in garden care, our garden specialists help you create your perfect green oasis. Daniel Laqua is a freelance blogger and a passionate hobby gardener. Whether it's lawn care, hedge trimming, or irrigation – in his blog posts, you'll find all the essential information about Einhell devices for the garden and terrace.