


Mobile Camping Box for Your Van
DO IT YOURSELF
What could be better than packing your bags, jumping into the van, hitting the road and switching off? To make sure you’re well equipped when it comes to food and drink, this DIY project lets you add a fully functional kitchen to your camper van – including a fridge, gas stove and sink – all in the form of a compact camping box. The best part? You can easily remove the box whenever you like and use your van as a regular vehicle again. So grab your Power X-Change tools and a few helping hands – and let’s get started!
Tools and Materials
Tools
- Cordless drill/driver
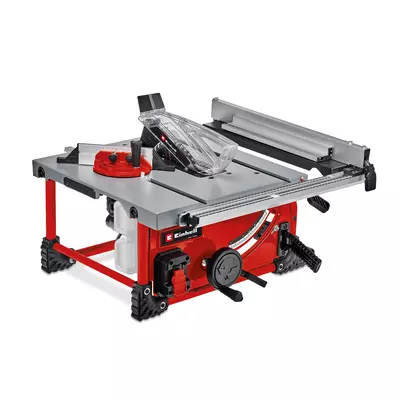
- Table Saws
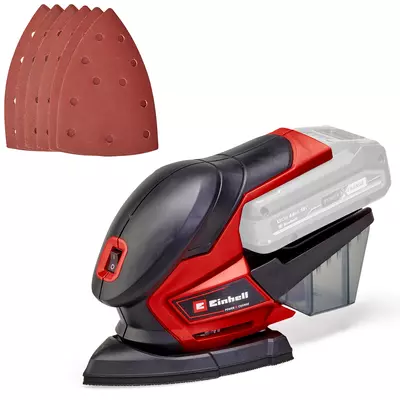
- Multi-sander
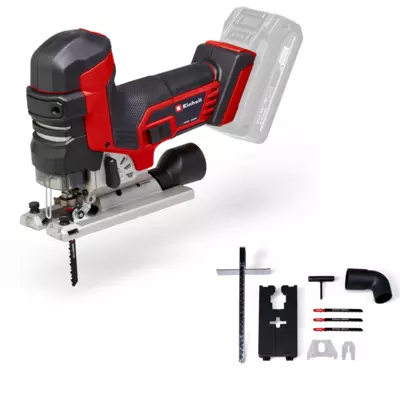
- Jigsaw with blades
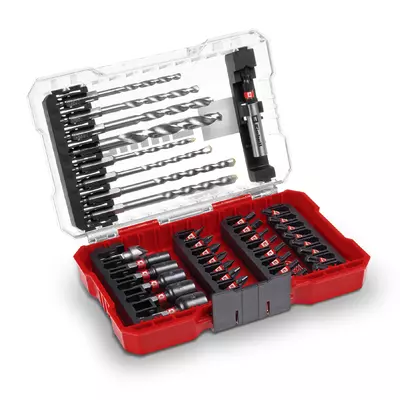
- HSS step drill bit, 32 mm
- Countersink bit
- Drill bits: 3 mm and 5 mm
- Screwdriver bits: PZ 1, PZ 2, TX 20
- Half-round file
- Spirit level
- Carpenter's square
Materials
- 1× Water canister: 25 L and 5.5 L
- 1× GN ½ container, 100 mm deep
- 1× Sink drain
- 1× Hose: 25 mm (1 m) and 9 mm (2 m)
- 1× 12 V water pump
- 1× Cable gland M25
- 1× Compressor cool box, 28 L
- 2× Full-extension drawer slides, 650 mm, 35 kg load
- 1× Full-extension drawer slide, 650 mm, 45 kg load
- 16 mm furniture board (multiplex)
- 1× MDF/HDF board, 8 mm (1 m²)
- Screws: 3.5 × 17 mm and 4 × 40 mm
- Chipboard screws: 6.0 × 40 mm
- Wood glue
- Multi-surface adhesive
- 1× Lashing strap, up to 350 kg (with GS mark)
- 1× Lashing strap, up to 100 kg (with GS mark)
- Magnetic catches
Proper Planning
This project focuses on a very special approach to camper conversion – one that doesn’t require a single screw to be permanently fixed to the van. This means the van can be used flexibly: as a camper or as a regular (family) vehicle. The camping box is completely removable and can be taken out easily whenever it’s not needed.
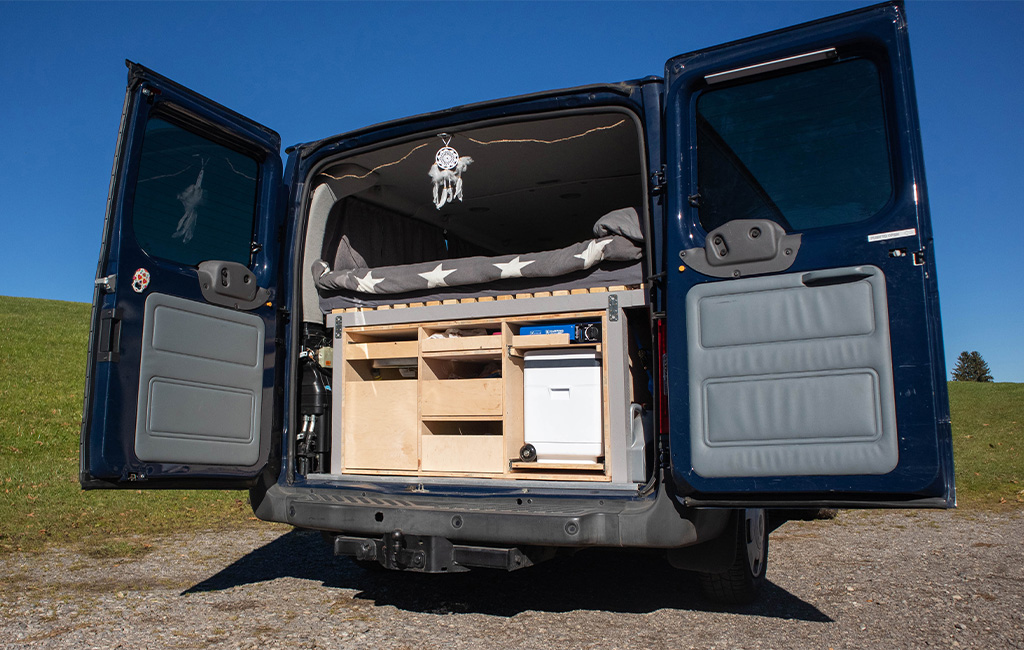
The mobile camping box combines storage space and a compact kitchen with a fridge, sink, and gas stove.
Step 1: Measuring the Available Space in the Van
Before starting the build or purchasing materials, we first need to check how much space is available for the camping box. It’s important to take note of any existing obstacles. In our case, this includes the mounting points for the third row of seats and the central bed support.
Step 2: Effective Planning Using a 3D Model
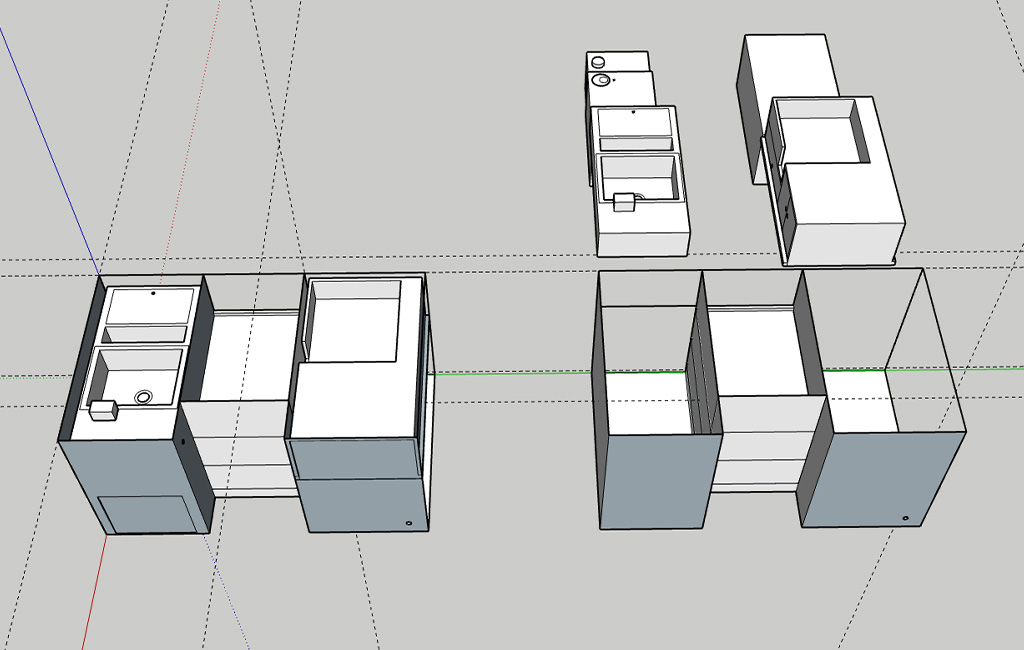
Once all the necessary measurements have been taken, we can determine how large the furniture can be – and, most importantly, what materials should be used to calculate the quantities needed. Creating a simple 3D model can be very helpful here. It provides a clear visual idea of what the camping box will look like and helps identify potential issues or obstacles early on. The box is designed to consist of three compartments and will include a gas stove, a cool box, and a sink.
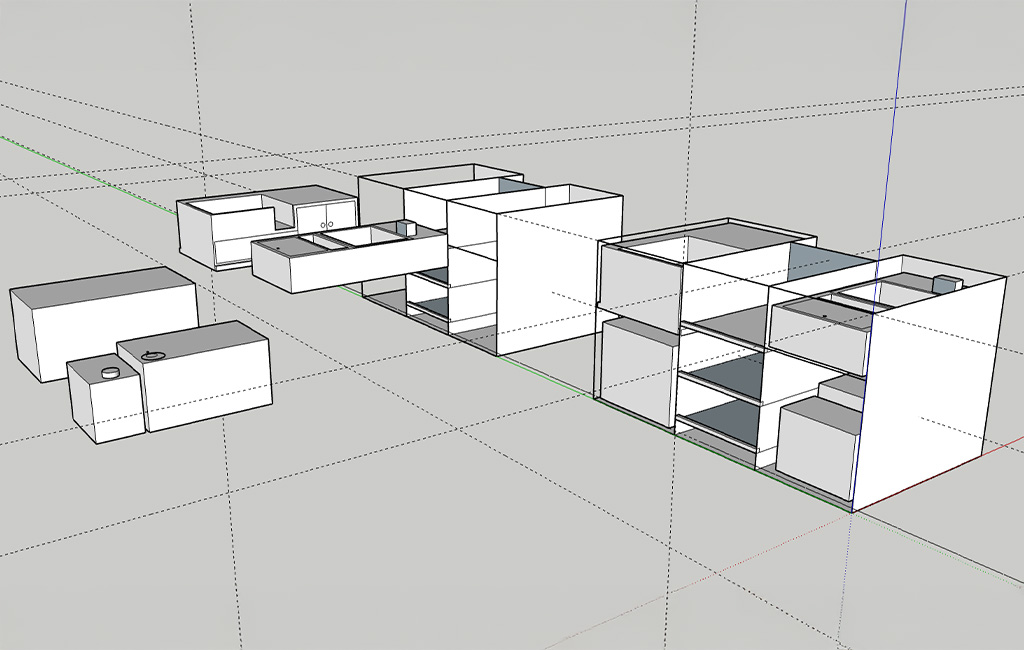
Step 3: Choosing the Right Materials
This build relies primarily on wood. We opted for 16 mm thick blockboard panels, as we needed components that are both lightweight and durable. The material also had to be moisture-resistant and offer a solid base for securely fastening screws.
Instructions: Building the Camping Box
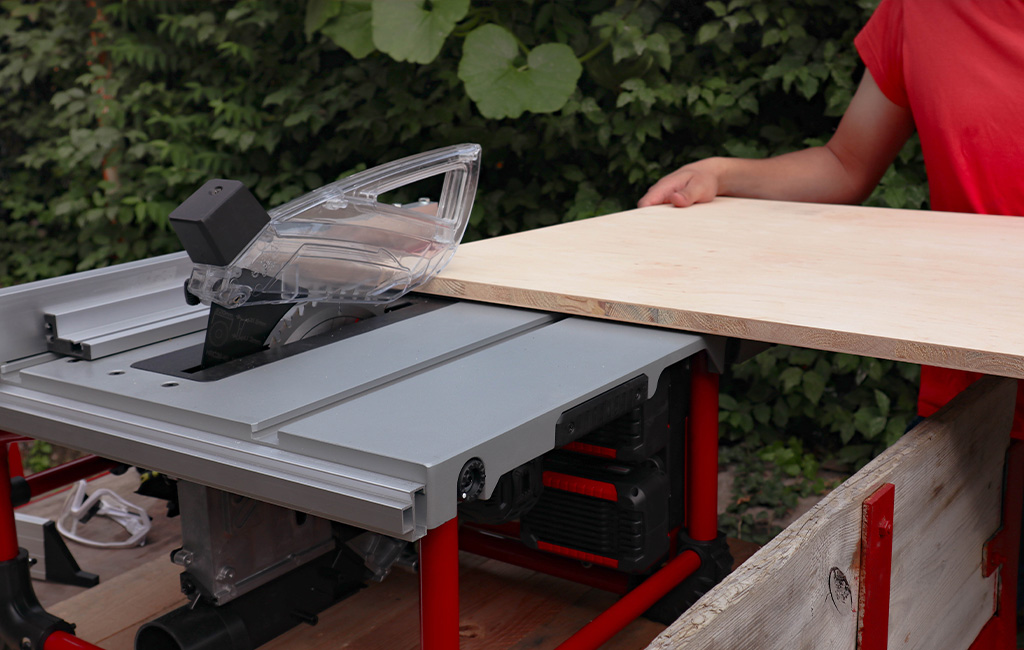
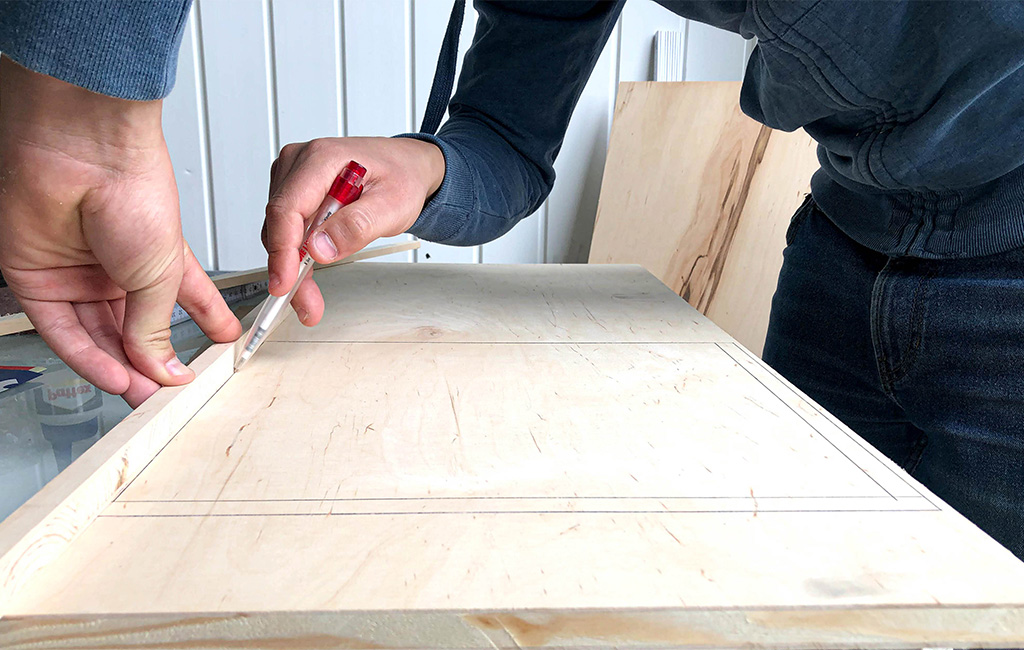
Step 1: Cutting and Sanding the Wooden Pieces
Once the design is finalised, it’s time to cut and sand the various wooden parts needed for the basic structure. The dimensions will depend on the interior width of your van and the height you want for your camping box.
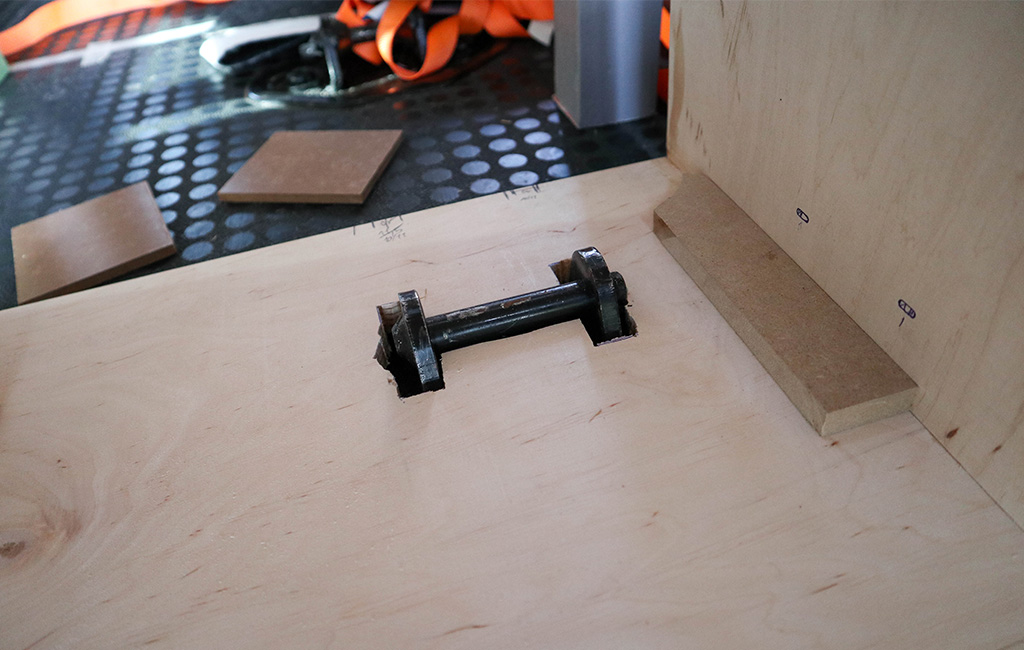
Cut two H-shaped openings into the bottom panel. These allow the box to slot into the seat anchor points inside the van. It’s important to make these cuts as precisely as possible so that the camping box sits securely and doesn’t move or shift while driving.
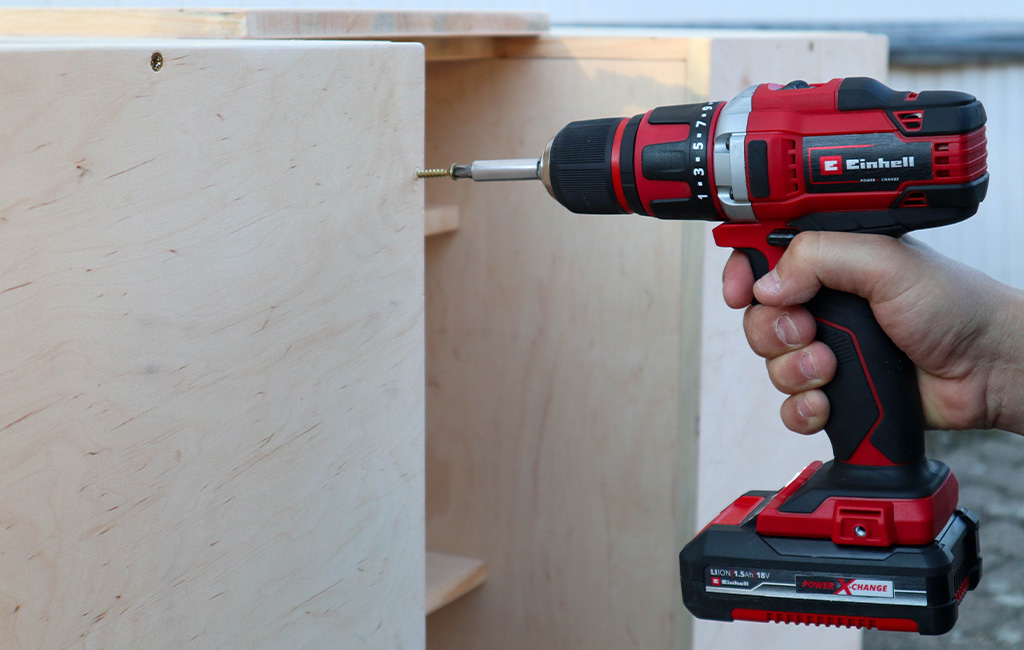
Step 2: Apply Wood Glue and Drill Pilot Holes
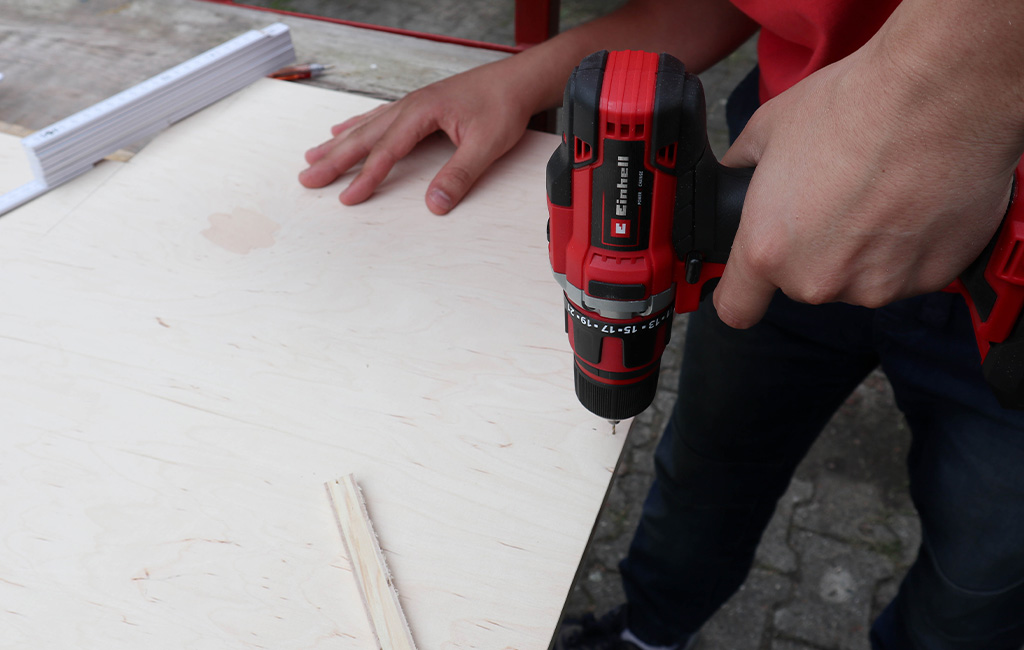
Once the wooden parts have been cut and sanded, we begin assembling the structure. Start by drilling small pilot holes (about 2–3 mm) to prevent the 16 mm thick wood from cracking or splitting during assembly. Next, apply wood glue to the joints and screw the pieces together securely.
Step 3: Adding the Dividers
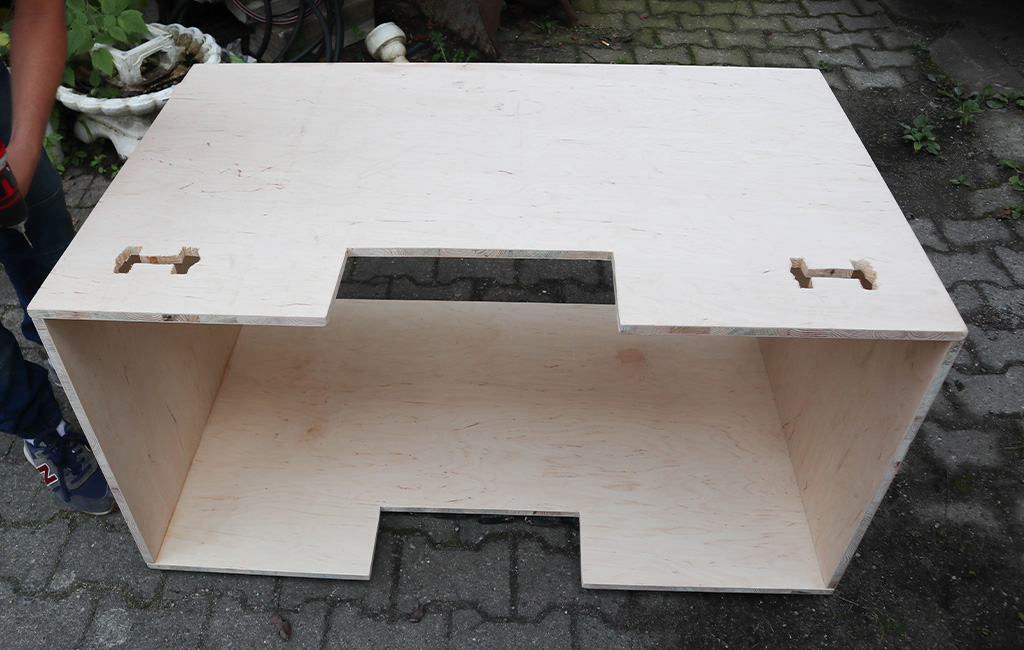
After constructing the rectangular base of the camping box, we move on to adding the two interior dividers needed to create the three separate compartments. Carefully measure the spacing to ensure the dividers are evenly positioned and fit neatly into the structure. Once everything is correctly aligned, drill the pilot holes again, apply wood glue to the contact points, and screw the dividers securely into place.
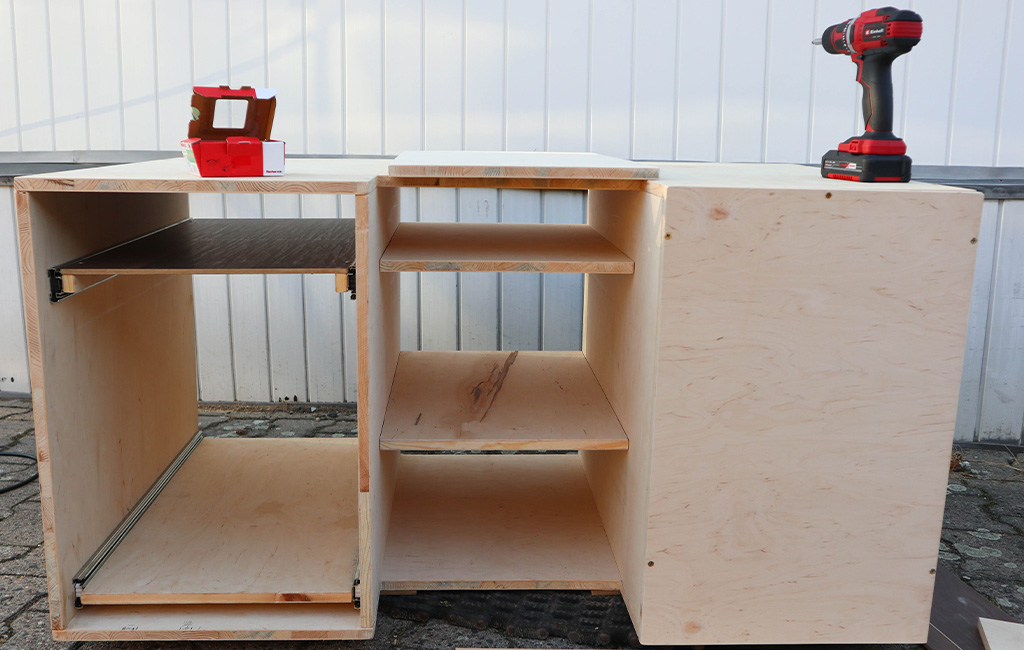
Step 4: Installing the Sliding Systems
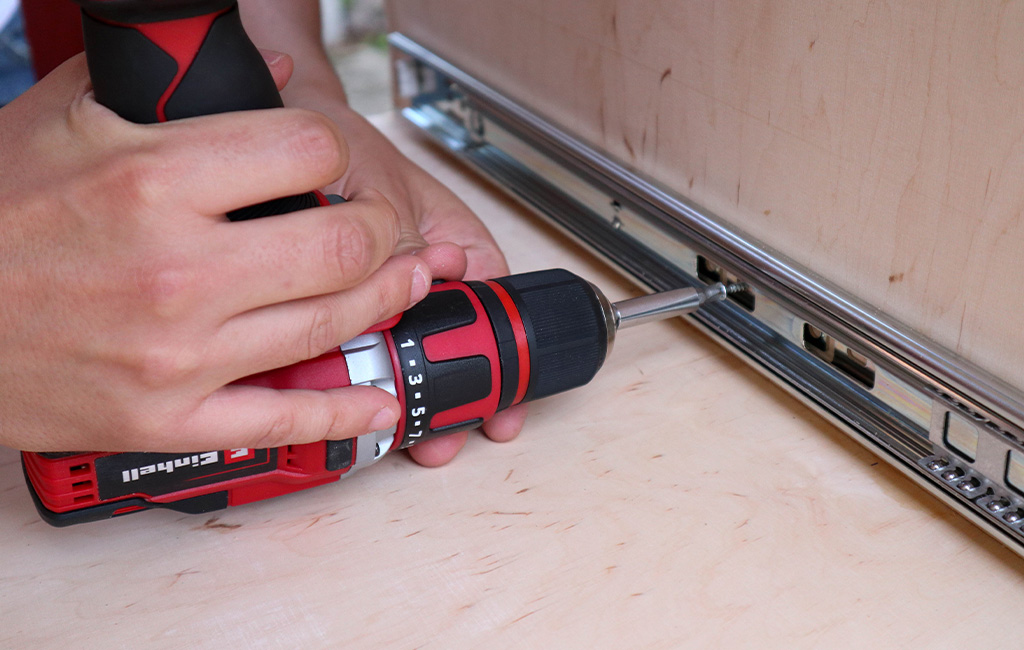
Next, measure the height at which you want to install the three sliding systems. In this build, we’re using two slides with a load capacity of up to 35 kg and one with a capacity of up to 45 kg. Since it’s essential for the slides to be both robust and stable – especially with the constant movement of the vehicle – we’re using full-extension runners with a high load rating. Both slide types come with an integrated brake, eliminating the need for an additional locking mechanism.
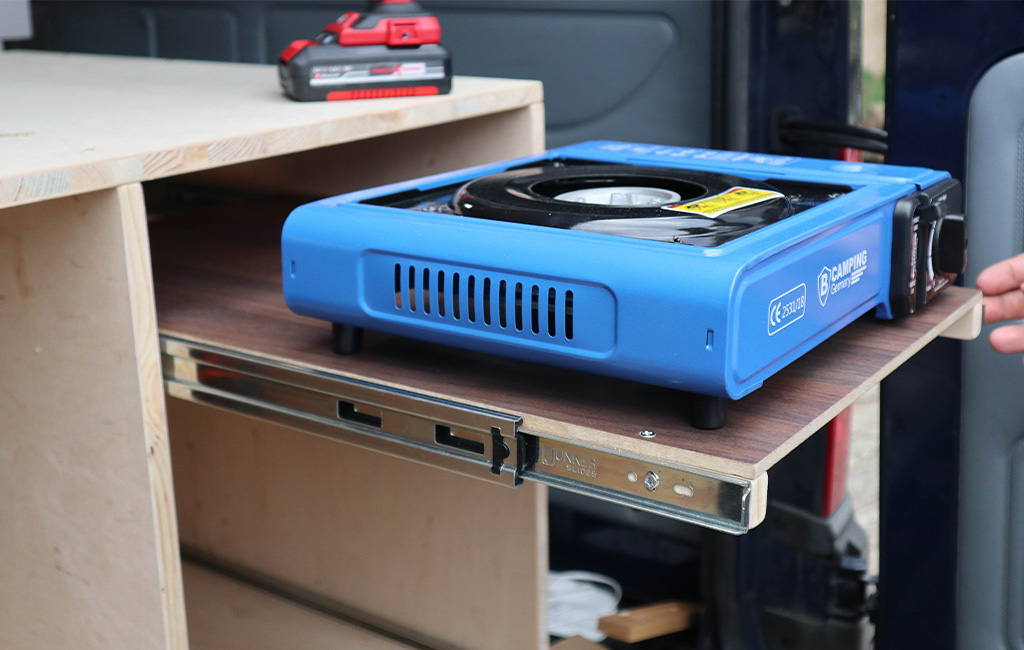
Step 5: Installing the Gas Stove
For the section where the gas stove will sit, we chose an 8 mm MDF/HDF board. It’s not only very sturdy, but also gives us nearly an extra centimetre of space. While the change in material slightly affects the visual consistency of the furniture, we stuck with this option because the thinner board allows more flexibility when positioning the cool box.
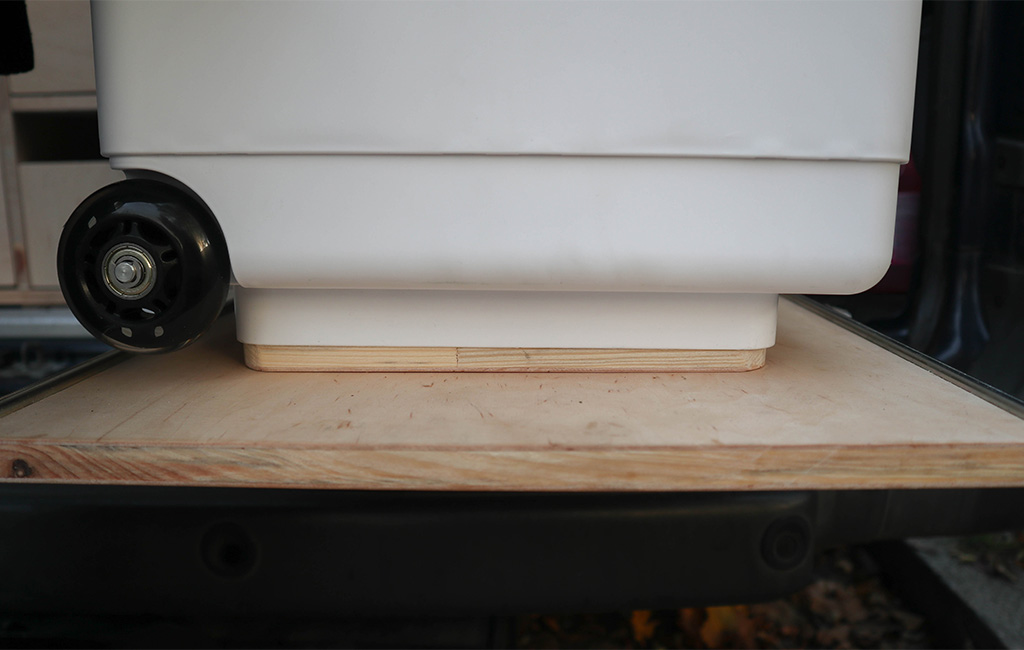
Step 6: Securing the Cool Box
To secure the cool box, we’ll cut a few custom wooden pieces to fit snugly beneath the fridge’s feet. The goal is for the fridge to sit firmly in place without any play or movement in any direction – while still allowing it to be removed if needed, for example to place it outside at a campsite with a power connection.
Step 7: Installing the Sink
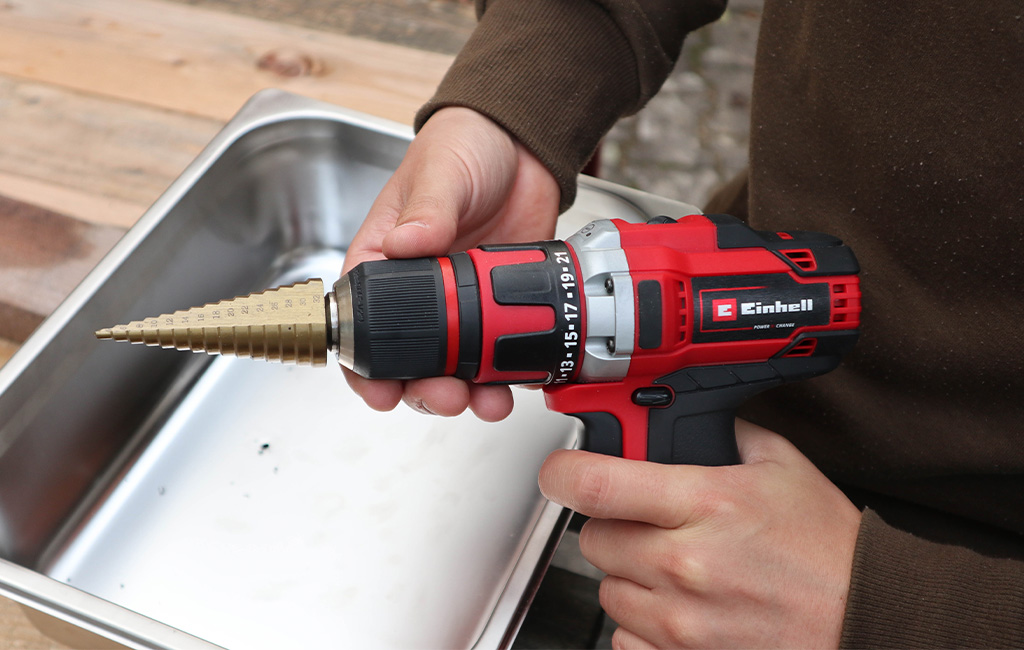
Now it’s time to install the sink. First, drill two holes into the wooden panel – one rectangular cut-out for the sink itself, and one round hole for the tap. You’ll also need to drill a hole in the metal container to fit the drain. Make sure this container is made of stainless steel.
For drilling metal, use an HSS step drill bit. It’s important to avoid overheating the bit, so drill with firm pressure at a low speed. Afterwards, use a file to remove any burrs, then screw in the drain fitting. Before gluing the sink in place with multi-surface adhesive, clean both the sink and the surface where it will sit. Let everything dry for 24 hours – and you're done!
Step 8: Installing the Tap
In the meantime, you can install the tap. Simply insert it through the pre-drilled hole and tighten the nut underneath. The electrical wiring and hose connections will be handled by a professional later on, allowing you to focus on the remaining tasks more comfortably.
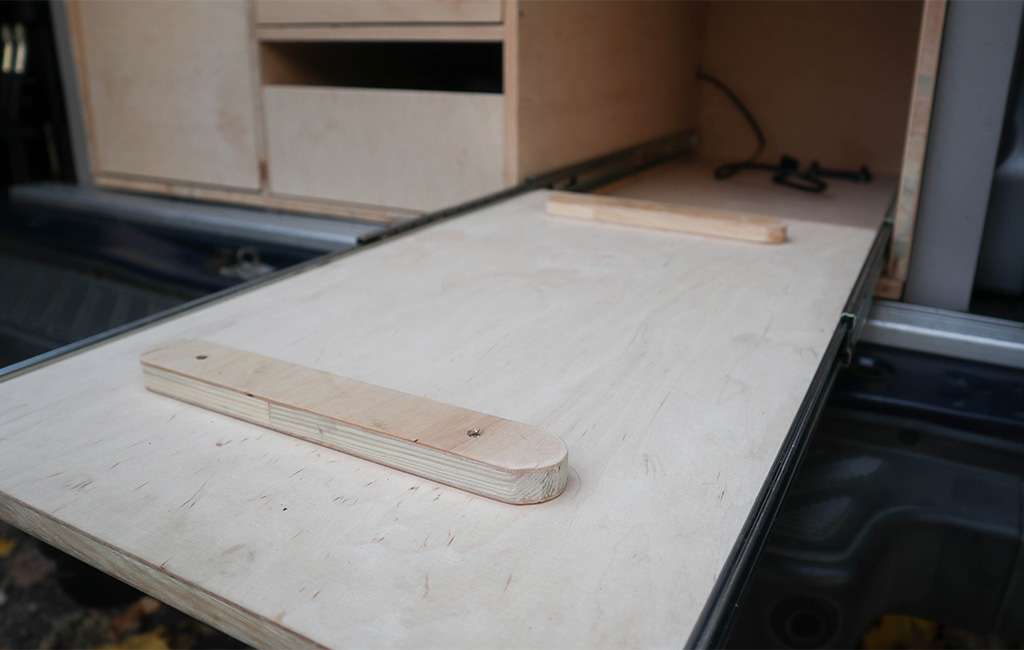
Step 9: Adding the Back Panels
With the two vertical dividers and sliding systems installed, it’s now time to position the two shelves for the centre compartment. To make this step easier, remove the drawers from the rails and reinstall them once the structure is complete. Finally, close off the back of the camping box using 16 mm panels. This gives the box additional stability and strength.
Step 10: Installing the Cabinet Flaps
To ensure that all items inside the cabinet stay in place, we add small flaps. These are mounted using chipboard screws on the left and right sides, acting as pivot points. Magnetic catches are used so the flaps can simply be pulled open without the need for locks.

Step 11: Installing the Fold-Out Flap Stays
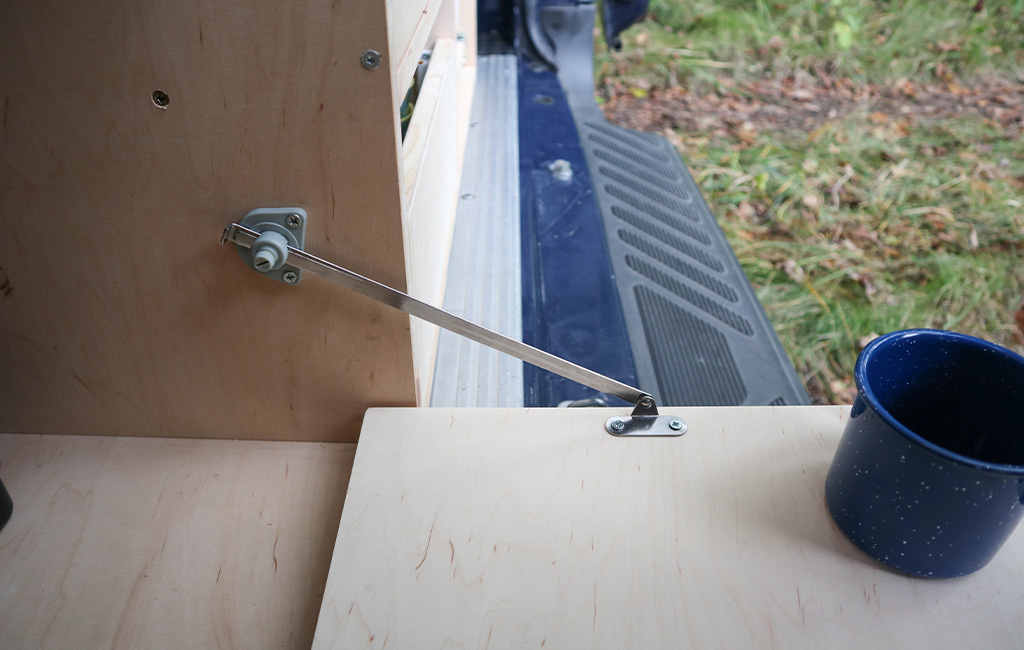
On the flap that covers the water compartment, we install a fold-out stay with an adjustable angle. This allows the flap to double as a small table for placing plates, glasses, or other items. The system allows you to adjust the tilt, ensuring you always have a level surface to work with.
Step 12: Installing the Waste Water Tank
Next, we place anti-slip mats over the gaps in the unit. These help keep items in place, reduce noise when placing objects down, and protect the wood from wear. Then, we drill a 25 mm hole into the waste water tank for drainage. In the fresh water tank, we drill three holes in total: two for the M25 cable glands and one 4 mm hole for the water pump cable. We feed the cable through the hole and seal it with a bit of silicone.

Step 13: Connecting the Water System
Next, we connect the two 9 mm hoses through the cable gland. One hose links the tap to the pump, the other serves as the fill line. A small electrical installation is also required here, which will be carried out by a professional at the end – to safely connect the water pump and the tap. For this, we recommend using a rotary switch that activates the system when turned to the right, allowing you to control both voltage and water pressure.
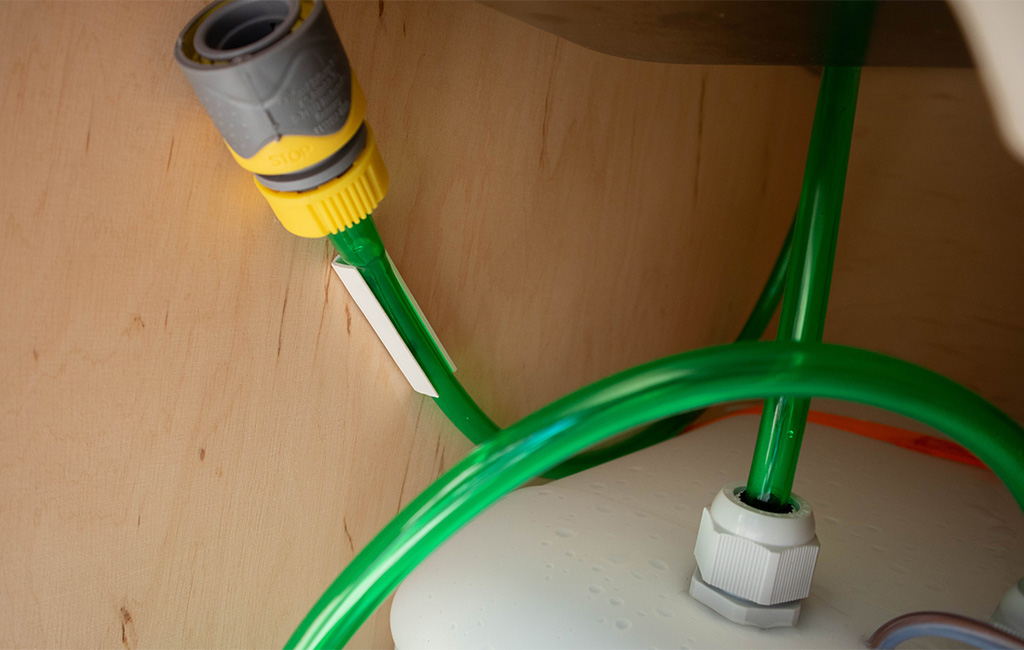
The fill hose ends in a hose connector with a water stop. This prevents water from leaking out when there’s no pressure. We mount the hose using a piece of cable duct, which we screw to the wall at a slight upward angle so that any remaining water doesn’t drip onto the wood.
Step 14: Installing the Camping Box in the Van
Once all construction is complete, it’s time to place the camping box in the van. No tools are needed for installation, as the box isn’t permanently fixed. It’s simply transported like any other load – which means it must be properly secured.
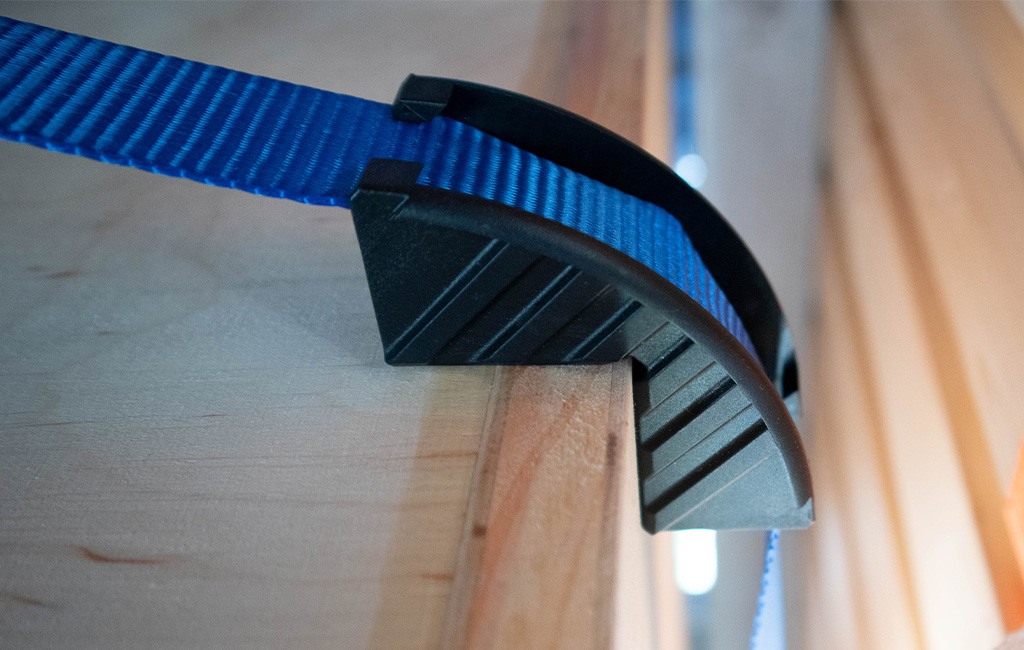
Place the box in the van so that it fits into the seat anchor points. To protect the van and the strap, add rubber edge protection where the lashing strap will be mounted. It’s important that the strap is certified and rated for a higher load than the box itself, as it will also be holding dishes, equipment and more. We used a strap with a load capacity of up to 350 kg.
Step 15: Final Touches
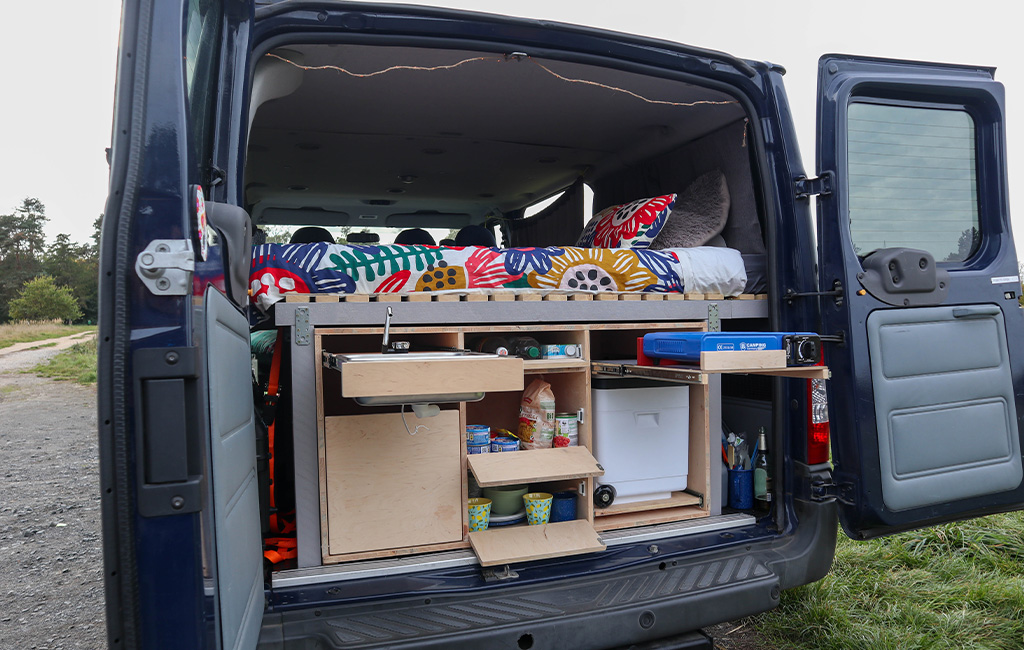
With the camping box strapped into the van, it's time to connect the cool box and water system. Run the cables through the previously drilled holes and plug everything into a 12V socket. Now your camping box is fully equipped – ready for unforgettable moments in your mini camper!
Result: Flexibility Thanks to the Mobile Camping Box
With a mobile camping box, your van transforms into a flexible camper in no time – and still remains fully functional for everyday use. The box can be installed and removed quickly, making spontaneous adventures a breeze. With an integrated gas stove, fridge, and sink, you’ve got everything you need on the road – compact, practical, and perfect for any vanlife project.
We wish you lots of fun building your own – and remember: Say YES to new adventures!
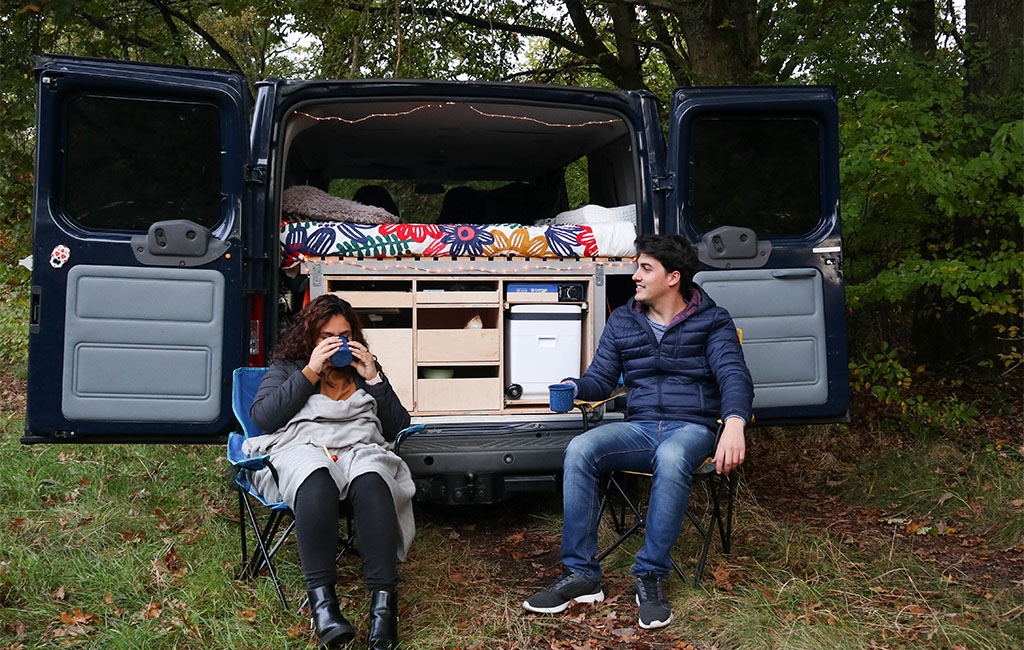
Need a quick getaway after work? No problem with the mobile camping box!
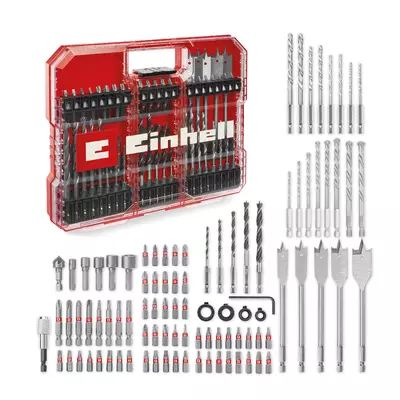
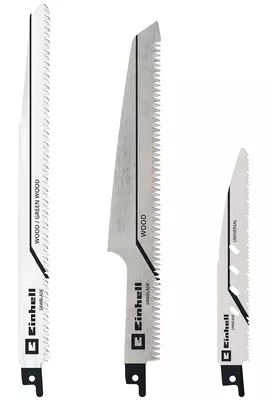
Suitable Tools for the Project
Here you'll find Einhell tools and accessories that are perfect for bringing this DIY project to life.

Product was added to the comparison list.
Product was removed from the comparison list.
Open comparison listIn this article you will learn all about:

Published on 28.04.2022
Alejandro Ruiz is a freelance blogger and passionate DIY enthusiast. Whether it’s practical camping solutions or creative crafting ideas – in his blog posts, he shows how you can bring your projects to life using the right Einhell tools. With clear step-by-step instructions, every idea quickly becomes a DIY success.