


Garden Chair
DO IT YOURSELF
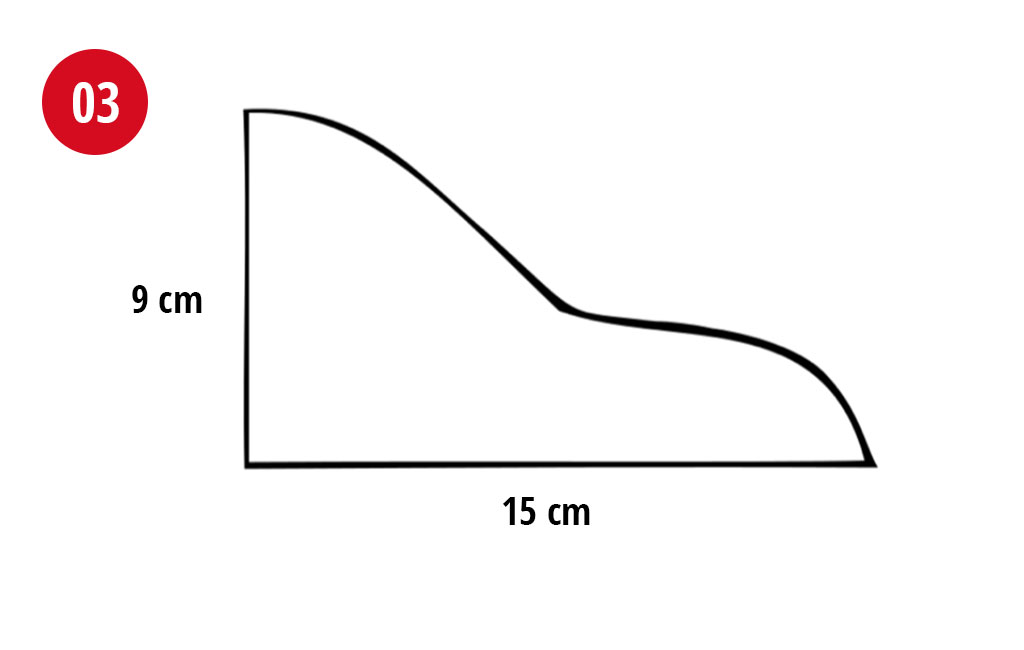
As soon as the weather allows, do you prefer spending time outdoors? How about a matching reclining chair? The “Adirondack Chair” combines the benefits of a lounger and a chair thanks to its unique design. We’ve got the instructions for this classic American garden chair – including all the tools and materials you’ll need.
In this article, we’ll show you how to build your own garden chair in the Adirondack style.
Tools & Materials
Tools
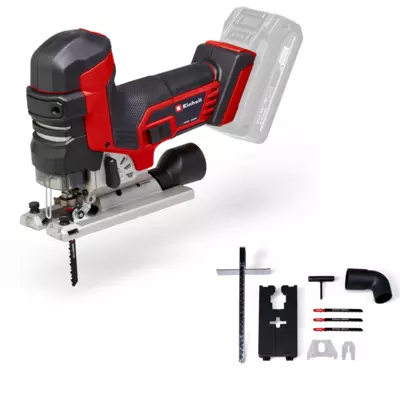
- Jigsaw
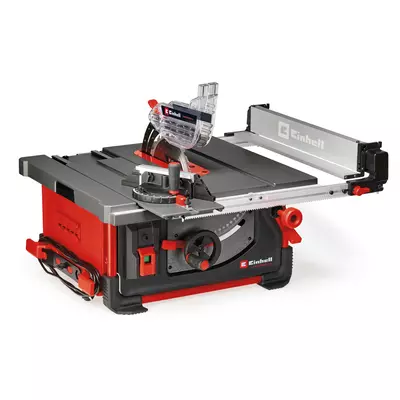
- Circular saw
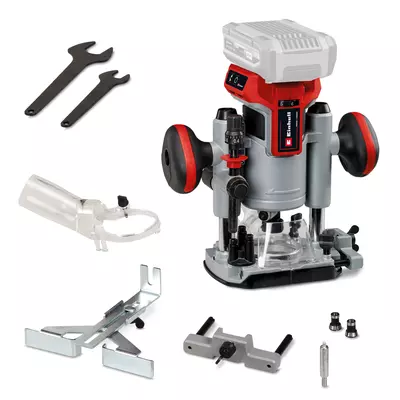
- Router
- Cordless screwdriver
- Drill (3.5 mm)
- Clamps
- Sandpaper
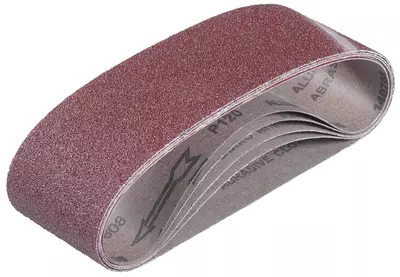
- Belt sander
Materials
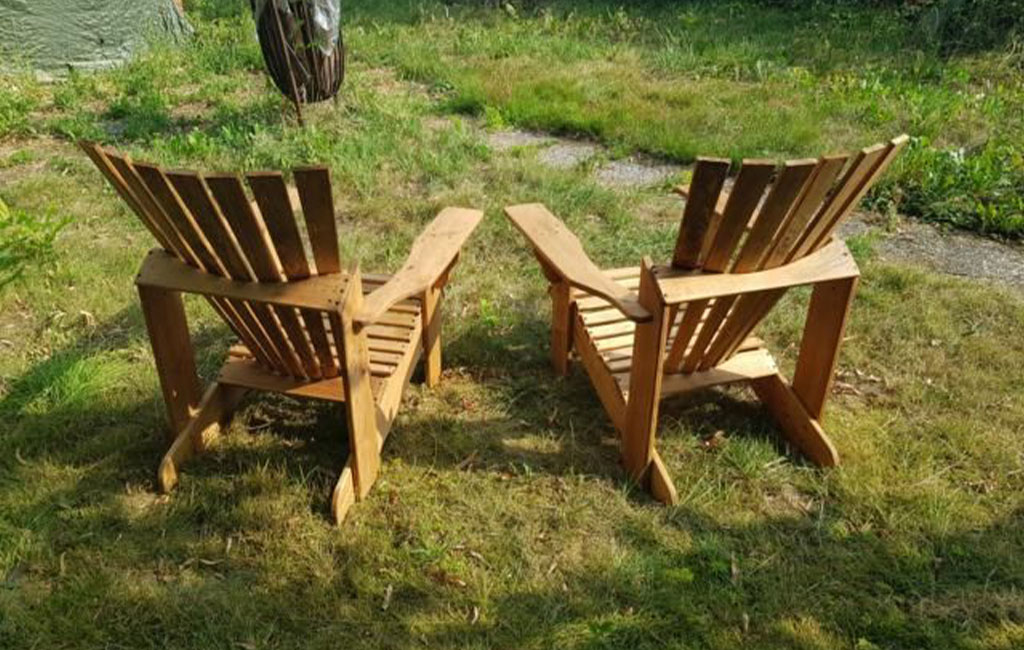
- 2x Side panels 950 x 130 x 20 mm
- 2x Front legs 510 x 130 x 20 mm
- 2x Back legs 650 x 130 x 20 mm
- 1x Front cross brace 510 x 90 x 15 mm
- 1x Rear cross brace 140 x 90 x 15 mm
- 1x Lower backrest support 510 x 90 x 15 mm
- 1x Upper backrest support 560 x 115 x 15 mm
- 7x Backrest slats 810 x 72 x 15 mm
- 12x Seat slats 510 x 38 x 15 mm
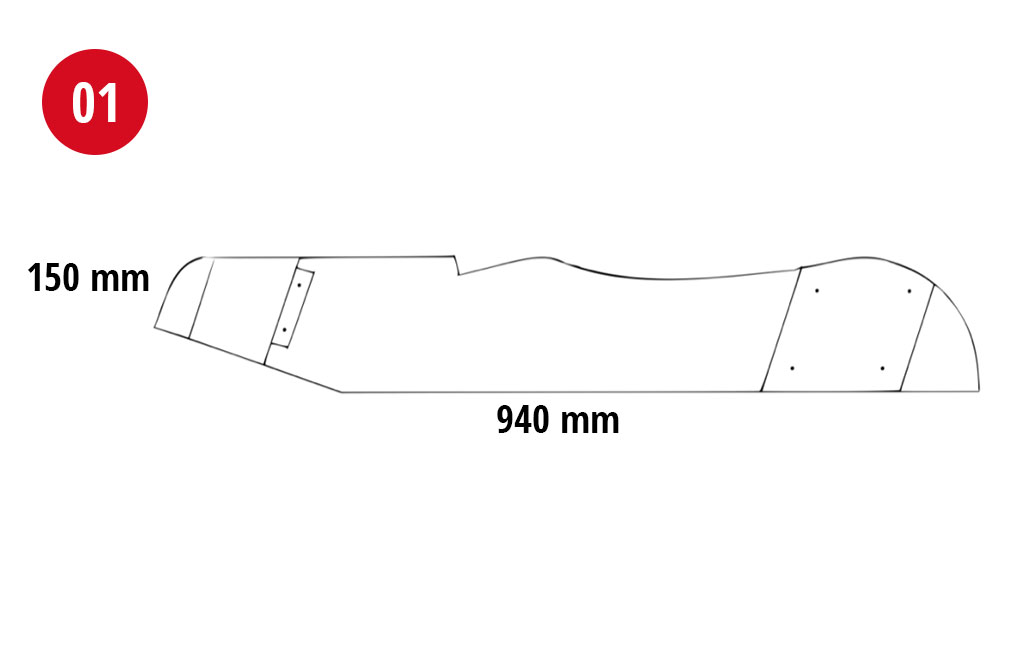
- 2x Armrests 900 x 130 x 20 mm
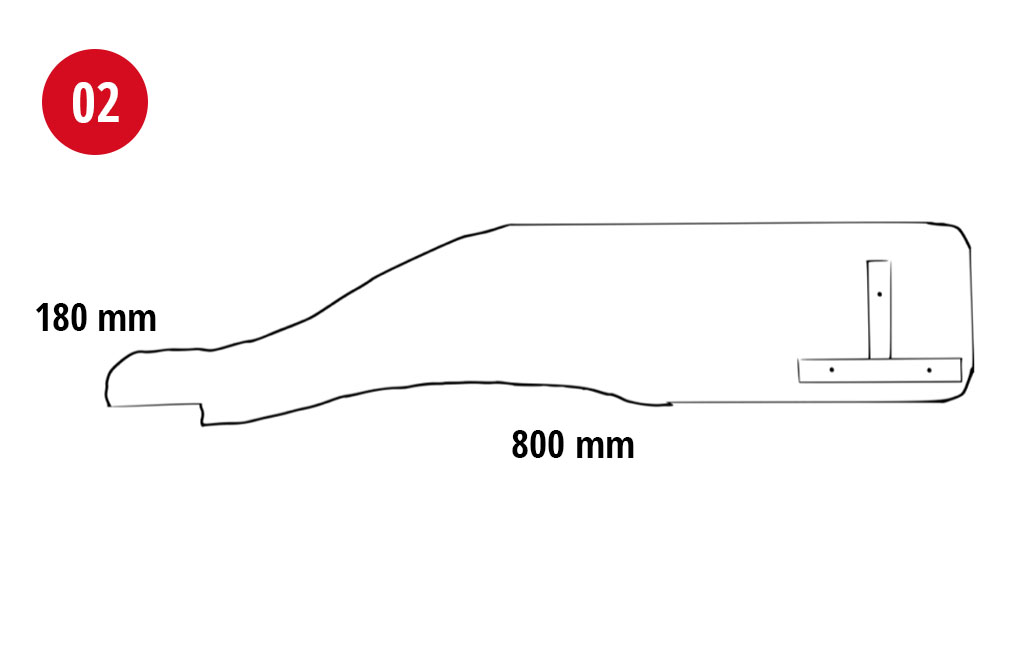
- 2x Supports 150 x 90 x 15 mm
- Screws, 40 mm – approx. 70 pieces
- Weather-resistant wood stain
Building the Garden Chair
Step 1: Cutting to Size
- First, you’ll need to cut the boards to length using a jigsaw or circular saw. Then, mark the shape of the seat on the side panels.
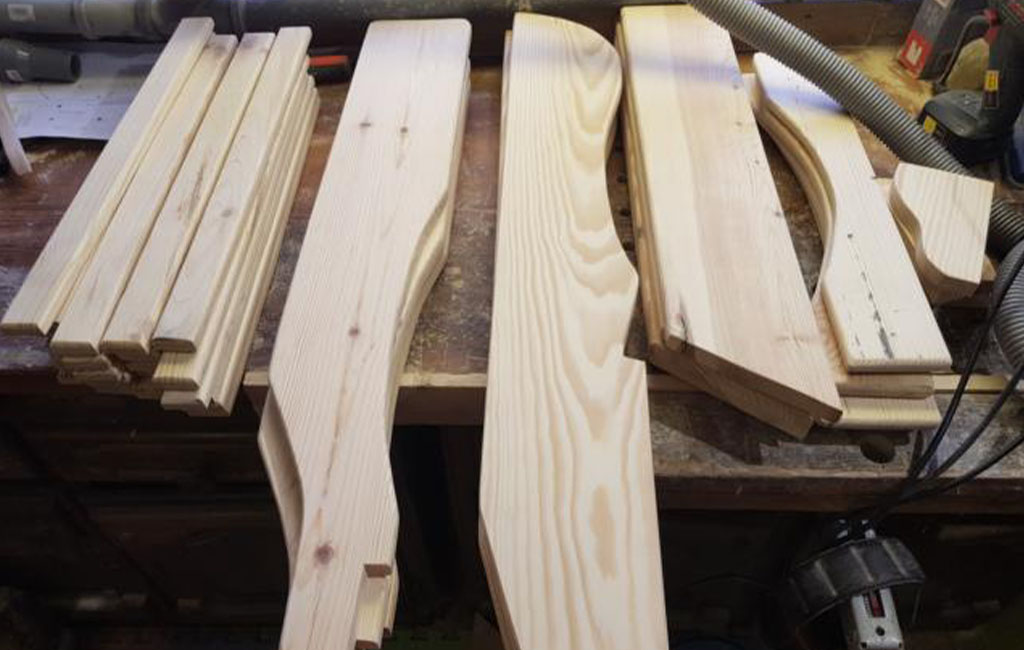
- Next, draw the outline of the armrests on the designated boards. Be sure to include a small curved arc on the inner side – the side facing the seat.
- For the supports, you can either draw a diagonal line or go for a gently curved shape.
- After that, mark out the slats for the backrest. My slats, for example, are 840 mm long, 72 mm wide at the top, and 35 mm wide at the bottom.

Once you’ve marked all the parts, you can use a jigsaw or band saw to cut out all the components.

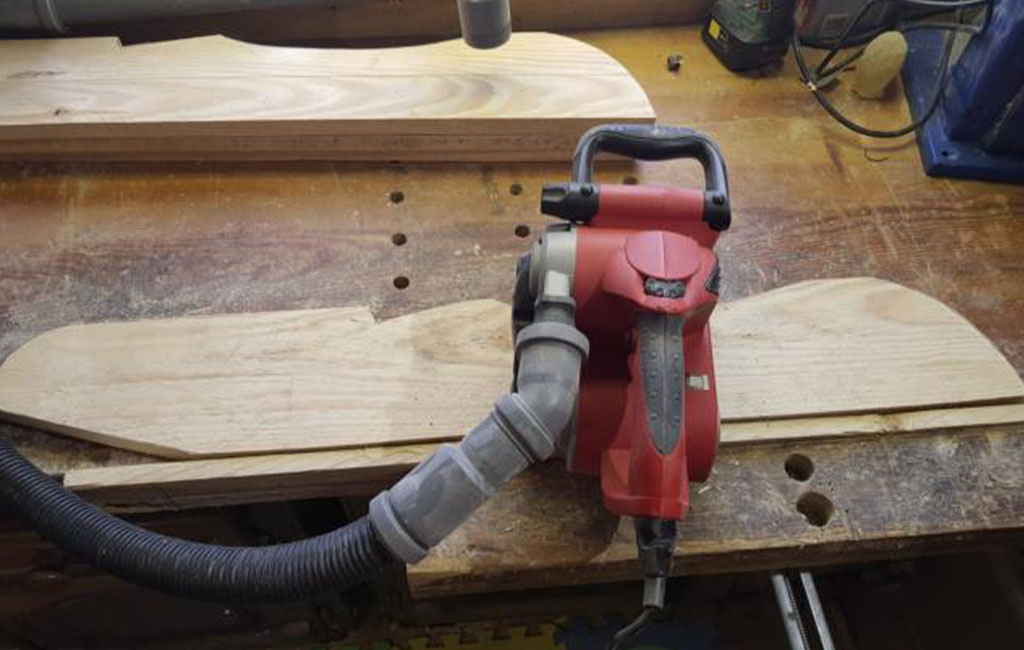
Step 2: Sanding
Once you’ve cut out all the parts, take a belt sander and smooth everything down thoroughly.
Next, you can saw the seat slats and then round off and sand the edges as well. After that, use a router to smooth and round over all the edges. Feel free to use a bit that creates larger curves if you prefer. Finally, go over everything again with a sanding block and fine sandpaper for a clean finish.
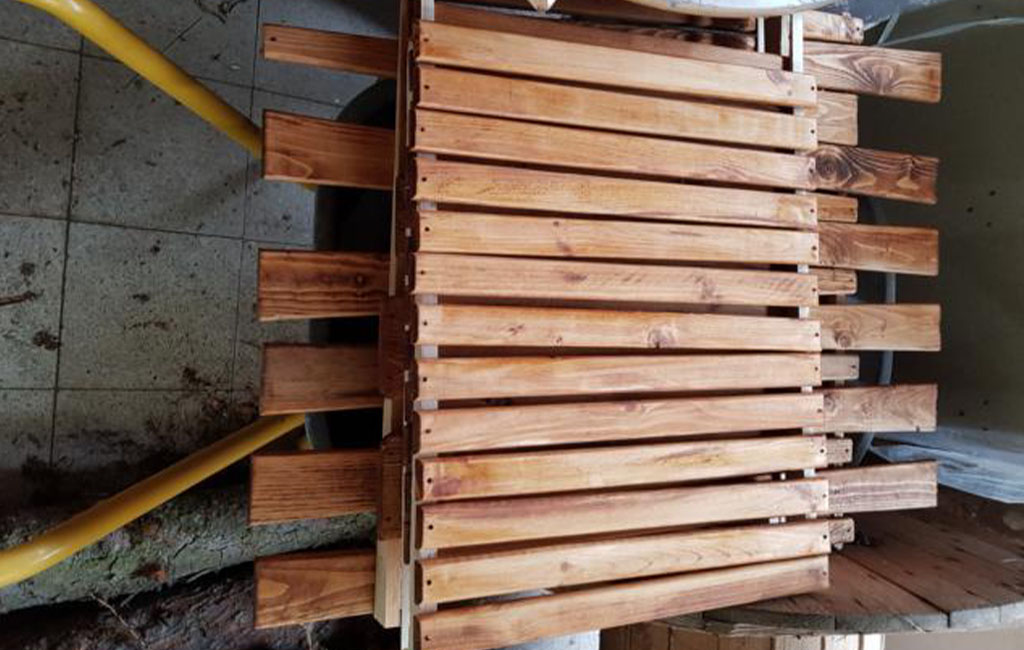
Step 3: Treating the Wood
In this step, you’ll need to treat the wood with your chosen weather-resistant stain, as mentioned earlier. Once you’ve applied the stain, set the pieces aside to dry for a while. I placed a few wooden strips underneath to allow the parts to dry evenly from both sides.
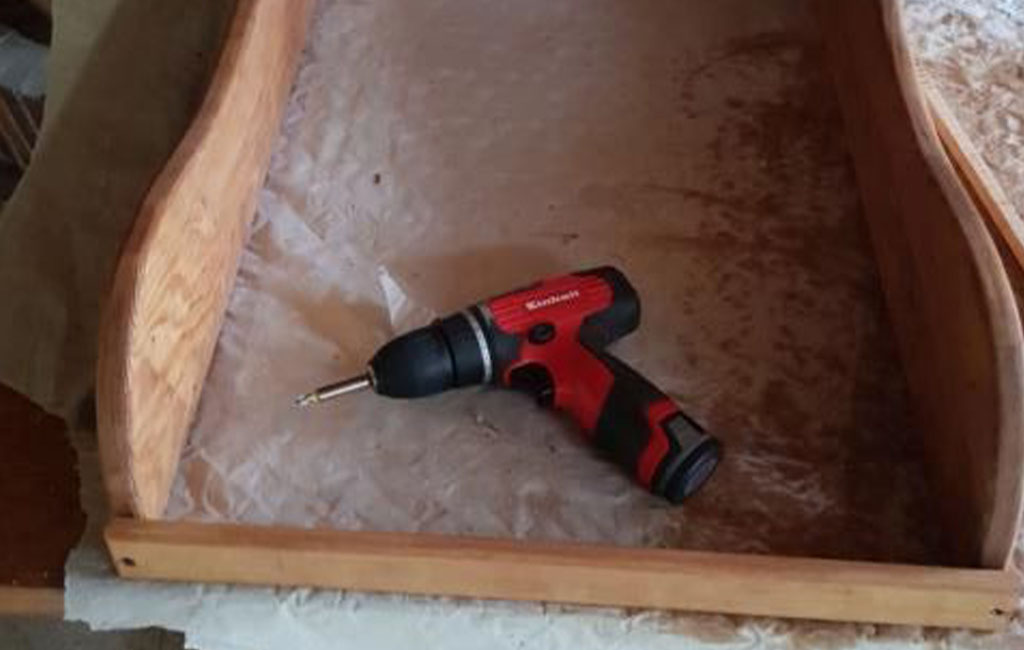
Step 4: Assembly
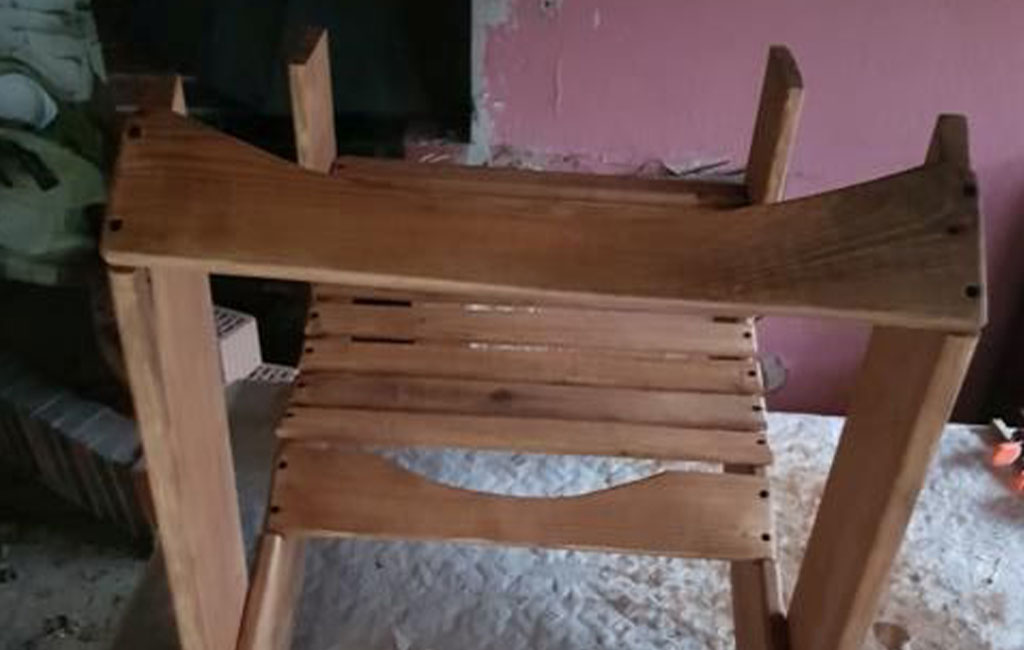
Start by taking the two side panels and the lower backrest support, and screw them together. At this stage, only use one screw per side so that the side panels can still be adjusted. Then, take the first seat slat and screw it onto the bottom. This should ensure that the two side panels are aligned parallel to each other.

To keep the spacing between the seat slats consistent, you can use either a 10 mm drill bit or a thin wooden strip. I used a 12 mm thick wooden strip and placed it between each slat. Continue this process with each slat until all of them are used or you reach the lower backrest support. This will ensure that the two side panels remain perfectly parallel.

For the next step, I used a few clay bricks and placed them under the front cross brace. Once that’s done, take two clamps and fix the front legs to the side panels, making sure they are positioned about 13 cm from the front edge on each side. Then, secure each leg to the panels with four screws. The rear legs are then mounted 44 cm behind the front ones.
Next, screw the upper backrest support onto the rear legs. If you prefer a steeper backrest angle, attach it at the upper point; for a more reclined position, use the lower point for screwing it in place. I opted for the flatter angle in this case.
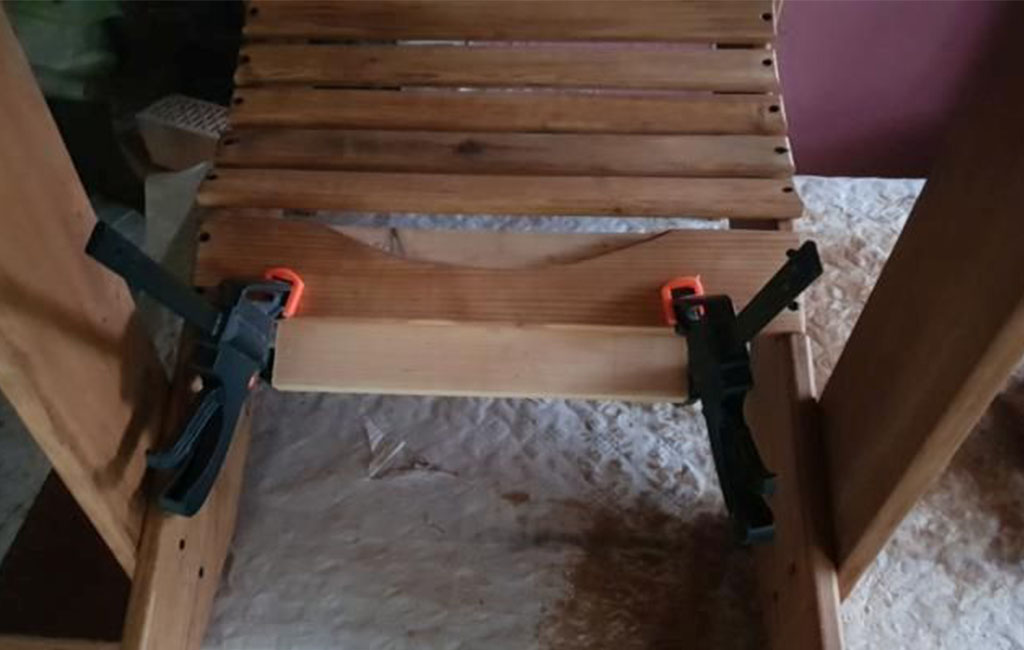
To make screwing easier, I recommend fixing a small board to the underside of the seat using two clamps. This gives you a stable base to work from. You can then easily arrange and align the individual backrest slats. Once they’re evenly positioned, secure the slats to both the lower and upper backrest supports, following the curve.
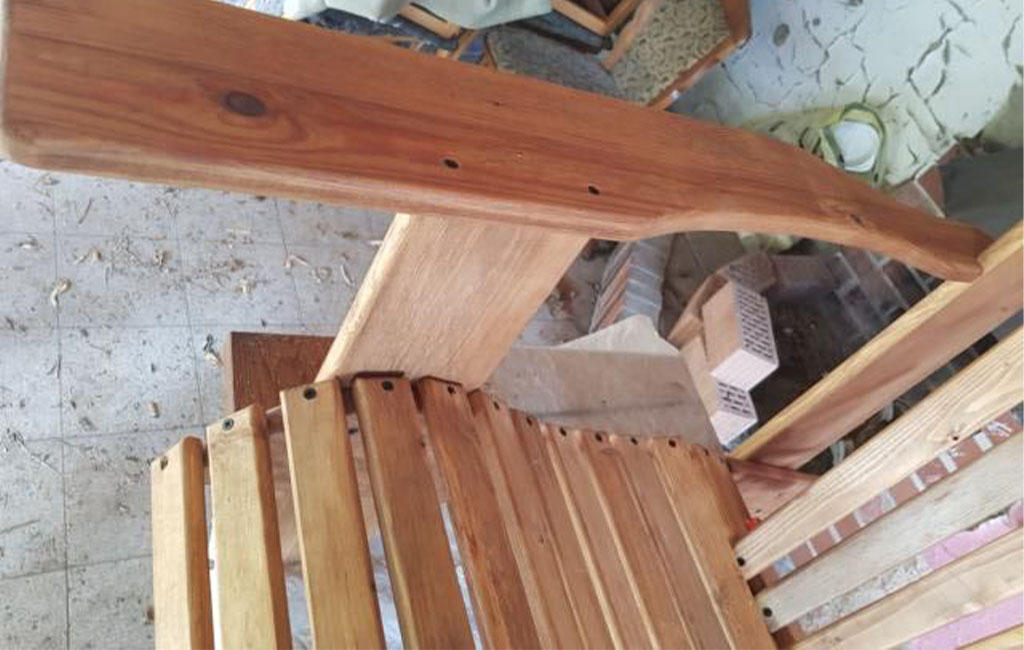
Now, fix the armrest to the front leg using two screws. Make sure the rear cut-out fits snugly in place. Once aligned properly, secure the armrest to the rear leg as well.
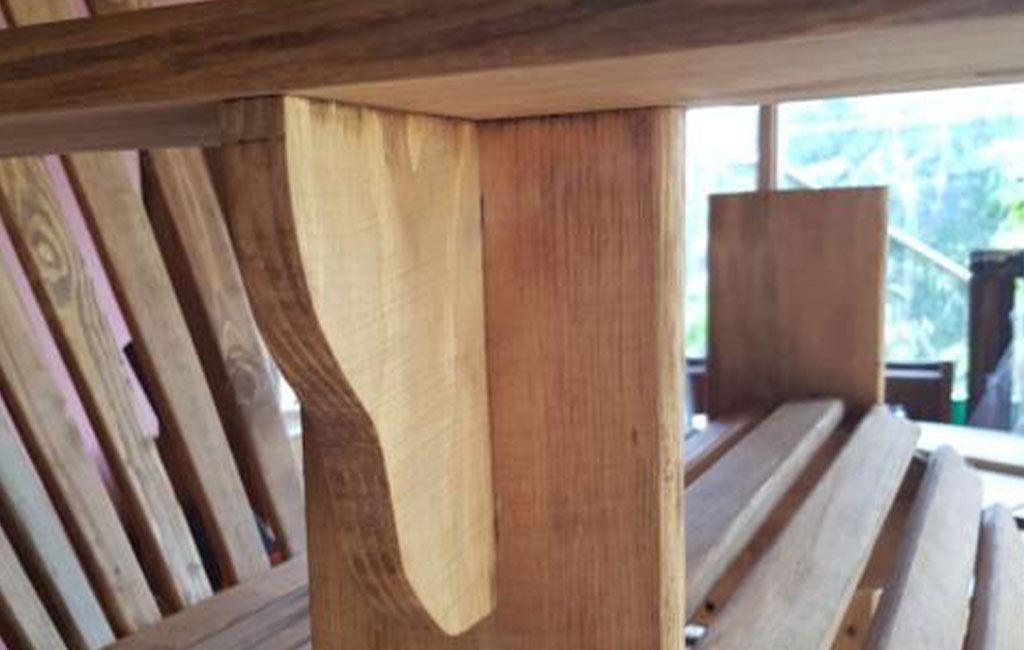
Next, position the support with the appropriate holes on top of the front leg, mark the positions, and pre-drill the holes into the leg. Once that’s done, you can screw the support in place using the pre-drilled holes.
Tools Used
Here you’ll find the Einhell tools that were used during the build.


Product was added to the comparison list.
Product was removed from the comparison list.
Open comparison listIn this article you will learn all about:

Published on 19.03.2021