


Foldable, Modular Table for Your Camper Van
DO IT YOURSELF
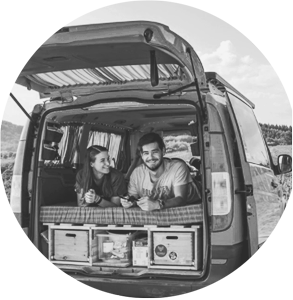
Breakfast always tastes better outdoors, doesn’t it? We think so too! That’s why we chose a modular table for our camper van conversion. It can be set up in no time and is ready to use in just a few steps. Thanks to the height-adjustable leg, the table stays stable even on uneven ground – perfect for enjoying a meal in nature. In this DIY guide, we’ll show you how to build your own with ease using the right Einhell tools.
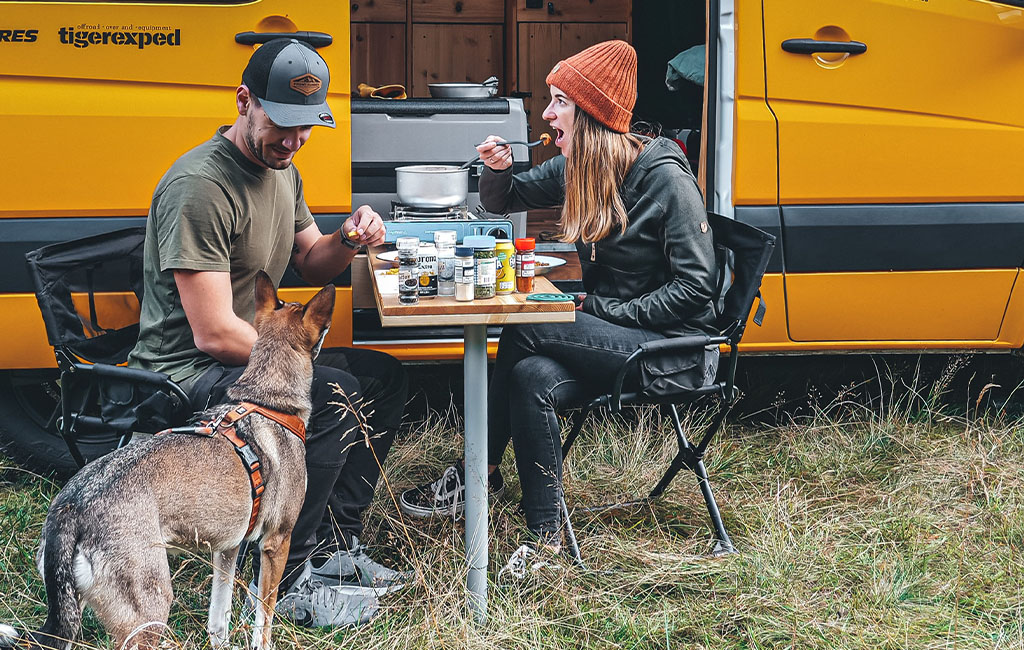
Whether used as a dining table or a raised surface for cooking – the foldable table can be adapted to any terrain.
Tools and Materials
Tools
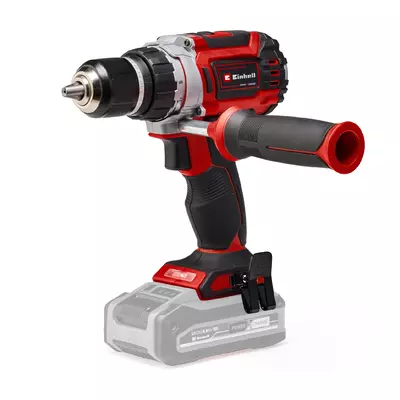
- Cordless drill/driver
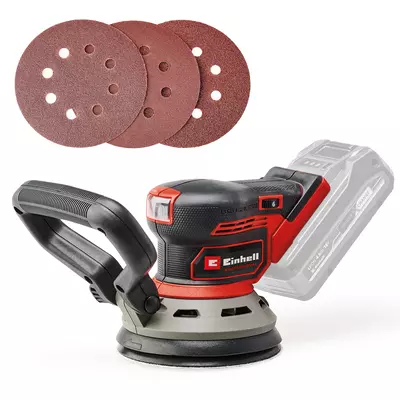
- Cordless random orbital sander
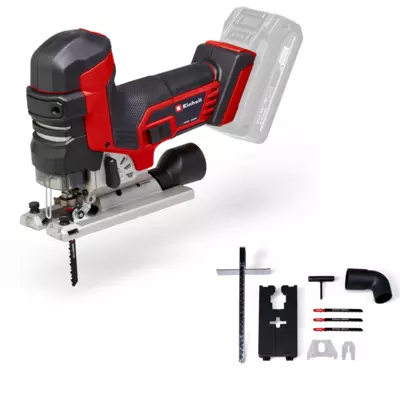
- Cordless jigsaw
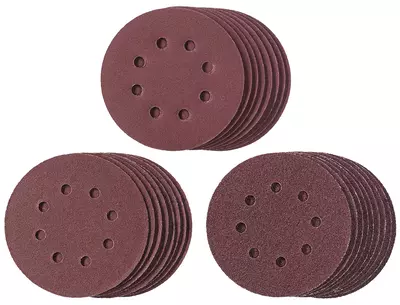
- Sandpaper:
- 120 Grit
- 180 Grit
- 240 Grit
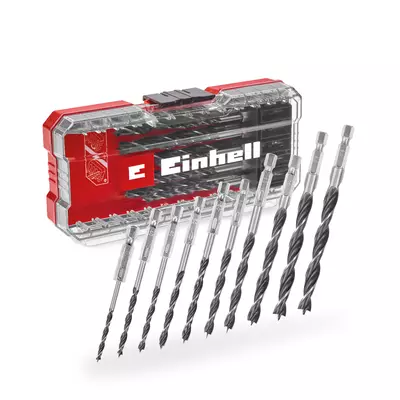
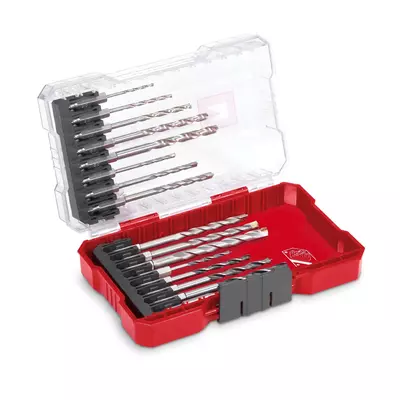
- Wood drill bits in various sizes
- Folding ruler
- Pencil
- Set square
Materials
- Laminated wood panel (spruce or fir): 1200 mm x 400 mm x 18 mm
- Telescopic table leg: height-adjustable, 600 – 850 mm
- Planed timber: 2x 2000 mm x 43 mm x 24 mm
- Wood glue
- Countersunk screws: 4 x 30 mm
- Pan head screws: 3.5 x 16 mm
- 2x Detachable door hinges
- Paint or varnish: water- or solvent-based, matte finish
Instructions: Building the Modular Table
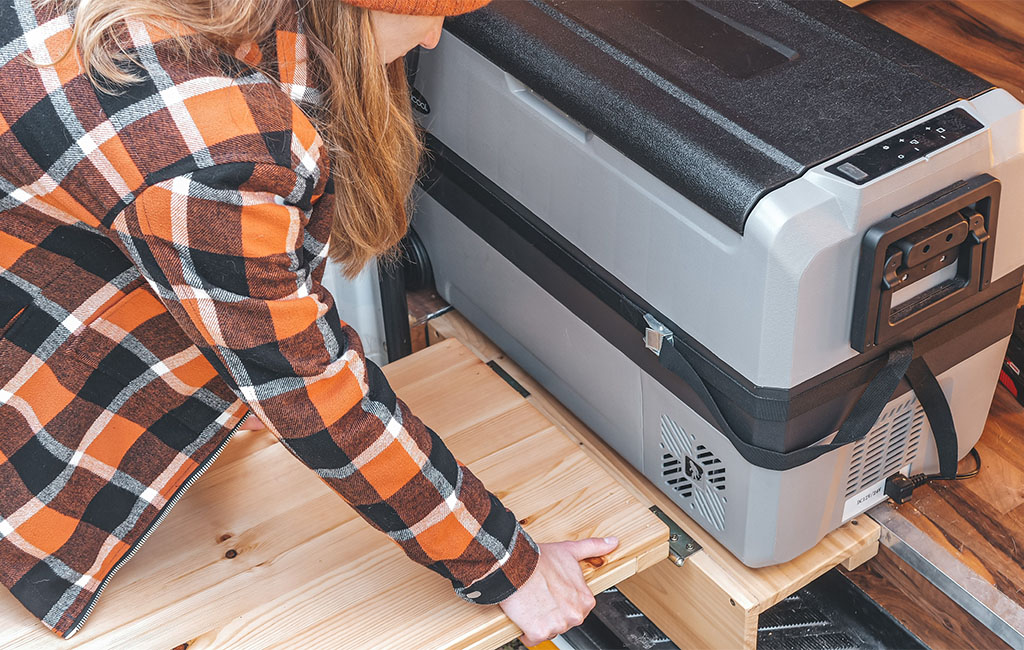
The modular table consists of a tabletop that is mounted to the camper using a hinge, and a height-adjustable leg that provides support. This setup allows you to make use of your camper’s exterior wall – perfect for enjoying breakfast outdoors.
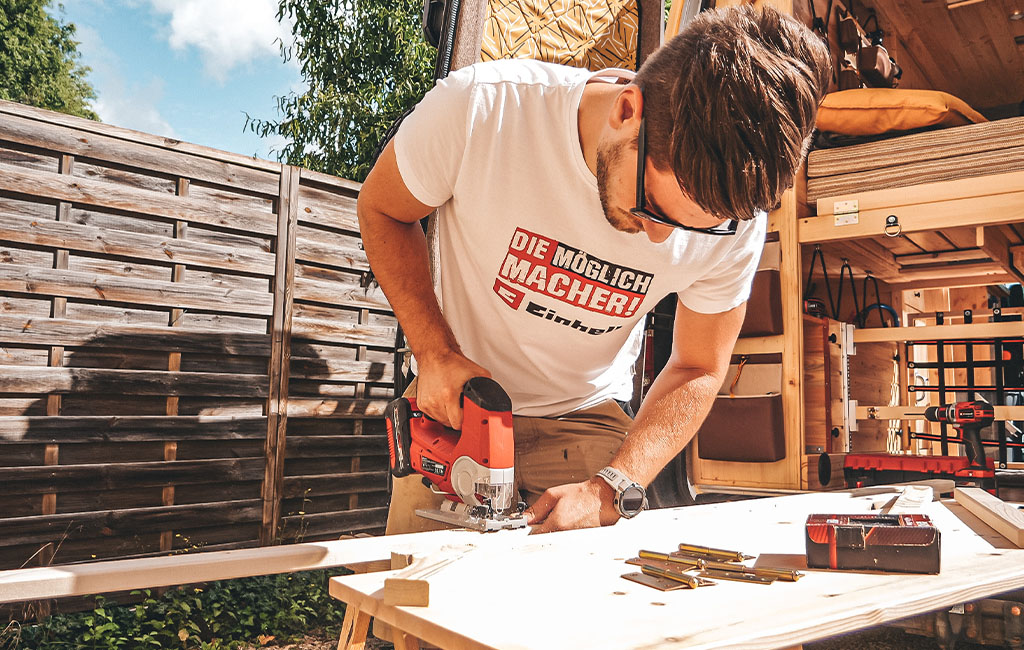
Step 1: Cutting and Pre-drilling the Timber Battens
Start by cutting the timber battens to the required lengths using the jigsaw. For this build, we used: 2x 400 mm / 2x 1115 mm.
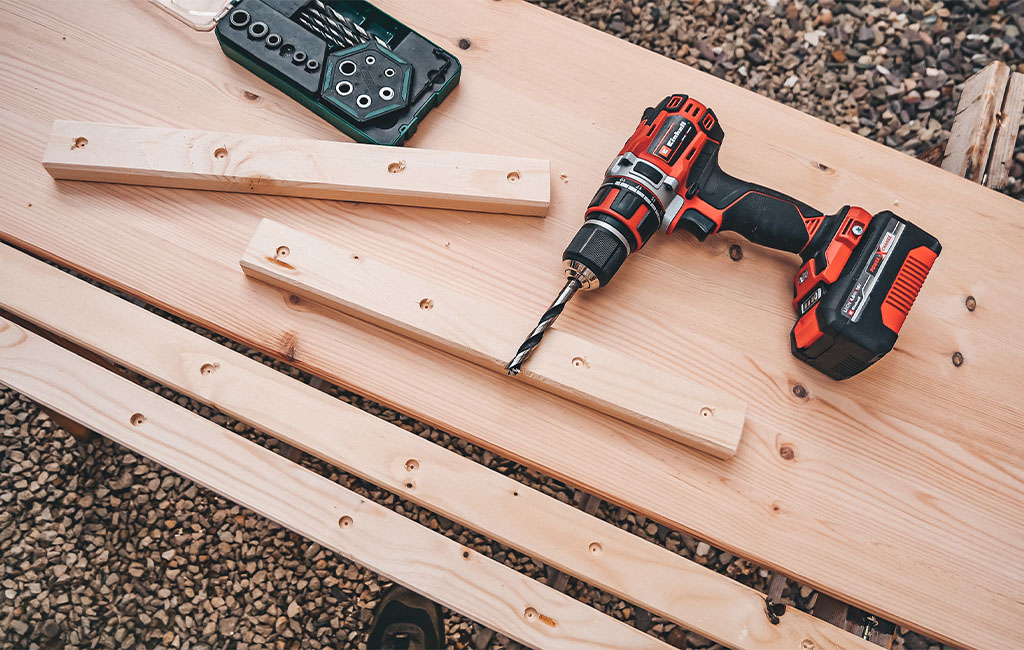
Next, pre-drill the timber for the base using the cordless drill/driver. Drill into the 24 mm wide sides of the battens using a 4 mm wood drill bit, spacing the holes evenly. Then countersink each hole with a 10 mm wood drill bit so the countersunk screws will sit flush with the surface later on.
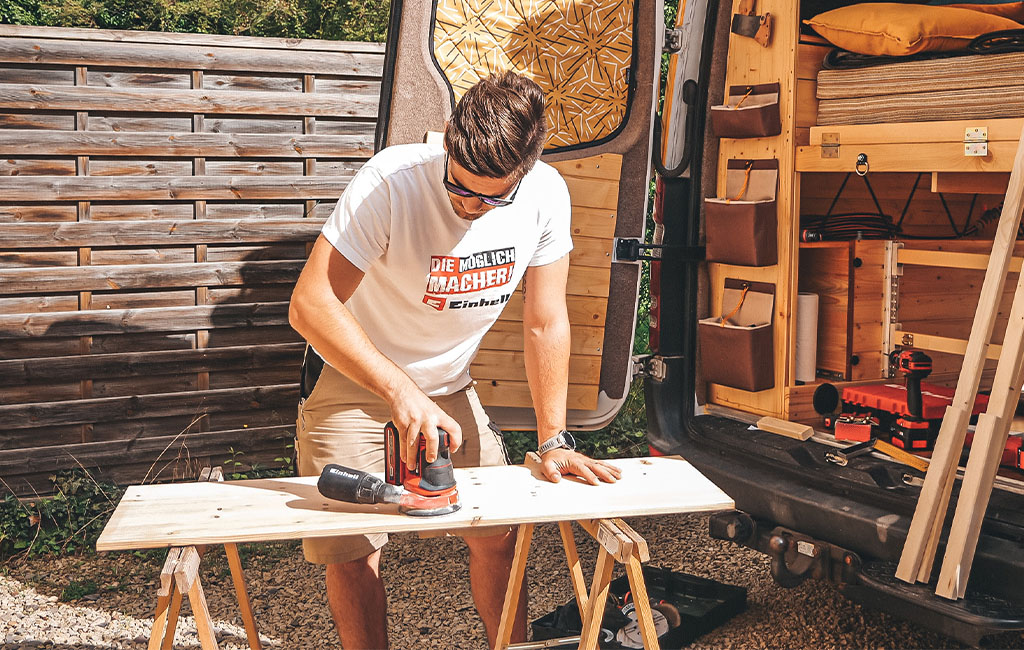
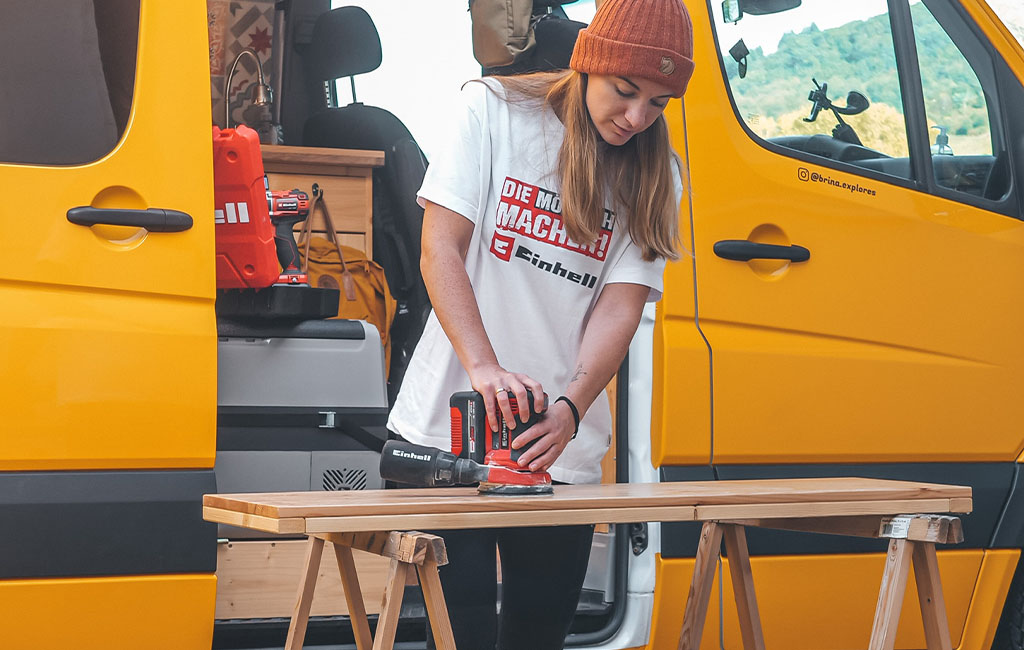
After drilling, sand all wooden parts using the random orbital sander and 120-grit sandpaper. Smooth out the surfaces and break the sharp edges to ensure a clean finish and comfortable handling.
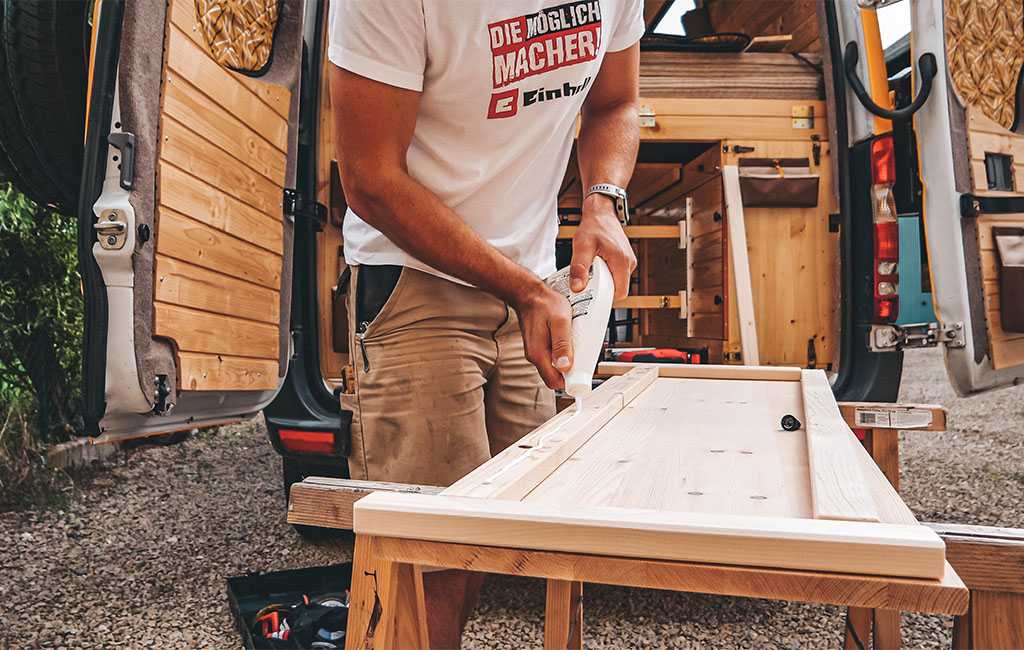
Step 2: Attaching the Tabletop to the Timber Frame
Generously apply wood glue to the un-drilled side of the battens, spreading it evenly. Then position the battens onto the underside (the less attractive side) of the laminated wood panel and press them in place. Once aligned, fix the battens to the tabletop using countersunk screws.
Be sure to wipe away any excess glue immediately with a damp cloth. Allow the glue to cure for around one hour before proceeding.

Step 3: Treating the Tabletop
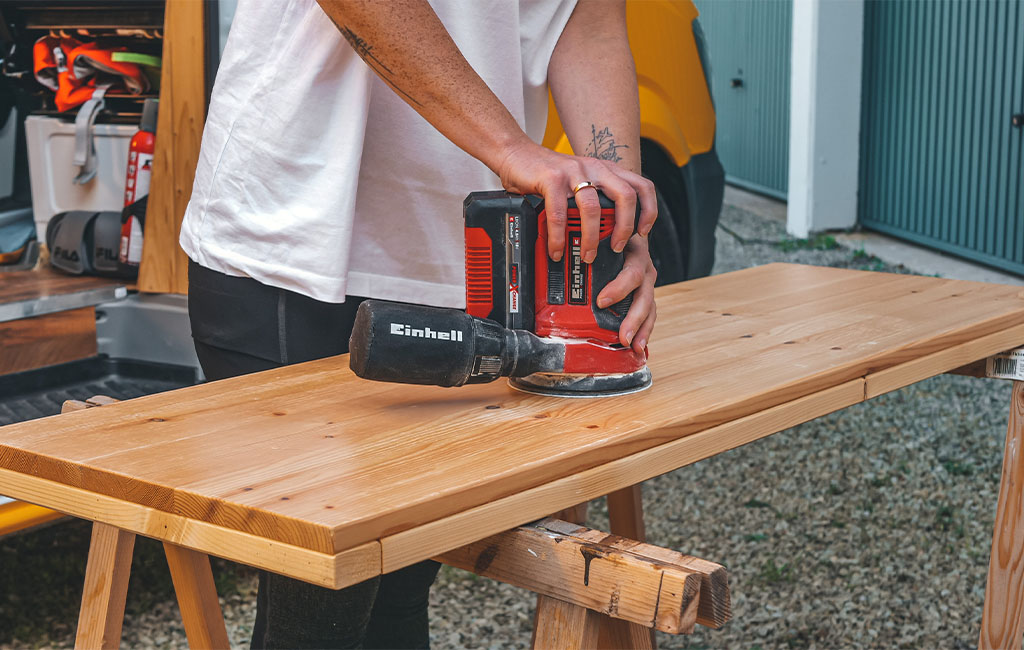
Next, apply the prepared varnish evenly to the entire surface and allow it to dry for about one hour. Once dry, sand the top side of the table with 180-grit sandpaper and apply a second coat of varnish. After another hour of drying time, proceed with a third round: sand the surface using 240-grit sandpaper and apply a final coat of varnish. Let it dry thoroughly for around one more hour.
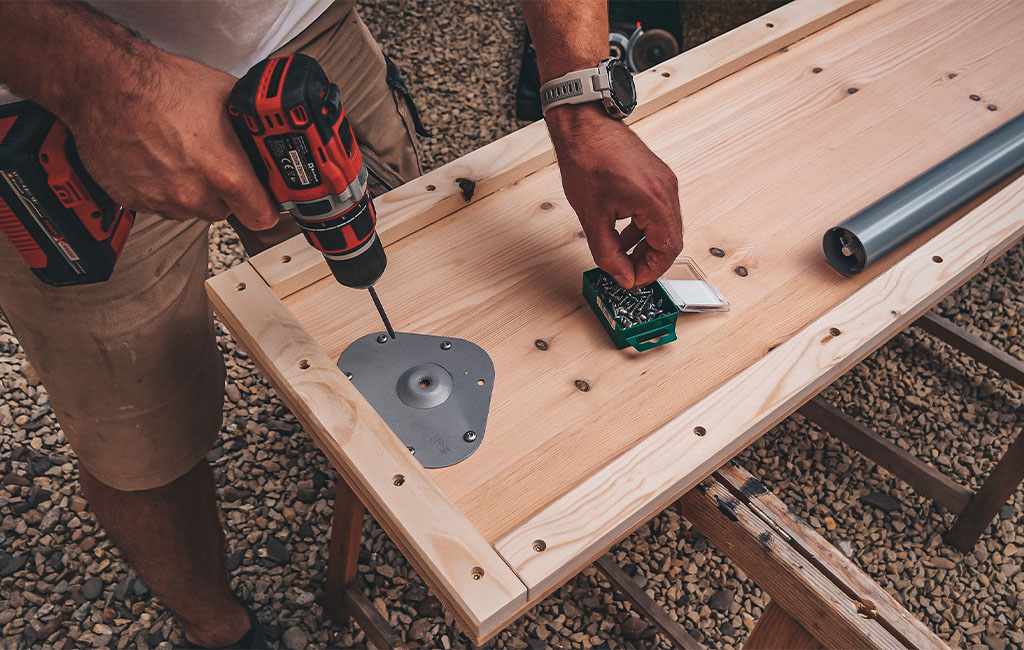
Step 4: Assembling the Modular Tabletop
Now attach the mounting plate of the telescopic leg to the underside of the table, centred along one of the long sides. Use pan head screws for a secure hold. The telescopic leg can then be screwed into place whenever needed.
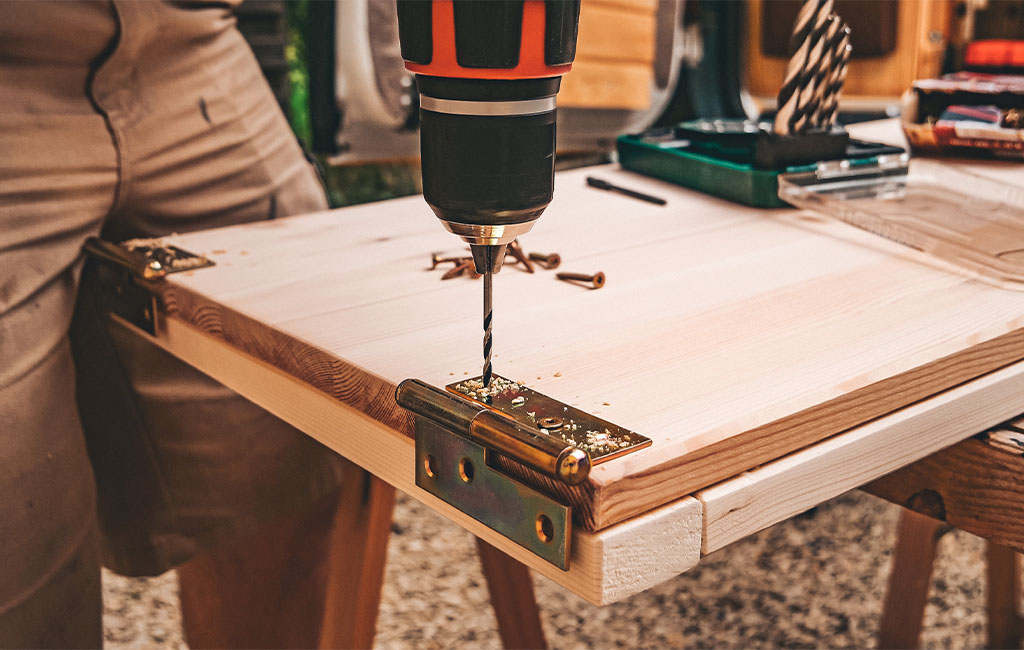
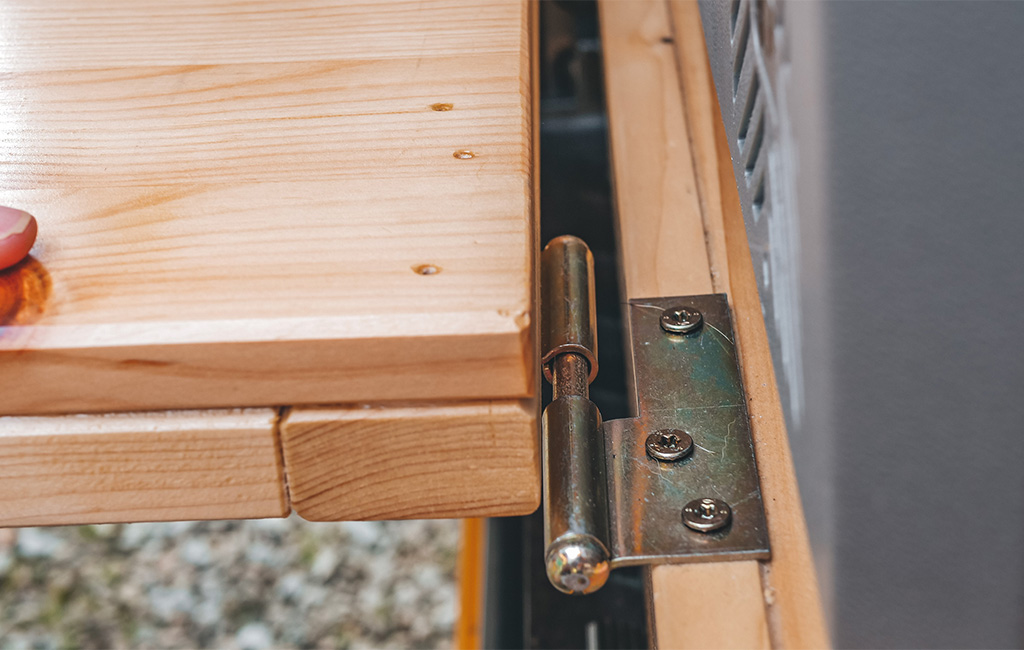
Finally, attach one side of each door hinge to the opposite edge of the table, across from the telescopic leg. Depending on how you plan to mount the table, fix the hinges to either the top or underside of the tabletop. To do this, mark the hole positions, pre-drill with a 2 mm wood drill bit, and fasten the hinges using countersunk screws.
Attach the matching hinge parts to your chosen spot on the vehicle. Make sure they are aligned precisely with the hinges on the table so that the tabletop can be easily mounted and securely held in place.
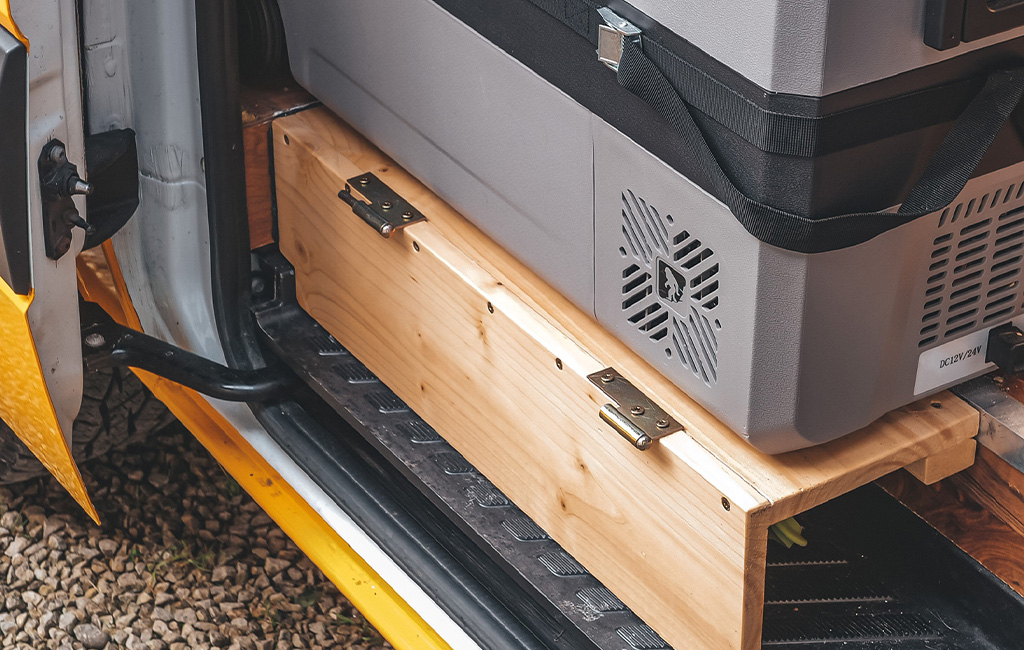
Result: Modular Table for Your Camper Van
And there you have it – the modular table for our camper is complete. The table can be adjusted to various heights and mounted at different points on the vehicle, such as the front or rear. So no matter where or when you decide to take a cosy break in your camper – this table is the perfect place to relax, dine, and unwind!
Have fun building your own and enjoying delicious meals in the great outdoors!
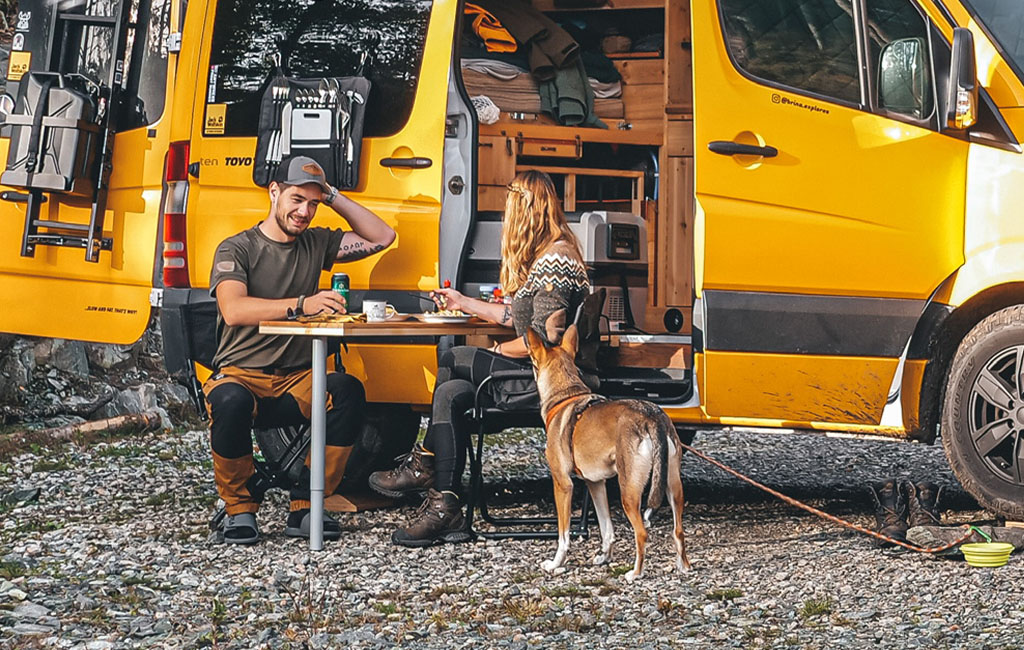
Need a break on the road? The modular table makes it easy – just fold it out, adjust the leg, and you’re all set!
Suitable Tools for the Project
Here you'll find Einhell tools and accessories that are perfect for bringing this DIY project to life.

Product was added to the comparison list.
Product was removed from the comparison list.
Open comparison listIn this article you will learn all about:
Published on 20.10.2021
From the workbench straight into adventure: Sabrina and Igor Bukovsky are freelance bloggers sharing their stories of DIY van conversions, road trips and outdoor experiences. Ever since their very first self-built van, the two have been travelling with their dog Gerda – currently in a spacious Sprinter. On Instagram, they take their community along for the ride via @brina.explores and @igor.explores. In their blog posts for Einhell, they share their insights into vanlife and DIY projects.