


Coolbox Bench
DO IT YOURSELF
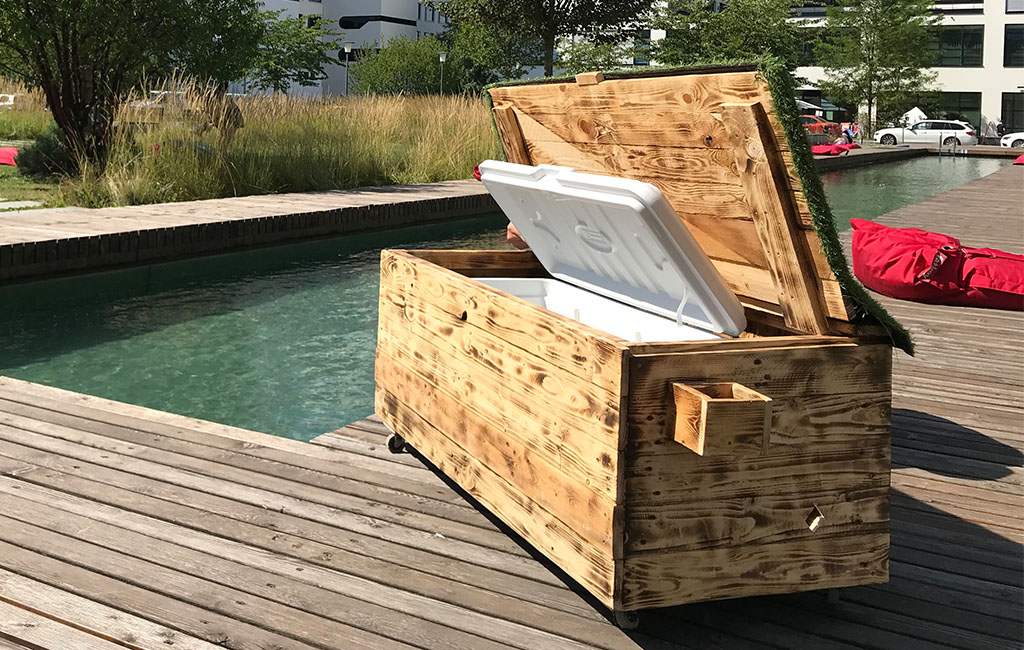
Are you already caught up in football fever? Our Cool Box Bench is the perfect companion for the season and an absolute must-have at any public viewing event. Integrated into this stylish seat with an artificial turf design is a cool box. It keeps all sorts of drinks, tasty salads and barbecue meat chilled, ready for the garden party afterwards. In this guide, you'll find out how to build the Cool Box Bench yourself. Let’s get started!
In diesem Beitrag zeigen wir dir, wie du deine eigene Sitzbank mit integrierter Kühlbox bauen kannst.
Tools & Materials
Material
- Squared timber for the frame
- 4 swivel castors (size as required)
- Artificial turf carpet
- 8 to 10 old pallets
- 12 mm baseboard
- Cool box
Building the Cool Box Bench
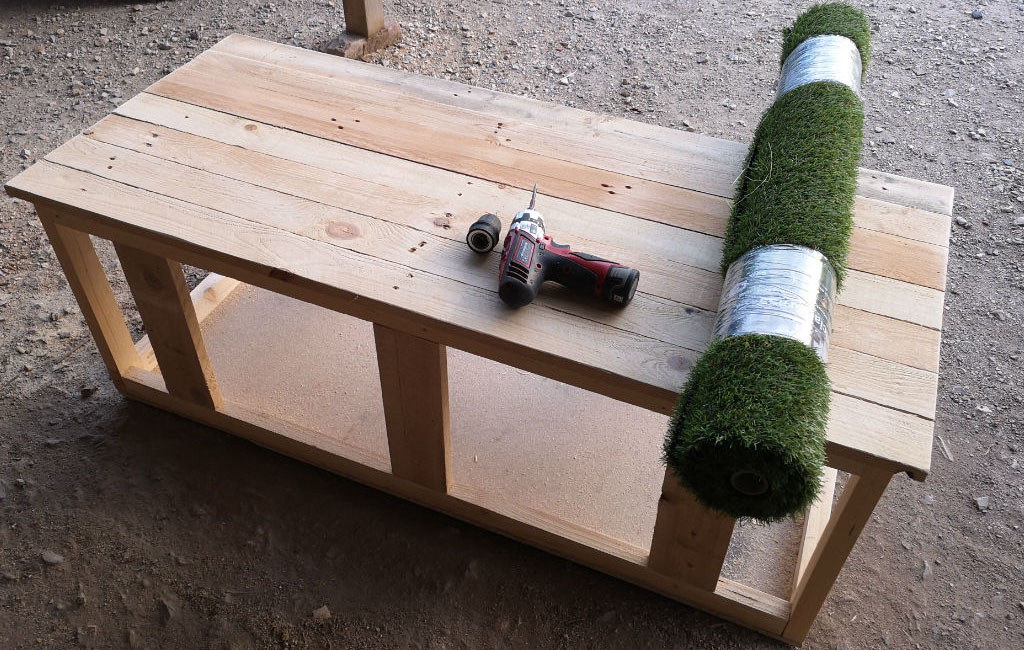
Step 1: Building the Base Frame
We’ll start by constructing the base frame using squared timber in the desired size. In this case, the dimensions are 130 x 55 x 55 cm, ensuring that the cool box fits in easily and there’s still some extra space for storage.

Step 2: Screwing the Frame Together
Once the base frame is in place, we secure it to the 12 mm base board with screws. For the four side panels and the lid, we use pallet wood, which is screwed onto the frame.
Additionally, we fit and screw in support braces to provide extra stability. To make it easy to open the lid, hinges are attached to the frame using screws.
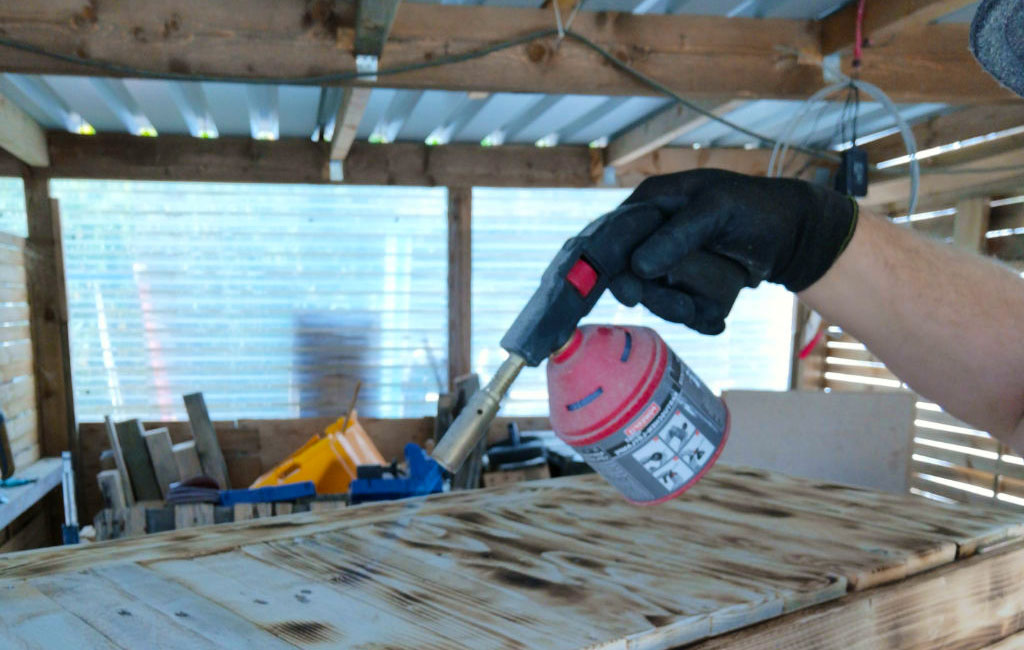
Step 3: Visual Effects – Optional
Depending on your taste, you can now use a blowtorch to treat certain parts and surfaces, giving the wood a distinctive look.
Alternatively, you could treat the wood with oil, paint or something similar.
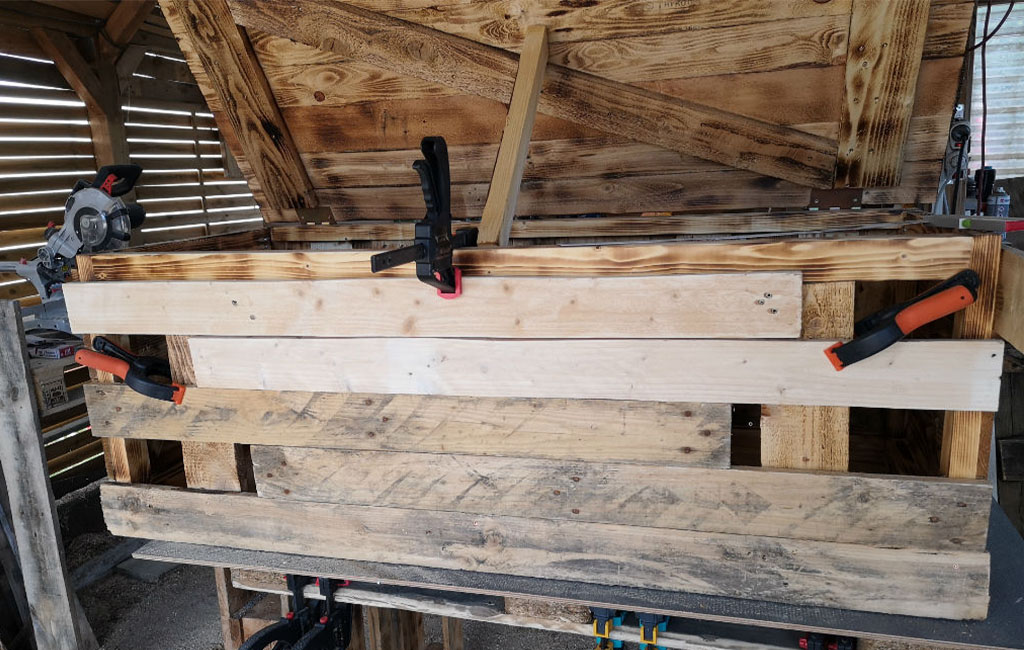
Step 4: Screwing on the Front Panel
Finally, the front panel is screwed in place. The pallet boards are fitted in an offset pattern.
- Tip: Clamps are useful here to hold everything in place and make the job easier.
Step 5: Finishing Touches
To ensure we can easily move our Cool Box Bench later, we attach four swivel castors to the base board. Finally, the artificial turf carpet is added to the seating area: place it on the lid, cut it to size and secure it using an electric stapler.

Now simply place a standard cool box or thermal box inside the bench – and the project is complete!
If you like, you can also add extra features to the outside of the bench, such as a practical drinks holder. That way, you'll always have a cold beer within easy reach while you're sitting down.
And when it’s time to fire up the barbecue after the football, the Cool Box Bench offers plenty of space to keep meat and salads chilled.

Tools Used
Here you’ll find the Einhell tools that were used during the build.

Product was added to the comparison list.
Product was removed from the comparison list.
Open comparison listIn this article you will learn all about:

Published on 04.06.2021
Helmut Gessendorfer is a promoter at Einhell AG and a passionate DIY enthusiast with a strong love for tools and garden equipment. As part of the Einhell Promo Tour, he travels with the mobile workshop, showcasing the latest devices and offering hands-on tips directly on site. He brings his extensive experience from countless DIY projects to our blog – for everyone who loves to tackle things themselves with enthusiasm and expertise.