


Do It Yourself: Camper Van Roof Terrace
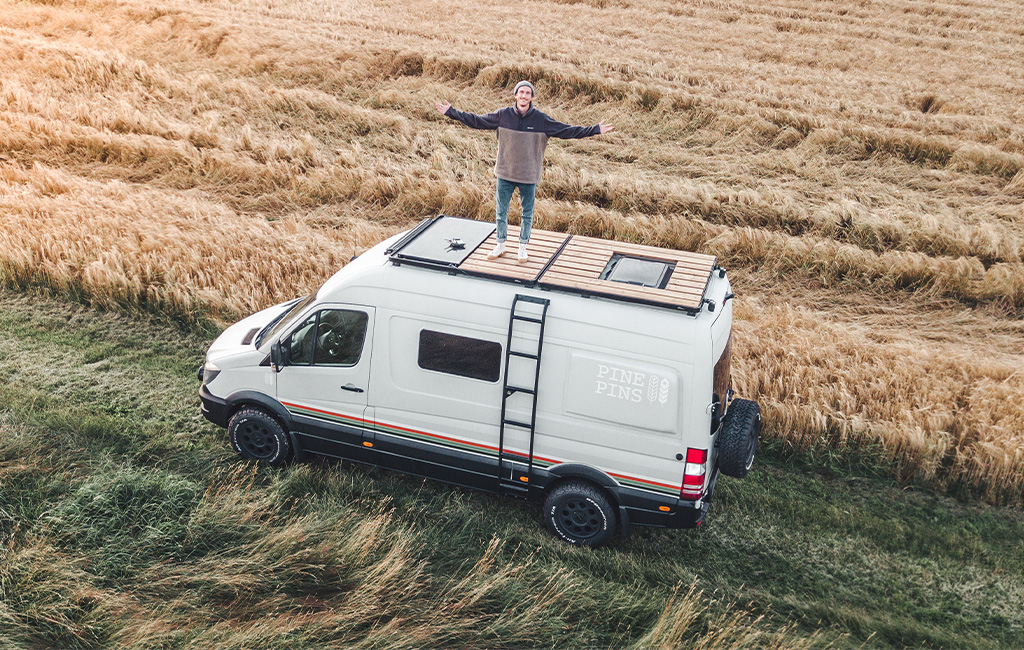
Looking to make the most of every inch of space while building or converting your camper van? Then this roof terrace is the perfect project for you. Not only is the upper level a real eye-catcher, it also takes your entire camping experience to a whole new level. Whether you're sunbathing, unwinding with a good book, or soaking in a beautiful sunrise or sunset – the roof terrace adds a special touch to every trip. The only requirement? A roof rack on your camper van. It doesn’t matter whether it’s a branded model or a custom build.
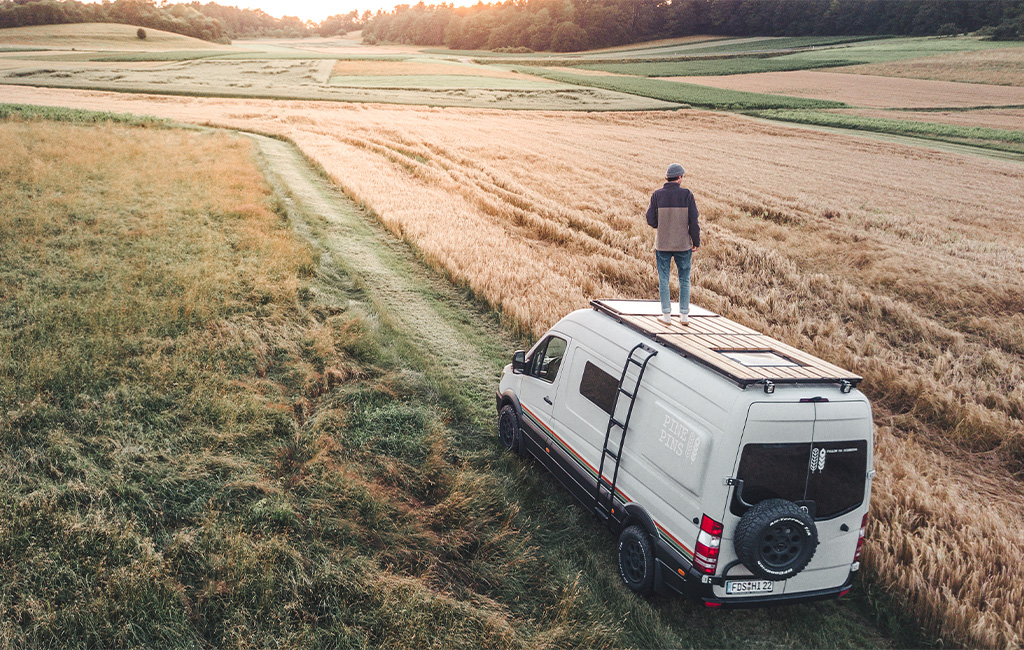
Camper van with a view? A self-built roof terrace is the perfect way to make it happen!
Tools and Materials
Tools
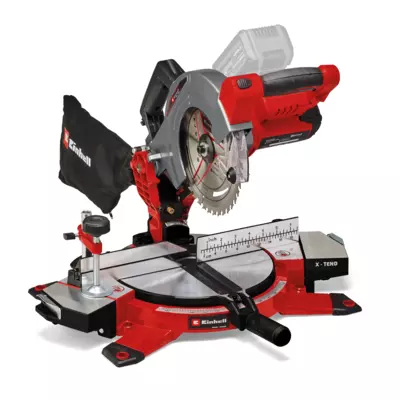
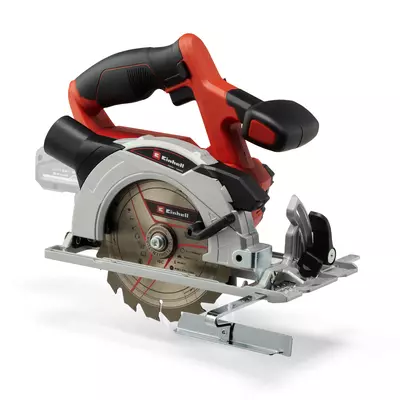
- Circular saw or mitre saw
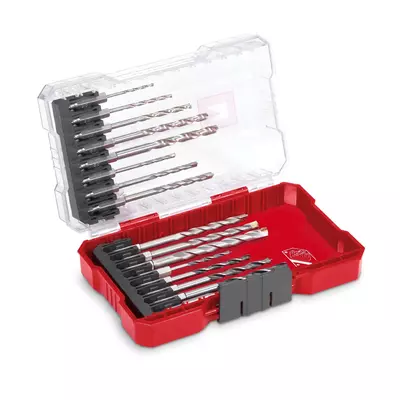
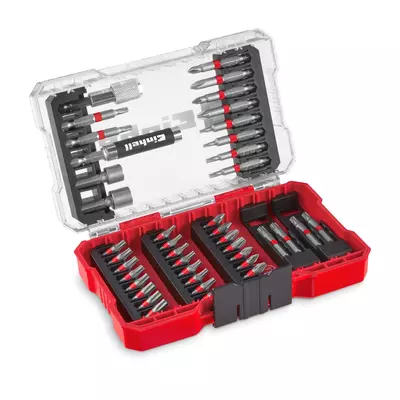
- Cordless drill/driver with drill bits, countersink and screwdriver bits
- Vacuum cleaner
Materials
- Sandpaper
- Decking boards (in this case: thermo oak)
- Fixing screws (here: M8 stainless steel countersunk screws and self-locking nuts)
Step-by-Step Instructions: Building the Roof Terrace
Step 1: Measure the Roof Area and Source Your Materials
To make the most of the available space on your camper van’s roof, you’ll first need to measure the roof area or roof rack accurately. Once you have the measurements, you can source the wood that will be mounted onto the roof rack.
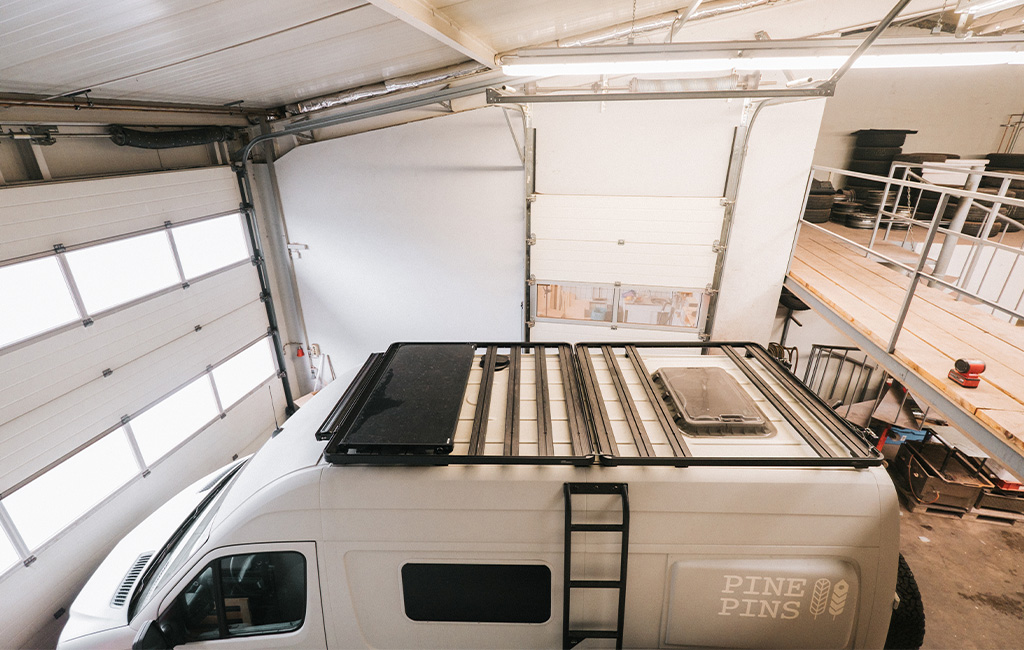
We opted for thermo oak decking boards, as this type of wood can be used outdoors without any treatment. It is also weather-resistant and very lightweight. For securing the decking boards, we used M8 stainless steel countersunk screws, which we fixed in place with nuts. Ideally, you should use self-locking nuts. The required screw length depends on the specifications of your base roof rack.
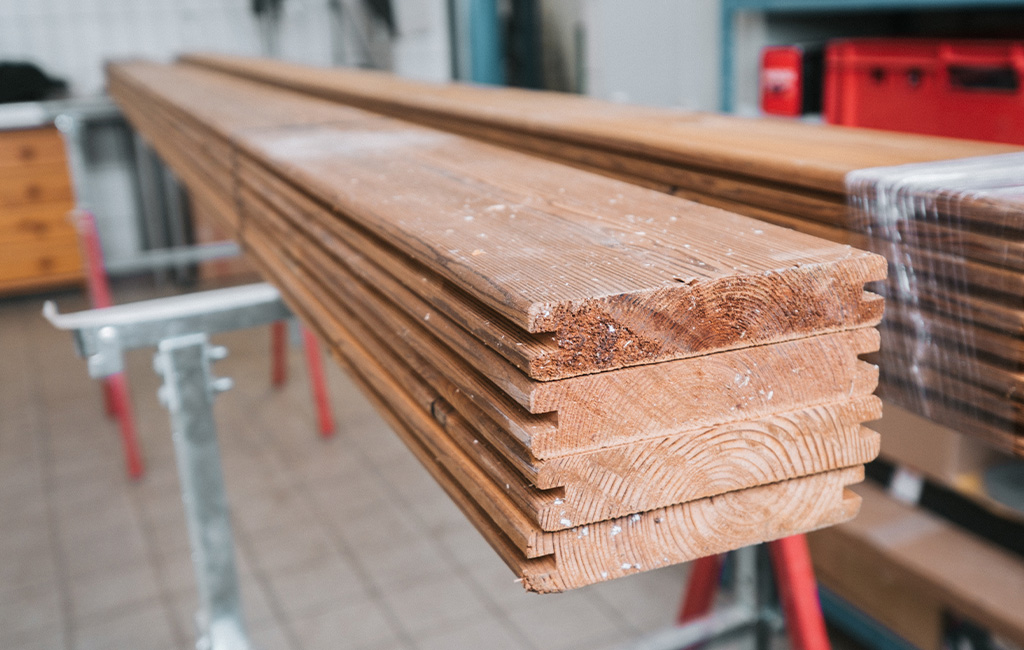
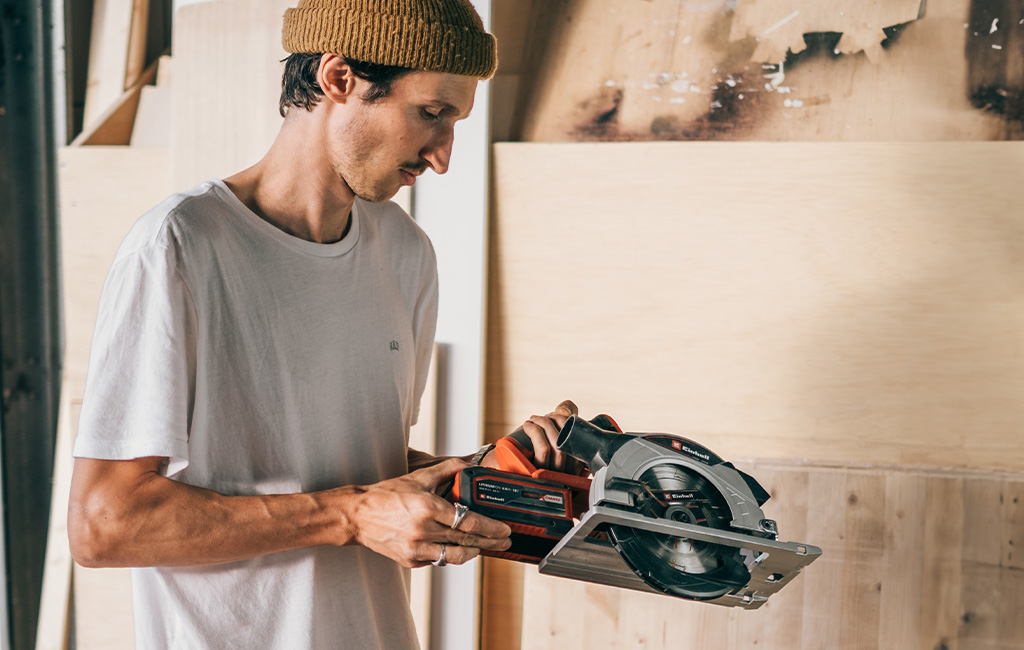
Step 2: Cut and Sand the Decking Boards
Since the decking boards will later be mounted onto the roof rack, you'll need to cut them to match the exact dimensions of your rack. After cutting, make sure to sand down all sharp edges and corners with sandpaper for a smooth, safe finish.
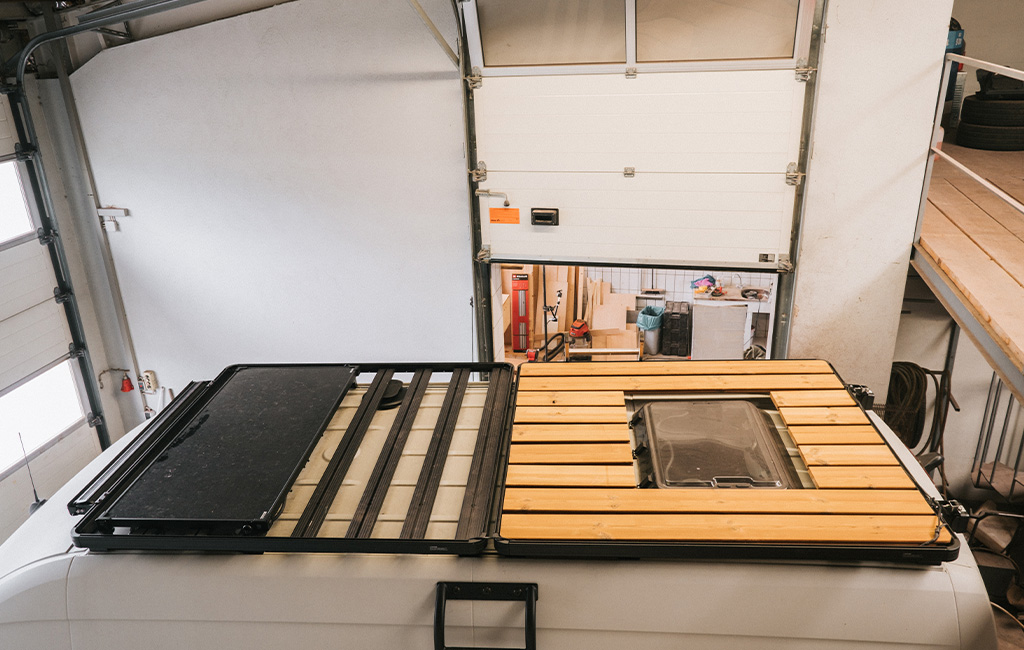
We laid the boards out on the roof rack partway through to check the fit and made adjustments where necessary. This helps ensure everything aligns properly before final assembly.
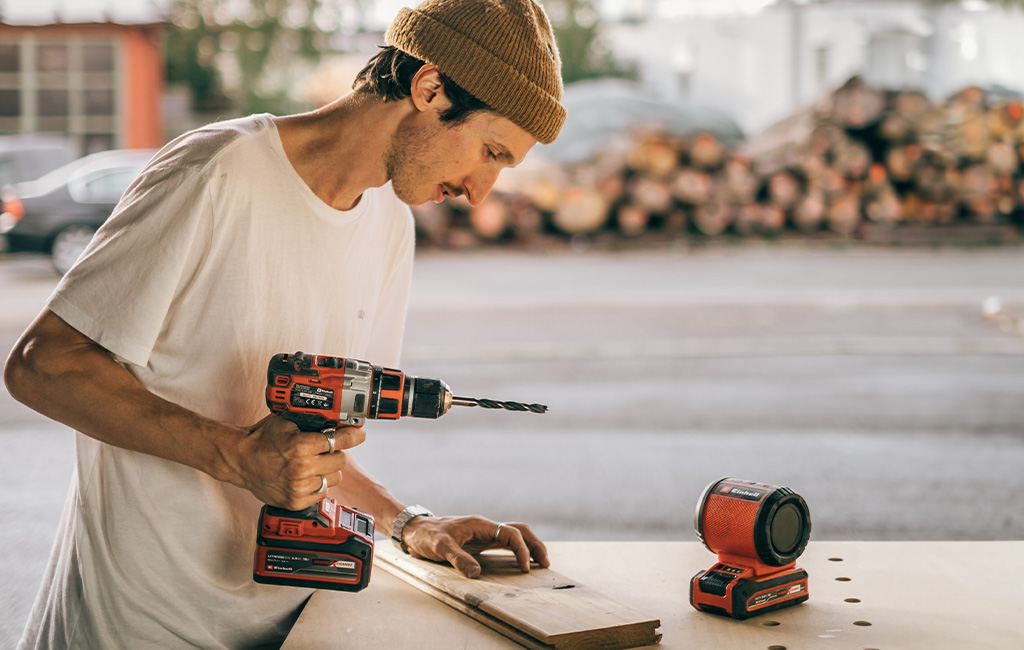
Step 3: Pre-drill the Decking Boards
Next, you’ll need to pre-drill the cut decking boards so they can be fastened with the threaded screws. It’s also a good idea to countersink all holes so the heads of the countersunk screws sit flush with the surface.
Now you can lay the boards out on the roof rack once more to double-check the fit before final installation.
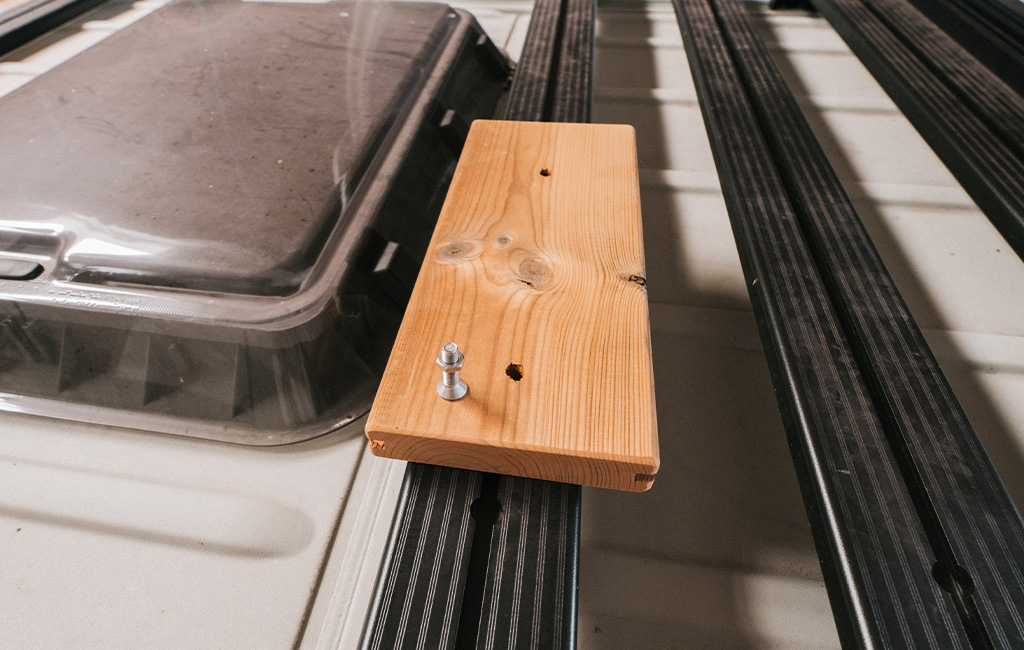
Step 4: Secure the Decking Boards
Finally, it's time to fix the boards to the roof rack. We began by loosely fastening the decking boards with the screws and nuts. Before tightening everything fully, we checked and adjusted the spacing between the boards to ensure an even finish. Then, we hand-tightened all the screws. On our roof rack, we were able to insert the nuts into the gaps between the individual crossbars and then screw through the wood from above to secure each board to its corresponding nut.
Once all the boards are securely fastened, you're ready to hit the road and enjoy your next sunset from the comfort of your brand-new roof terrace.
Have fun building and making the most of it!
Tools Used
Here you’ll find the Einhell tools that were used during the build.


Product was added to the comparison list.
Product was removed from the comparison list.
Open comparison listIn this article you will learn all about:
Published on 06.08.2021
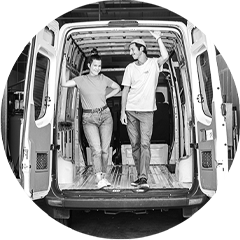
Whether it’s vanlife or attic renovations – Selina and Frank Stoll from PinePins are full of ideas and hands-on energy. Together with their little one, they bring heartfelt DIY projects to life – from self-built campers to lofts under the roof. On YouTube and Instagram (@PinePins), they take their community along on every step of the journey. In their blog posts for Einhell, they share their experiences, offer tips on self-building, and show how big dreams can become reality with the right tools.