


Bathroom Cabinet for the Camper Van
DIY Camping Project
For our Mercedes-Benz Vito camper van, we're building a bathroom cabinet designed like a pull-out larder unit – with space for everything you need in a compact bathroom. With our step-by-step guide, you can easily build your own version for your camper. Grab your Power X-Change tools and let's get started!
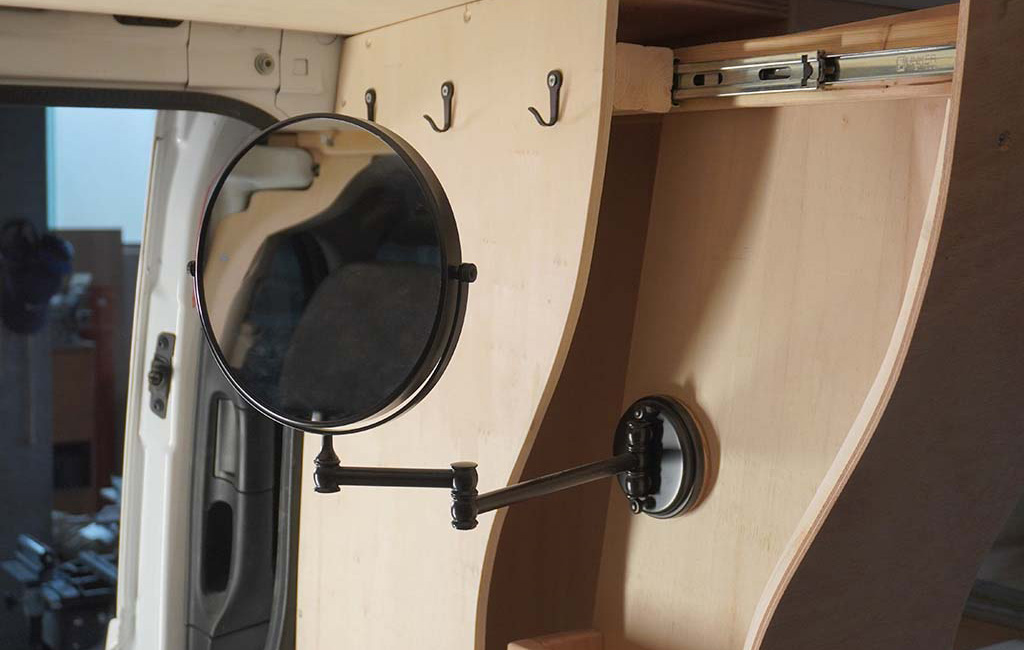
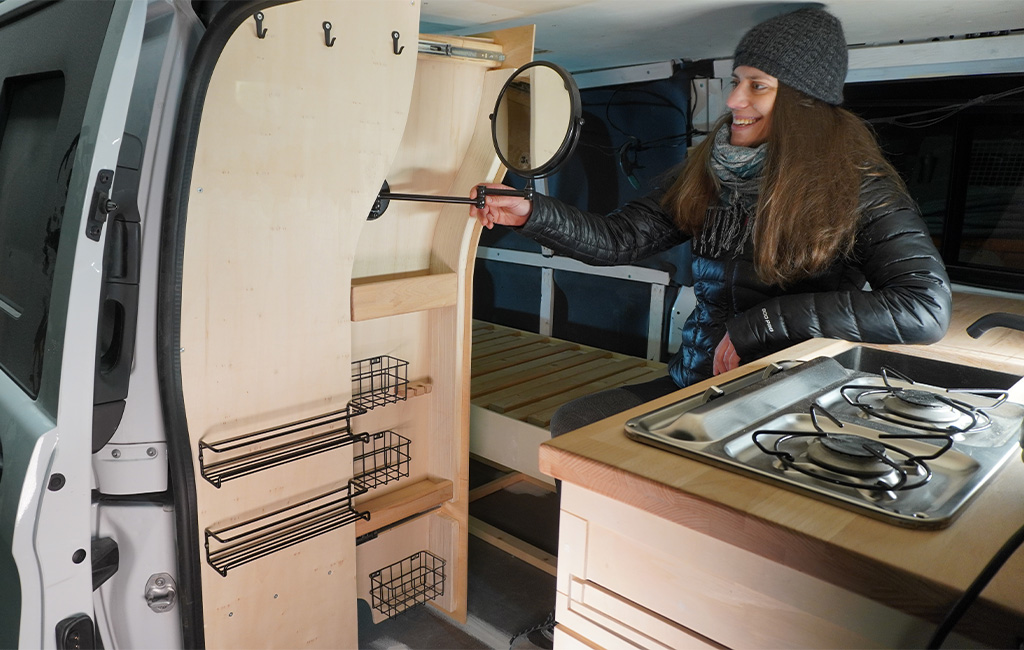
Hooks for towels, baskets for deodorant, shower gel and more, and the pull-out mirror – everything you need in the bathroom has its place.
Tools & Materials
Tools
- Cordless drill/driver
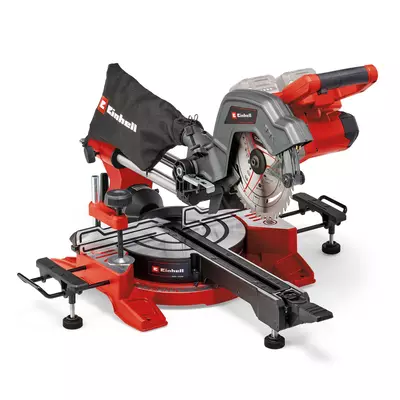
- Mitre saw
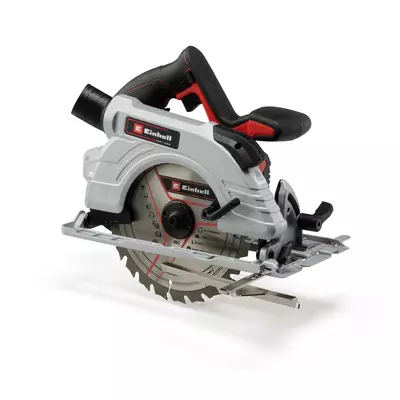
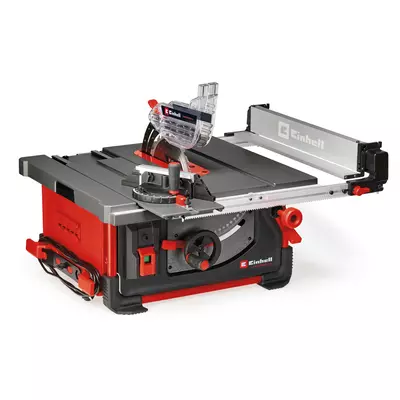
- Table saw or circular saw
- Jigsaw
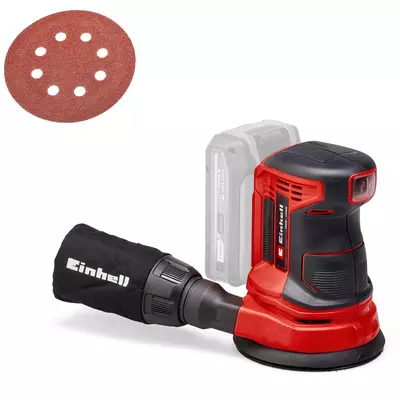
- Random orbital sander
- Belt sander
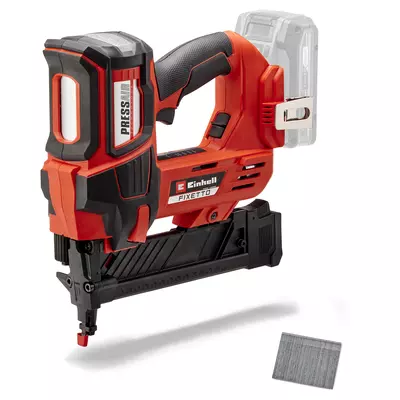
- Cordless nailer
- Pocket hole jig
- Wood glue clamps
- Screw clamps
- Set square
- Measuring tools (e.g. tape measure)
- Sandpaper: 120 and 240 grit
- Screws: 3 × 12 mm and 4 × 30 mm
Materials
- Planed wooden battens, spruce/fir: approx. 3.5 m, 26 mm x 45 mm
- For cabinet walls and centre panel: 3 × poplar plywood panels, 10 mm
- For cabinet front: poplar plywood, 10 mm, approx. 0.4 m²
- Flexible plywood: 200 mm x 1333 mm
- 4 × Full-extension drawer slides: 25 kg load capacity / 300 mm length
- For cabinet top: 18 mm birch multiplex, 170 mm x 300 mm
- For cabinet base: 25 mm birch multiplex, 170 mm x 320 mm
- Paints and oils for wood treatment
- Fast-setting wood glue
- Mirror, shelves, organisers, or similar accessories
Instructions: Building the Bathroom Cabinet
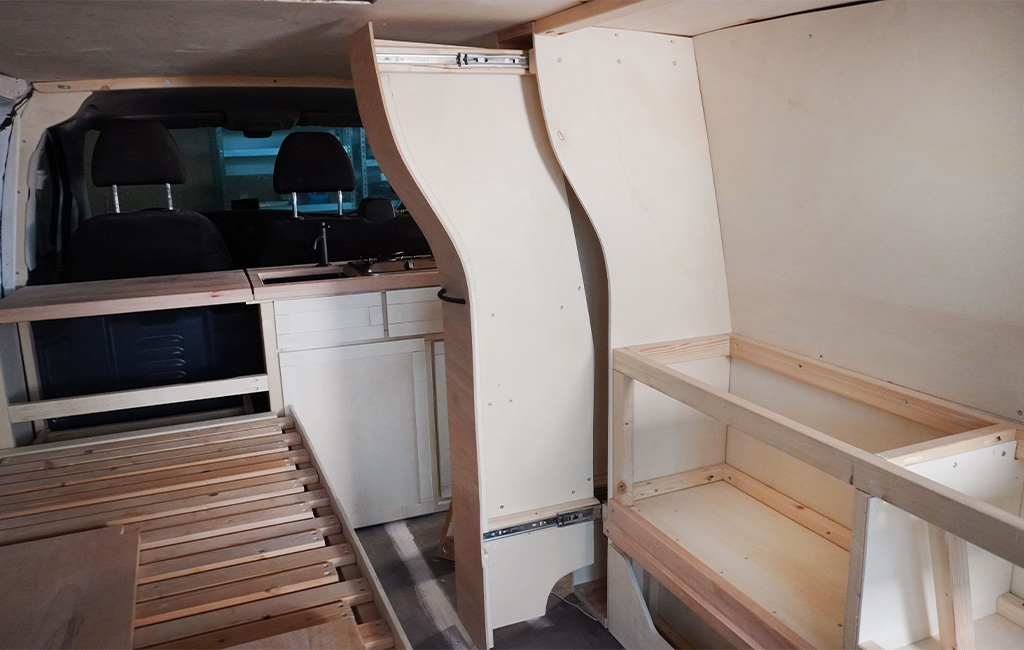
At the start of the project, we sketched out exactly how we wanted the final result to look. The bathroom cabinet is designed with an organic shape. It consists of two sturdy side panels and a central board that can be pulled out from the cabinet on drawer slides. Various shelves, organisers and a pull-out mirror are mounted onto this central sliding panel.
The cabinet is installed in a Vito, directly next to the sliding door. It spans the full interior height of the cargo area and, in our case, measures 1315 mm in height and 190 mm in width. Depending on your vehicle and chosen installation location, the height and shape of the cabinet may vary. That’s why this guide focuses primarily on the construction method. We’ll also share a few handy tips to help you succeed with your own camper build. Let’s get started!
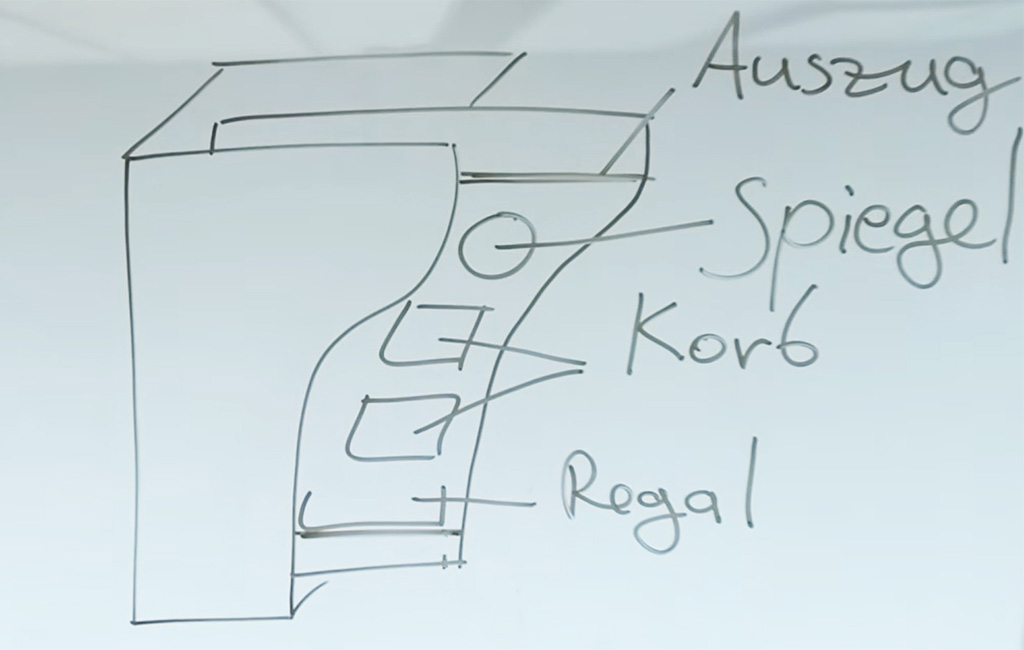
Creating an initial sketch helps keep a clear vision of what the finished project should look like.
Step 1: Constructing the Side Walls and Centre Panel
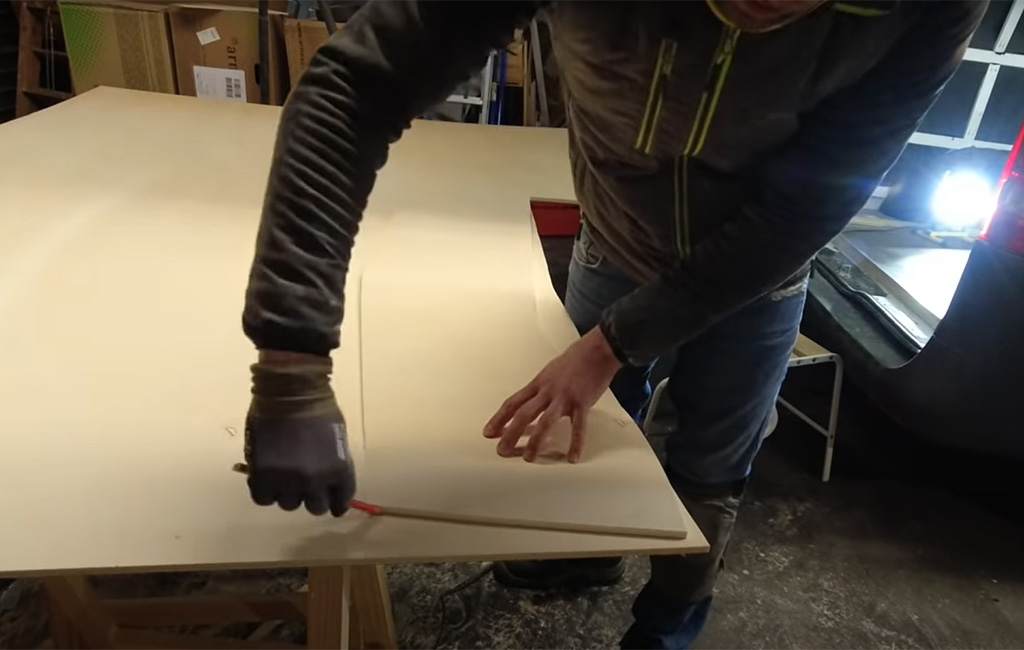
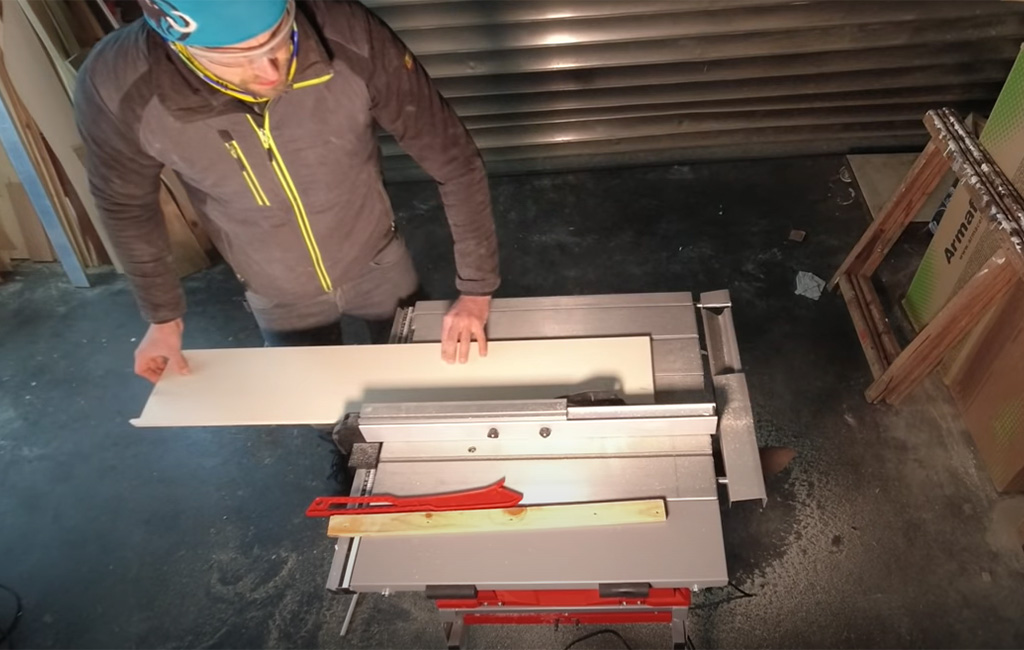
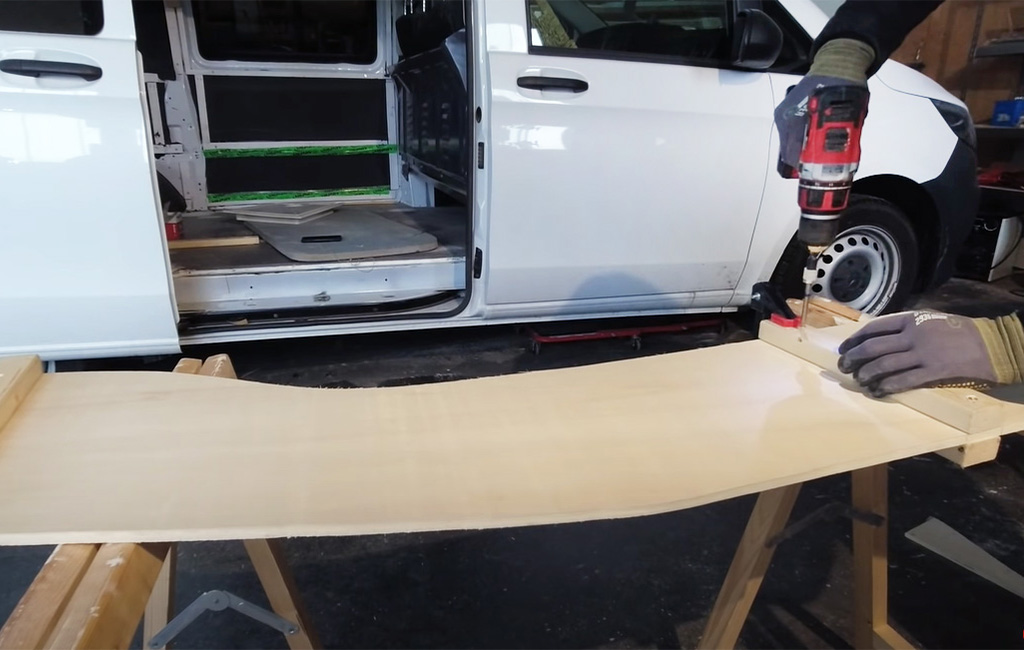
We begin by building the side wall of the bathroom cabinet. To do this, we cut a 10 mm thick poplar plywood panel to a size of 510 x 1315 mm using the table saw. Next, we draw a curved shape onto the panel and cut along this outline with a jigsaw. Finally, we smooth the contour using a belt sander with 120-grit sandpaper.
💡 Tip
Organic shapes create a soft and calming effect in such a small space – making them a great choice for van interiors.
Next, we transfer the shape of the side wall onto two more 10 mm thick poplar plywood panels and cut them out.
Now we have three identical 10 mm poplar plywood panels: two side walls and the centre panel. They just need to be adjusted to match the contour of the vehicle.
💡 Tip
There are no straight lines in a van’s cargo area. The belt sander is perfect for quickly adapting the components to match the vehicle’s contours.
As mentioned earlier, the centre panel is designed to slide out of the cabinet using drawer slides. To make this work smoothly, we shorten the top and bottom of the centre panel by 40 mm. Then, all wooden parts are sanded with 120-grit sandpaper and the edges are rounded off.
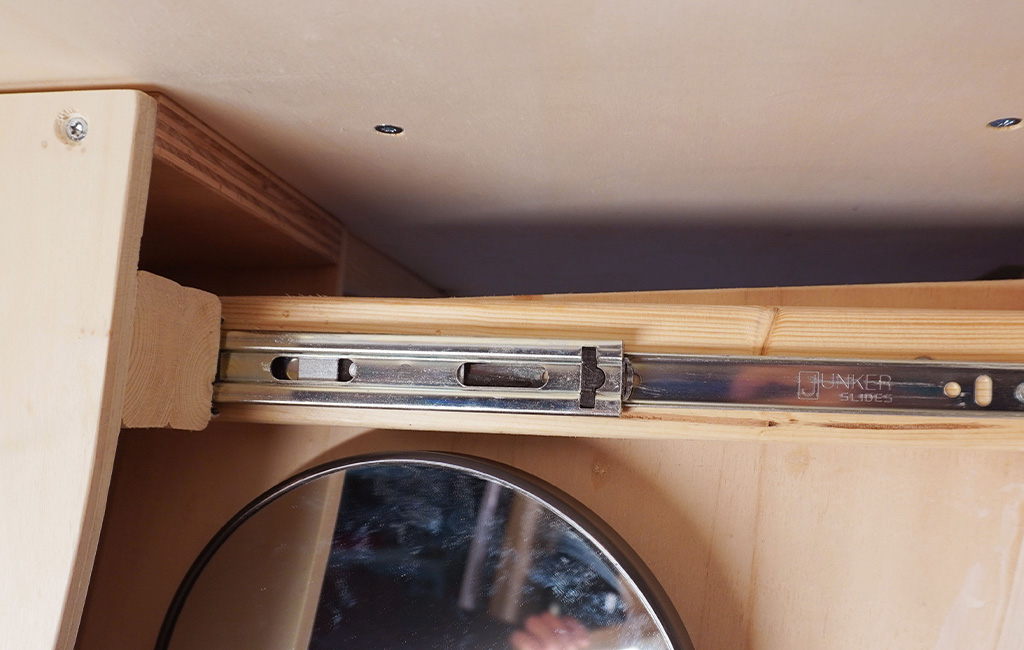
Step 2: Installing the Drawer Slides
To allow the centre panel to slide out, we attach the drawer slides to wooden battens.
⚠️ Important
Beforehand, make sure to determine exactly where you want to attach the wooden battens.
We mount the batten to the upper edge of the centre panel. To do this, we cut four 26 x 45 mm battens to a length of 300 mm using the mitre saw. The wooden battens are exactly the same length as the drawer slides we’re using.
Using the cordless drill/driver, we drill two holes at the outer edges of each batten, then glue and screw the battens to the centre panel.
On the back of the centre panel, we attach the other two battens in the same way and mount one drawer slide onto each batten.
💡 Tip
When attaching the battens, it’s important that the drawer slides are positioned parallel to the floor. That’s why you should always mark the exact position of the battens in the vehicle beforehand.
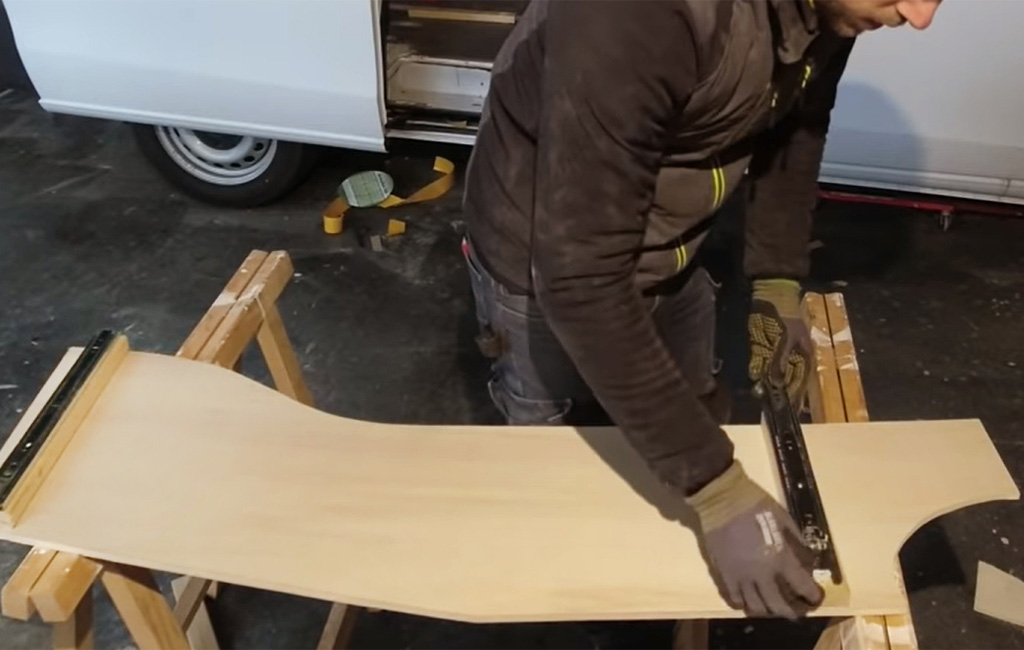
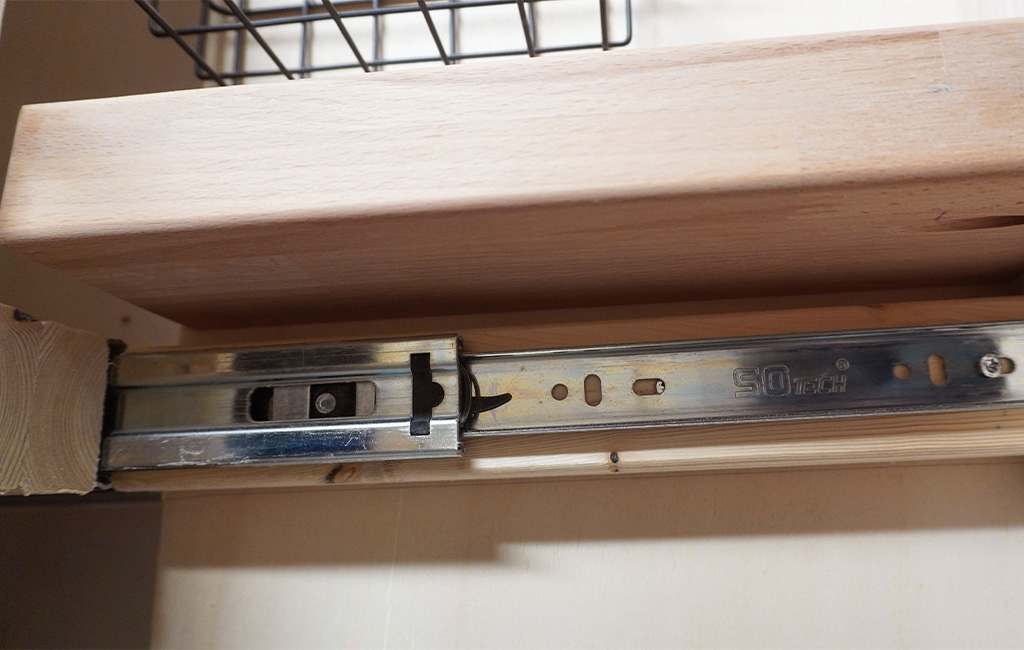
Now the drawer slides need to be mounted from the inside onto the two cabinet side panels. To do this, place one side panel on work stands and lay the centre panel on top of it. Align both panels so that the outer contour matches up cleanly. Then, using a pencil, transfer the positions of the battens just mounted on the centre panel onto the side panel. This shows you exactly where the battens for the slides need to be fixed.
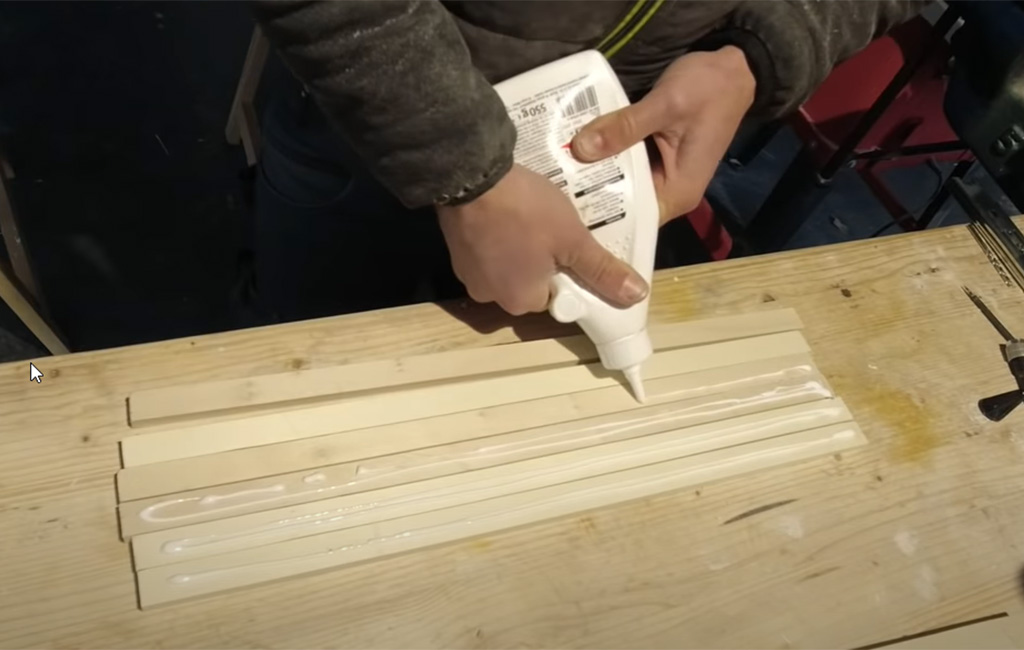
For this, we again use 300 mm long 26 x 45 mm battens. On the right side panel, attach one batten at each marked position, flat side down, using glue and screws. This creates a usable width of 60 mm on the right side. The left side of the pull-out cabinet is intended to be 90 mm wide, giving us more room to mount deeper shelves on the centre panel. That’s why we attach two battens on the left side panel, stacked on top of each other.
To do this, glue the two battens together and then screw them to the left cabinet side panel. Next, attach the outer rails of the drawer slides to the battens and check if everything slides smoothly.
Step 3: Base and Top Panel
Once everything fits correctly, we can move on to building the top and bottom panels of the cabinet. For this, we use relatively thick wood to ensure the side walls can be securely fastened. It’s a good idea to measure the exact distance between the side walls again – this will determine the width of both the top and bottom panels. In our case, both panels are 170 mm wide. Next, drill four holes into the upper and lower edges of each side wall. These holes will be used to screw the top and bottom panels to the side walls.
Step 4: Curved Cabinet Front
Now all that’s missing is the front of the cabinet. To attach it, remove the centre panel from the cabinet. This is easy to do by separating the inner rail from the outer rail of the drawer slides. The cabinet’s curved shape now needs to be transferred onto the front. The front is made up of a substructure of poplar plywood and a surface layer of flexible plywood.
First, we cut thin strips from 10 mm thick poplar plywood. These strips are assembled to recreate the curved shape of the front of the cabinet. The strips are then glued together and nailed in place using a cordless nailer.
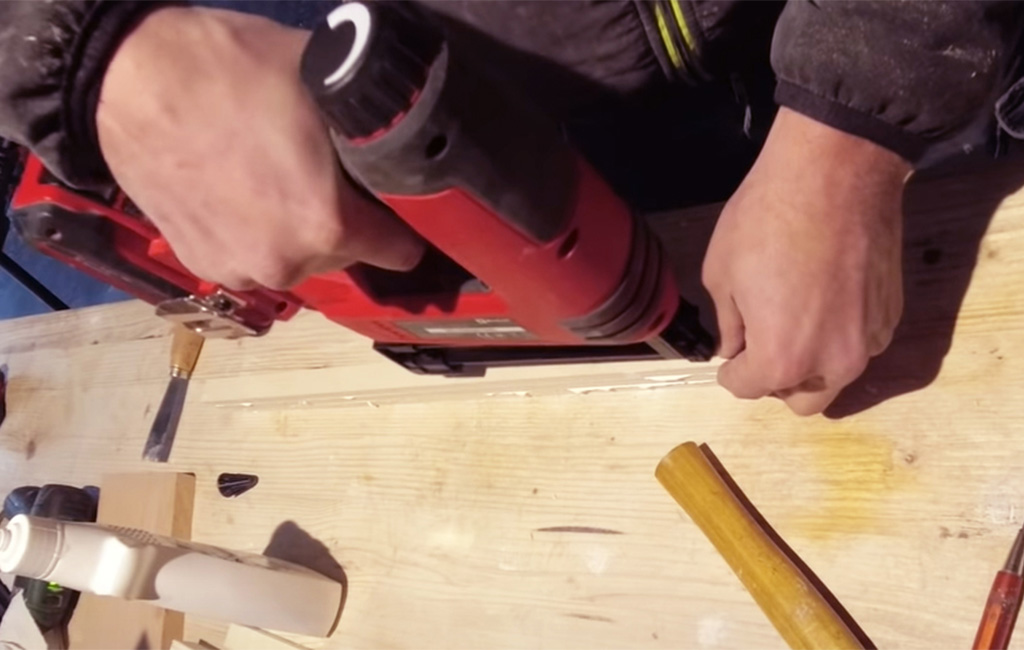
The glued strips should almost completely cover the gap between the pull-out panel and the cabinet side wall. To prevent the cabinet from sticking, we left a 10 mm clearance to the side wall. As a result, the combined strip width is 90 mm on the left and 60 mm on the right.
Once the glue has dried, we sand down any uneven spots with the belt sander (80-grit). Since the back side of the glued wood will be visible when the cabinet is open, we also sand it with 240-grit for a smooth finish. Now the assembled strips just need to be attached to the front edge of the pull-out panel. To do this, we use a pocket hole jig to drill angled holes into the edge of the glued strips. Then we attach them to the pull-out panel using suitable screws and wood glue. To avoid any gaps, we clamp the connection tightly and let the glue dry completely.
Then we refine the contour of the cabinet front using the random orbital sander. The surface must be completely even in the end, as the flexible plywood that will form the visible cabinet front is glued on top of it.

To create the cabinet front, we cut a strip of flexible plywood to size using the cordless circular saw and glue it onto the front of the pull-out panel. You’ll need several clamps for this step. If you don’t have enough, you can also screw or nail the flexible plywood in place at certain points. The following images show the cabinet front from the front view, as well as the glued poplar plywood strips behind the front panel.
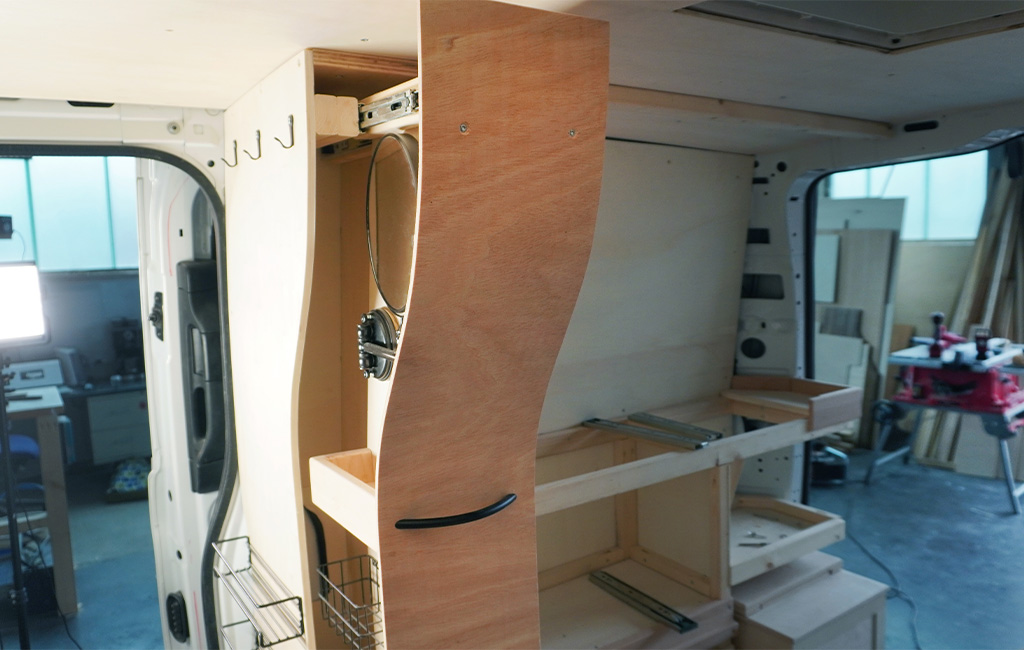
Step 5: Interior Design
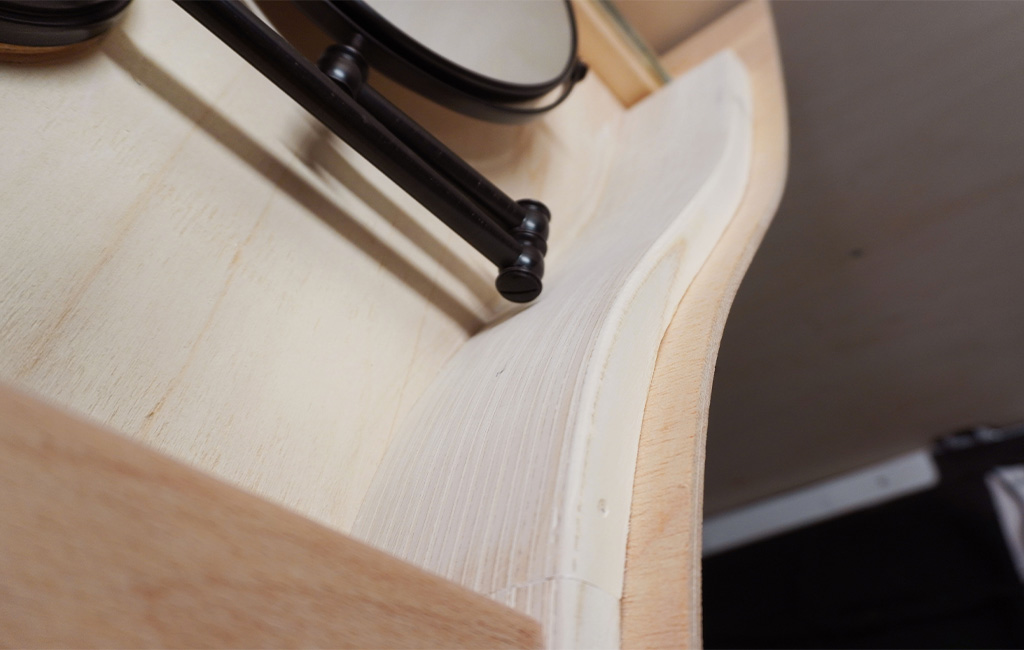
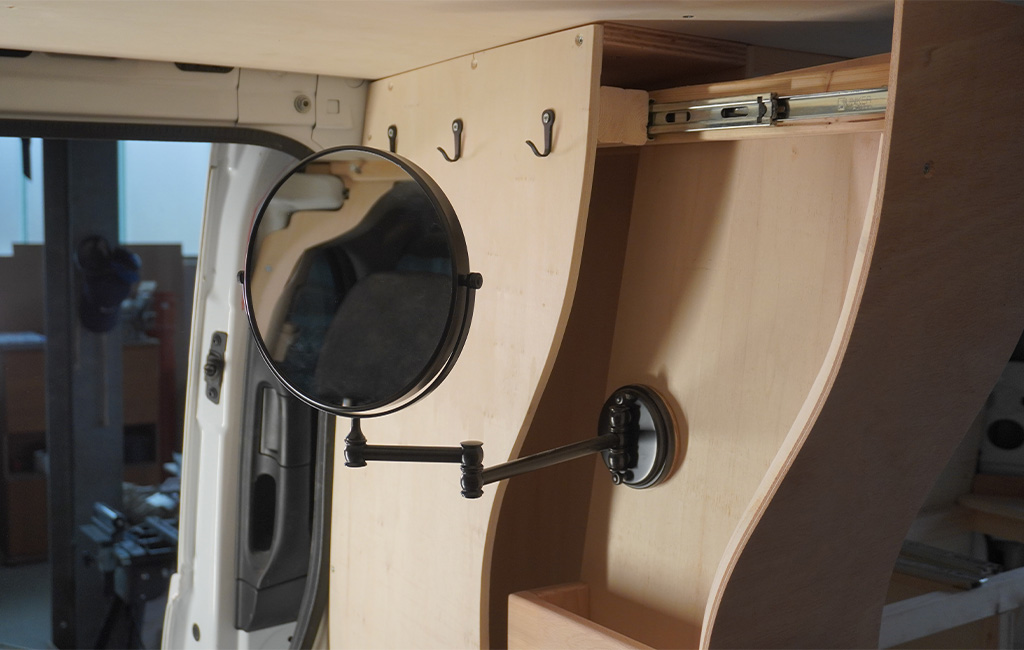
After the drying time, the outer cabinet is complete. Now it just needs a few finishing touches like handles and the interior fittings. For a cleaner look, we add two small shelves and a toothbrush holder made from beech wood. We also mount a fold-out mirror and a few wire baskets onto the pull-out panel.
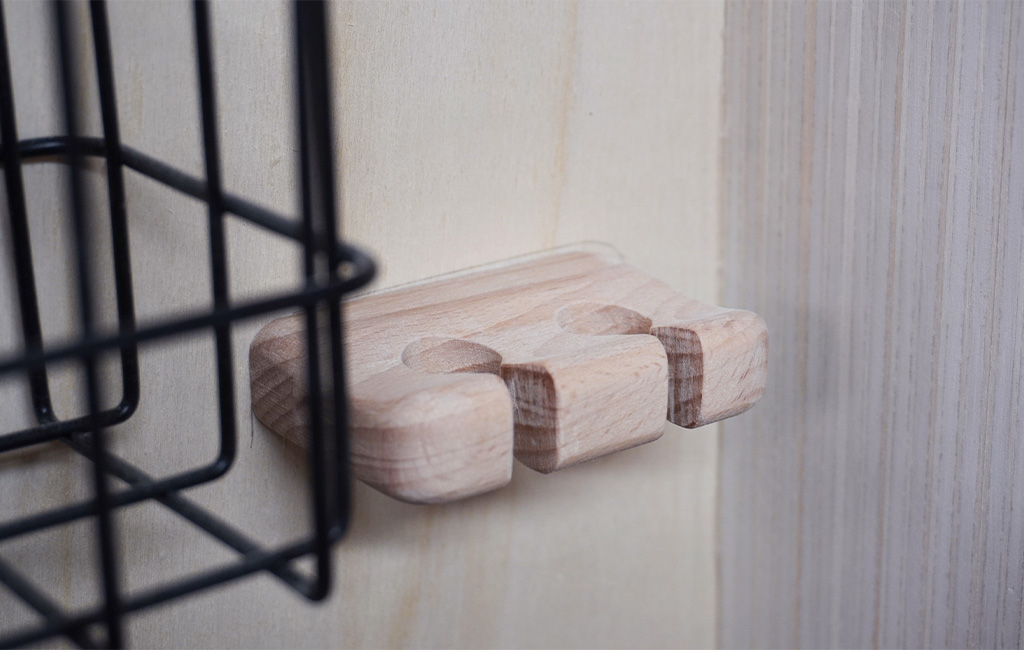
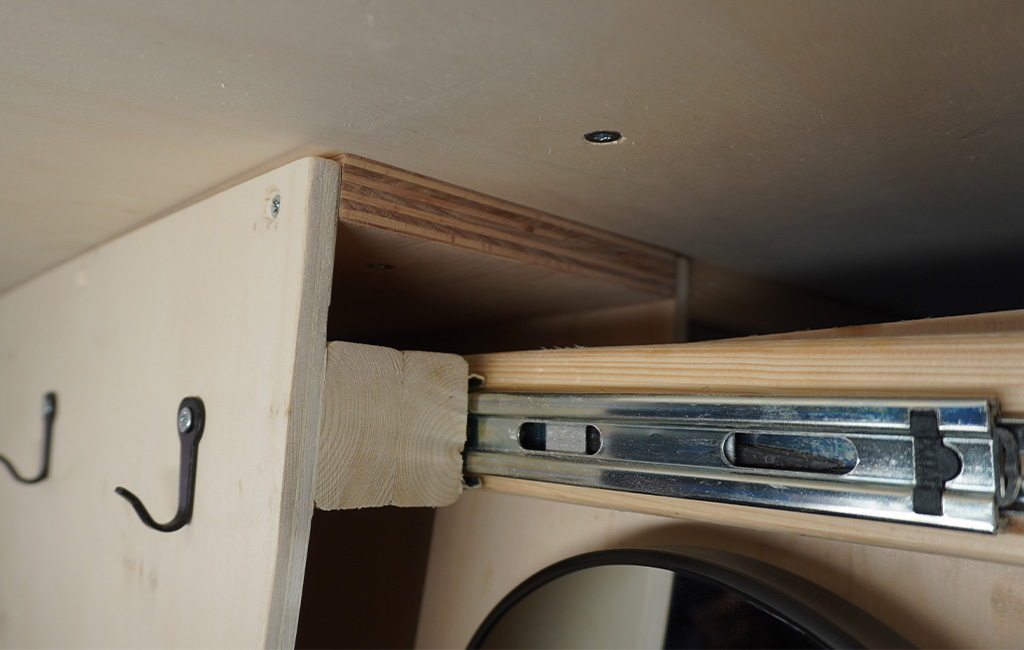
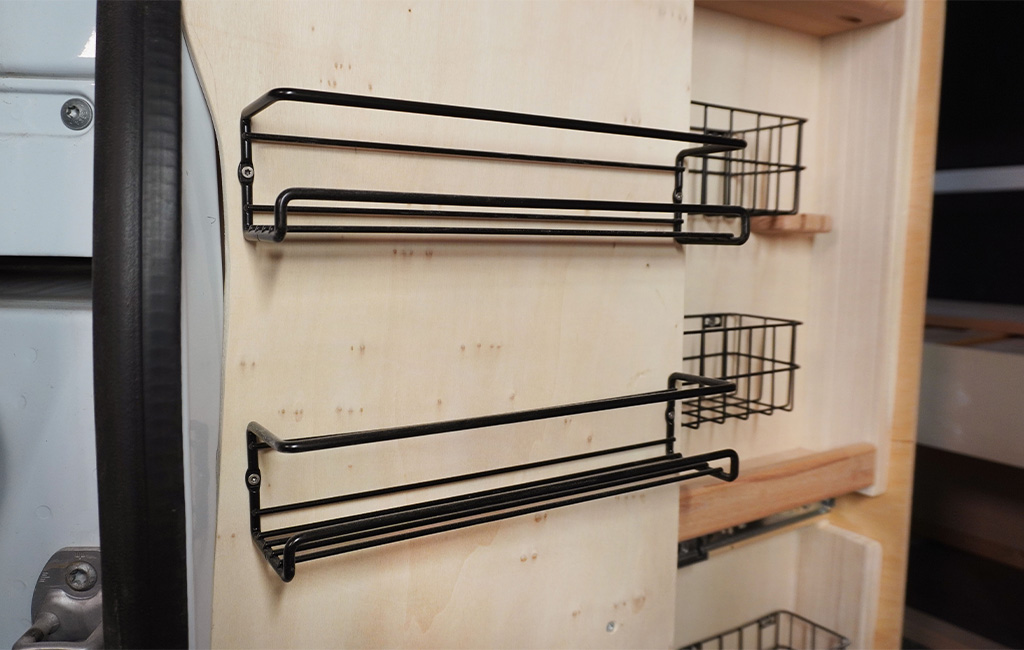
We also screw two spice racks and three hooks onto the front cabinet side wall. Feel free to get creative here and equip your bathroom cabinet however it suits you best. So far, we’ve only fitted the front side of the pull-out panel. On the back, we plan to mount large mirrors and add a few hooks so that towels can be hung there as well.
Step 6: Mounting and Finishing
All that’s left is to secure the cabinet with its base structure. To do this, we simply screw the bottom and top panels to the glued support battens inside the van. Don't forget the wood treatment: once the rest of the camper furniture is finished, we’ll paint the cabinet white and treat the flexible plywood front and the beech wood with hard wax oil. We might also add more organisers to the side walls – there’s definitely enough space for them.
The cabinet is built and installed – only the paintwork is missing. That’ll be the final step in completing the camper van fit-out!
Conclusion: Neatly Stored Bathroom Essentials
This cabinet allows you to store your toiletries out of sight and in an organised way. No more bathroom items rolling around the van – everything has its place, bringing more order to your camper. We positioned the cabinet close to the sink and within easy reach from the bed. It gives us the feeling of having a small bathroom inside the van – a real highlight in such a compact space.
💡 Tip
The bathroom cabinet is even easier to build if you skip the curved design. In that case, you can simply work with straight boards and won’t need any flexible plywood.
You can also follow this project on our YouTube channel – feel free to check it out!
We wish you lots of fun and success with your own build!
Suitable Tools for the Project
Here you'll find Einhell tools and accessories that are perfect for bringing this DIY project to life.


Product was added to the comparison list.
Product was removed from the comparison list.
Open comparison listIn this article you will learn all about:

Published on 22.04.2022
Alina Miller and Timo Ettlich of Sprintour are passionate vanlife enthusiasts with a technical background. After completing their engineering degrees and spending a year travelling through Europe in their self-converted Sprinter, they founded their own camper conversion business. They’re currently on an extended journey along the Pan-American Highway. On www.sprintour.de, Instagram (@sprintour) and in the Einhell Blog, they share their experiences of life on the road and all things related to van conversions.