


Camper Kitchen
DIY Camping Project
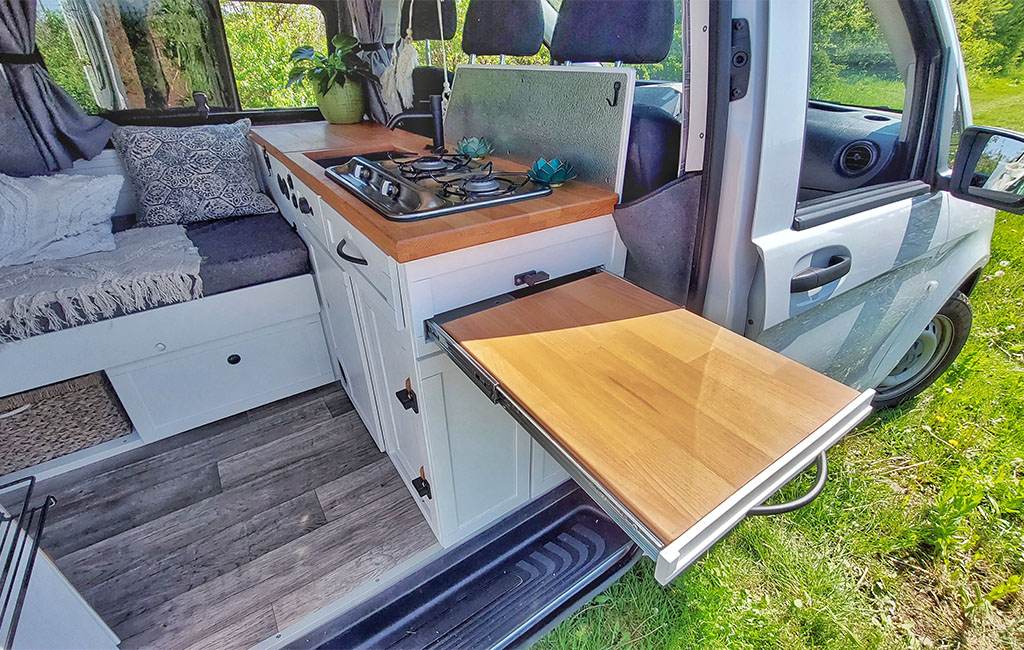
We built a DIY camper kitchen for our Mercedes-Benz Vito. The kitchen is located behind the van’s partition wall and includes everything you’d typically need in a camper kitchen. In this guide, we’ll explain how to construct a lightweight kitchen unit. You can use this guide for almost any vehicle, as camper kitchens usually consist of similar components. The only major differences are in the measurements, of course. So grab your tools – and let’s get started!
In this post, we’ll show you how to build your own kitchen for your camper.
Tools & Materials
Werkzeug
- Cordless screwdriver
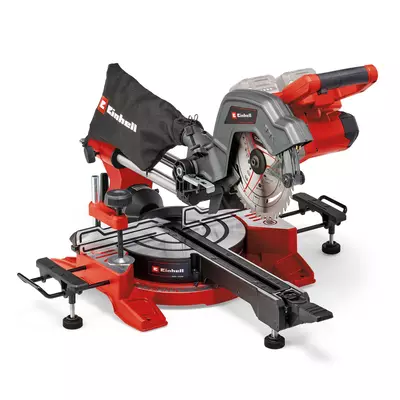
- Mitre saw
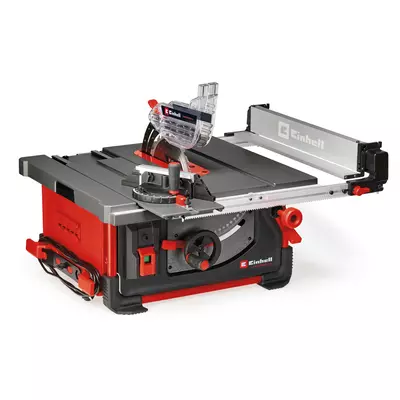
- Table saw
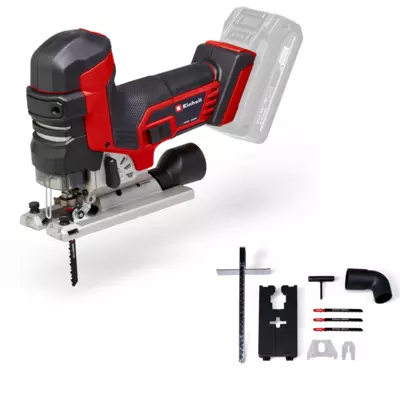
- Jigsaw
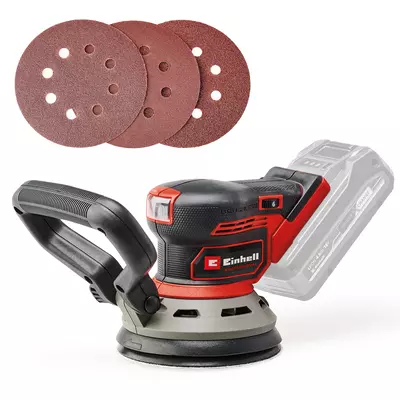
- Random orbital sander / Sanding block
- Belt sander
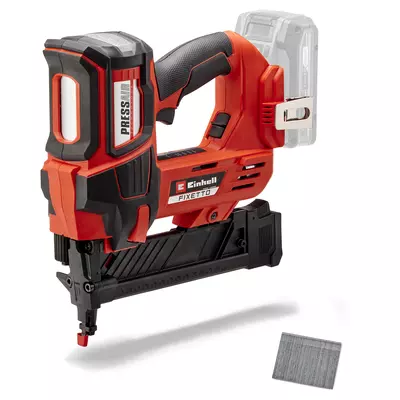
- Cordless nailer
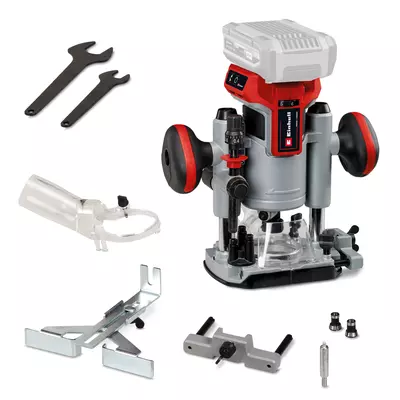
- Router
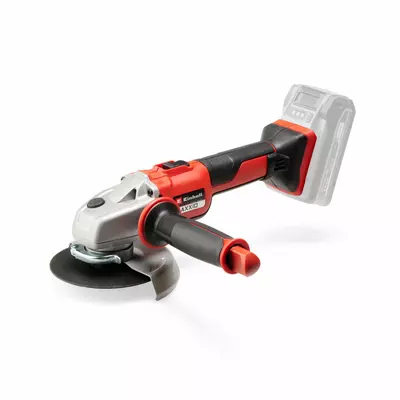
- Angle grinder
- Pocket hole jig
- Wood clamps
- Metal file
- Screw clamps
- Filler knife
- Set square
- Pencil
- Measuring tools like tape measure
- Sandpaper (120/240 grit)
- Rust protection primer
- Fast-setting wood glue
- Varnishes and oils for wood treatment (incl. brush and paint roller)
Material
- Approx. 6 m of planed spruce/fir timber, 28 mm x 28 mm
- Approx. 14 m of planed spruce/fir timber, 26 mm x 45 mm
- 10 mm poplar plywood, approx. 0.24 m²
- 8 mm poplar plywood, approx. 2.3 m²
- 4 mm poplar plywood, approx. 0.7 m²
- 18 mm beech laminated wood panel: 830 x 450 + 830 x 15 + 435 x 20 [mm] (right-hand kitchen worktop)
- 18 mm beech laminated wood panel: 610 x 450 + 610 x 15 [mm] (left-hand kitchen worktop)
- 18 mm beech laminated wood panel: 470 x 370 [mm] (pull-out table)
- 12 mm marine pine panel 600 mm x 420 mm (alternatively birch or similar)
- Full-extension runner for pull-out table (500 mm; 45 kg load capacity)
- Full-extension runner for drawer (350 mm; 25 kg load capacity)
- 4 x screw-on hinges
- 4 x magnetic catches
- Piano hinge (1200 mm)
- Screws (4 x 30), (4 x 45)
- Push-locks and latches for drawer, pull-out table, gas box and worktop above the cool box
- Kitchen equipment such as sink, cooker, cool box, etc.
Building the Kitchen
For the construction of the camper kitchen, we’re using a frame-based design. It’s universally applicable and can be implemented in any camper. You’ll build a supporting timber framework around your components and connect the beams to form a basic structure. You can then integrate as many compartments as you like into this beam construction.
The shape of the kitchen depends on where you’re installing it in the vehicle and which components (water tank, cool box, etc.) you choose for your camper kitchen.
Step 1: Constructing the Beam Framework
In our Vito, the kitchen is designed to span the full width of the load area and be at a comfortable height so that cooking at the worktop remains easy and ergonomic. With this in mind, we decided that the kitchen should measure just under 750 mm from the floor panel to the top edge of the worktop.
💡 Tip
If you’re unsure about the ideal height for your kitchen, simply place a stool inside the vehicle and test it out. You should still be able to wash dishes comfortably and cook on the worktop without any strain.
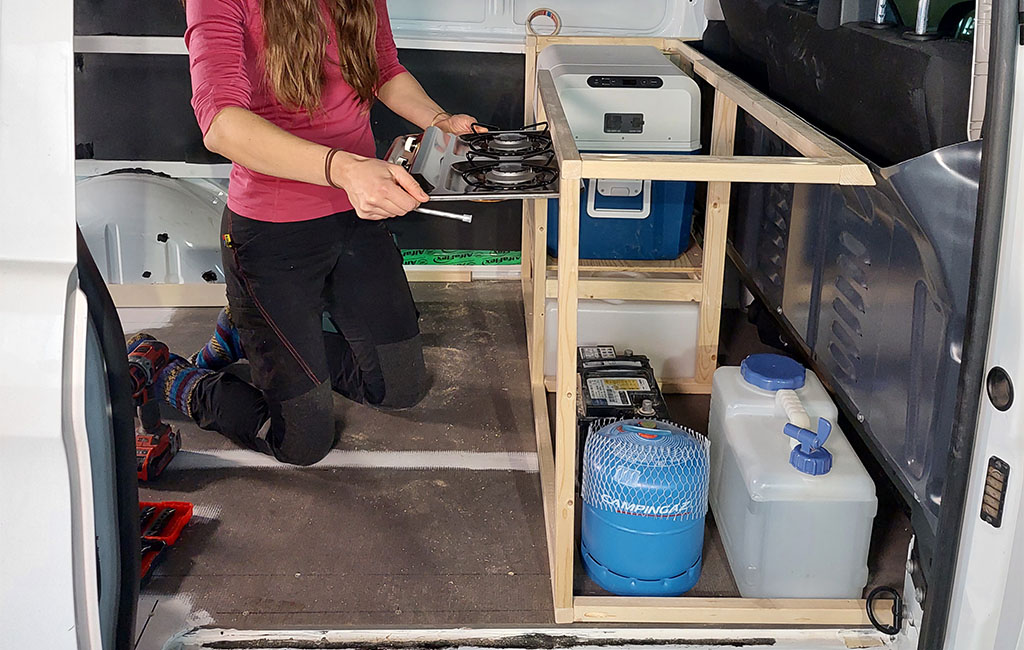
When constructing the base frame, it’s important to plan ahead and decide which appliances you want to include in your kitchen. That’s why we placed all the components in the van beforehand to plan the layout of the kitchen accordingly.
In our Vito kitchen, we’re installing a 44-litre water tank, which will be positioned in the lower left section of the kitchen unit. Above it, we’ll place the 39-litre cool box. On the far right at the bottom, the gas box will be installed, with a compartment behind it for a 15-litre waste water container.
The centre compartment is to remain empty for now. This space is reserved for the heater and the electrical setup later on.
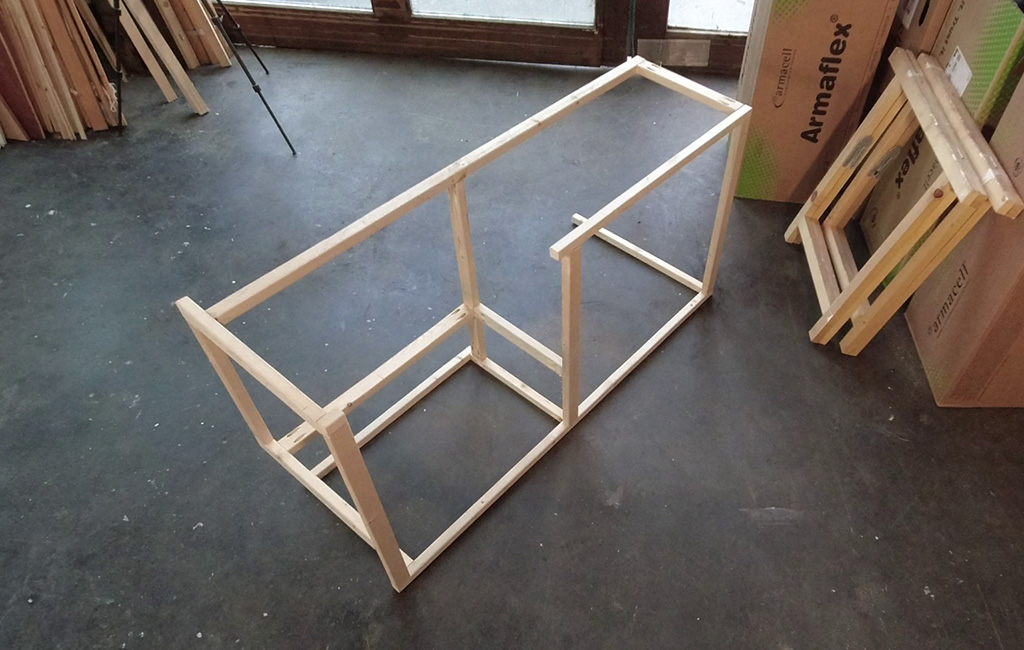
We’re using two different timber dimensions for the kitchen’s framework: load-bearing beams with a cross-section of 26 mm x 45 mm, and 28 mm x 28 mm beams to divide the space within the kitchen unit.
💡 Tip
It’s best to buy only planed timber. That way, the surface doesn’t need any further treatment, saving you both time and effort.
First, we build the outer frame of the kitchen using the 28 mm x 28 mm timber. In our case, this framework has the following dimensions: width – 1450 mm, approximate depth – 490 mm, height – 735 mm. Since the 44-litre water tank is quite large, it determines the overall depth of the kitchen. For that reason, we next construct a timber frame around it to keep it securely in place while driving.
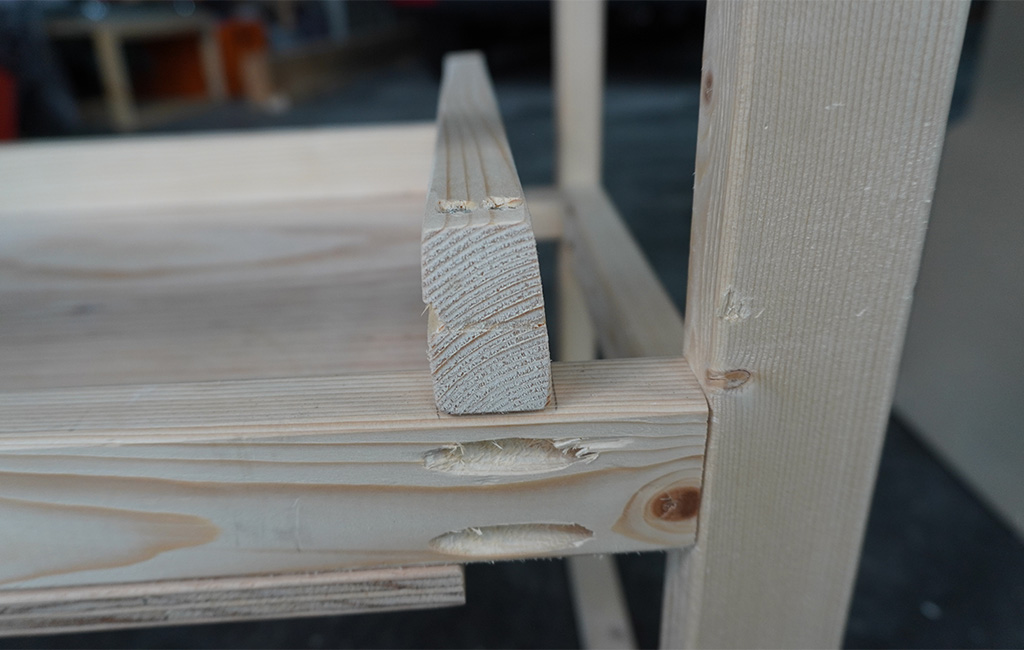
To cut the timber to length, we use a mitre saw. To join the beams, we first drill angled holes into the ends of the timber using a pocket hole jig.
We apply a bit of wood glue to each joint and then screw the beams together using a cordless drill.
Depending on where you plan to install the kitchen inside your vehicle, you’ll need to adjust the dimensions of the base frame accordingly. In our Vito, the kitchen unit is built directly against the partition wall, which then serves as the rear wall of the kitchen.
Step 2: Modifying the Partition Wall
Normally, we completely remove the partition wall from the vehicle to use the space – for example, for a swivel seat. However, in this compact Vito, we need that space for the kitchen. That said, we do remove the upper section of the partition wall– about a quarter – because we want to create an emergency exit route to the front.
In a dangerous situation, it should still be possible to escape from the living area into the driver’s cabin. That’s why we’ve only partially removed the partition and built the kitchen directly in front of it.
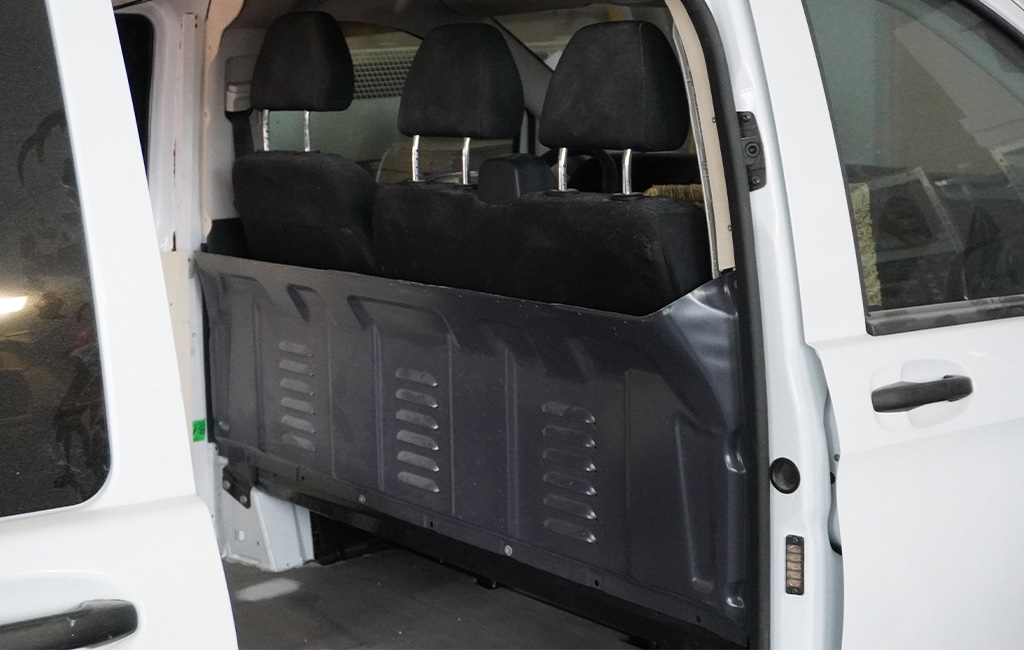
The Vito’s partition wall has a pronounced curved shape, which makes it quite challenging to recreate its contour with a wooden structure. However, this approach makes the most efficient use of space in such a compact vehicle, and leaving half of the partition in place also provides additional stability.
We remove the partition wall and cut it down to a height of 735 mm using an angle grinder. The cut edge is then deburred with a metal file and treated with a rust protection primer. After that, the partition wall is reinstalled.
To connect the partition to the kitchen framework, we drill several holes along the top edge of the wall. These will later be used to fix the partition to the timber construction. The holes also need to be treated with rust protection.
Due to the curved shape of the partition wall, some of the beams in the kitchen framework need to be adjusted. This really depends on your specific vehicle and how you’re building it. In our case, we had to shorten a few beams and sand down certain areas to make them fit properly.
Additionally, due to the curved shape of the partition wall, we adjusted the beams beneath the kitchen worktop to match its contour. Now we begin shaping individual compartments for each component using additional timber framework. We’re starting with the cool box.
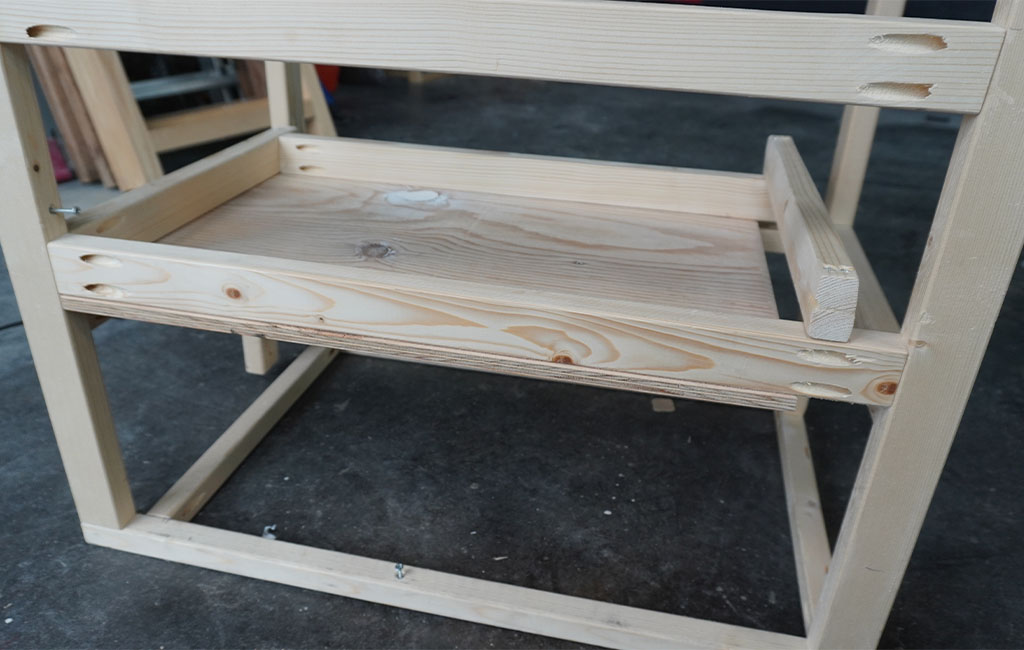
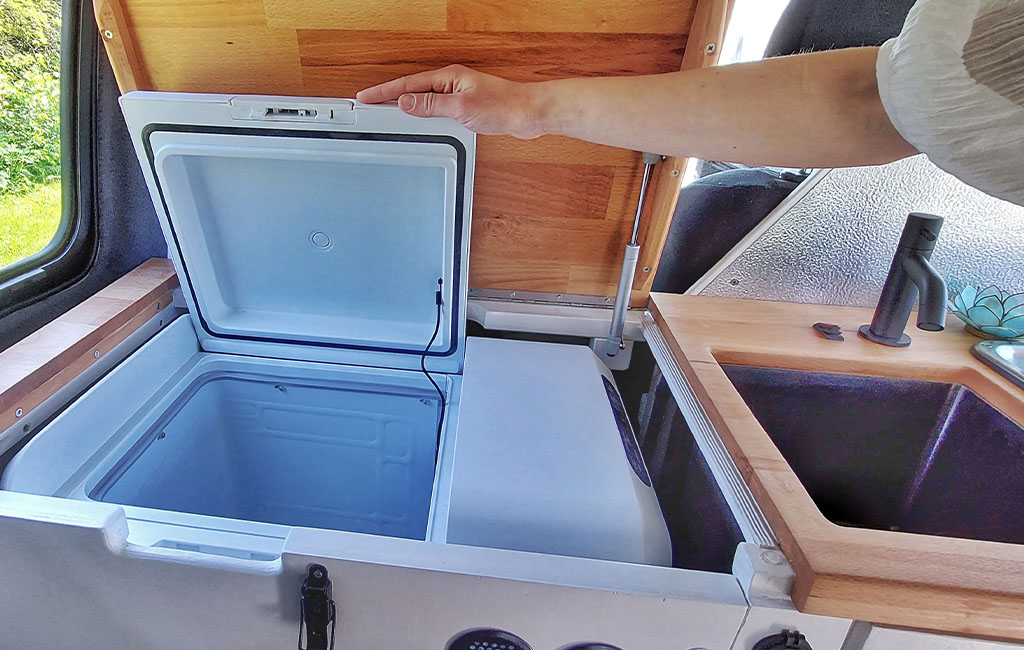
Step 3: Platform for the Cool Box
In this Vito, the cool box is going to sit above the water tank. To support it, we build a platform using a timber frame and a 12 mm thick pine panel, positioned directly over the water tank. The cool box will later be placed on top of this platform.
💡 Tip
We screwed additional wooden beams onto the platform where the cool box will sit. These are there to stabilise the cool box during driving, preventing it from sliding around.
Step 4: Kitchen Worktop
Before installing any more beams for the kitchen framework, we need to be clear about the size of the kitchen worktop and how much space the sink and cooker will eventually require. Here’s how we’ve planned the layout of our worktop:
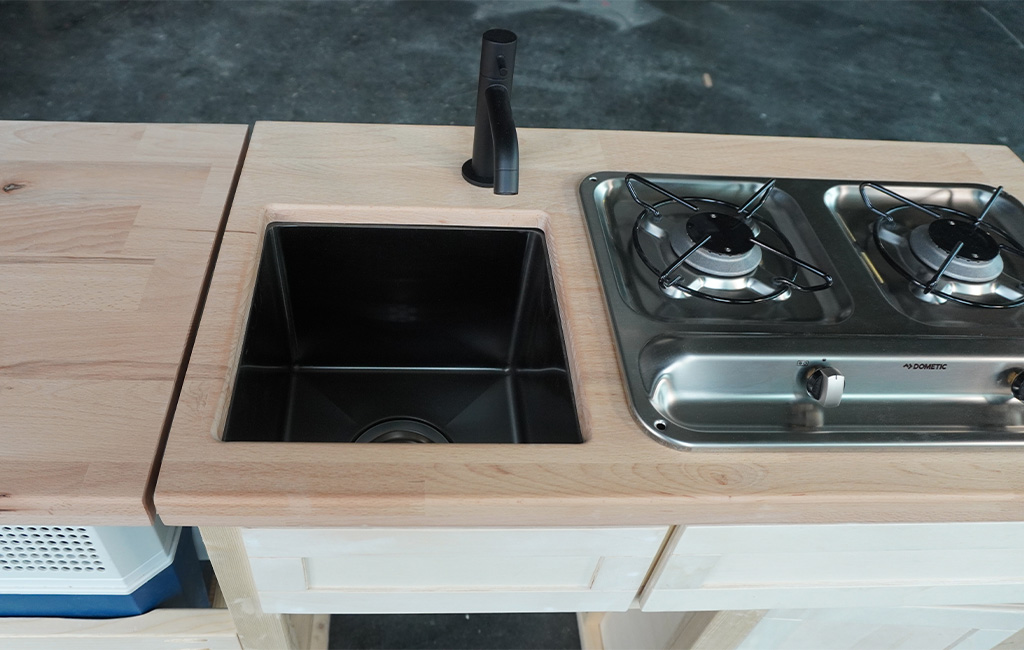
The gas cooker will be positioned on the far right of the worktop. The sink, along with the tap, will be placed to the left of the cooker. The area above the cool box will remain completely free, as this section of the worktop is going to be hinged so the cool box can be opened from above.
After selecting the sink and cooker, we can use their dimensions to plan the depth of the kitchen worktop.
To make the worktop, we cut an 18 mm thick beech laminated panel measuring 830 mm x 450 mm using a table saw. Alternatively, you could use a jigsaw. The worktop will rest on both the timber framework and the partition wall. Ideally, it should extend slightly over the partition wall to cover it completely.
Since we’ve opted to cook with gas in the Vito, we’re mounting a gas cooker on the worktop. To do this, we drill a pilot hole with a cordless drill, then cut out the opening for the cooker using a jigsaw. The exact dimensions for the cut-out can be found in the user manual of your chosen cooker.
Later on, the cooker will be placed into the opening and secured in place using screws.
💡 Tip
The seats should be well protected from the heat of the cooker. It’s recommended to install a splash and heat shield at the rear edge of the kitchen worktop. There are specific safety requirements for this as well, which can be found in the cooker’s user manual. Once all the furniture is completed, we’ll be installing a wooden splash guard, which we’ll then cover with ceramic tiles.
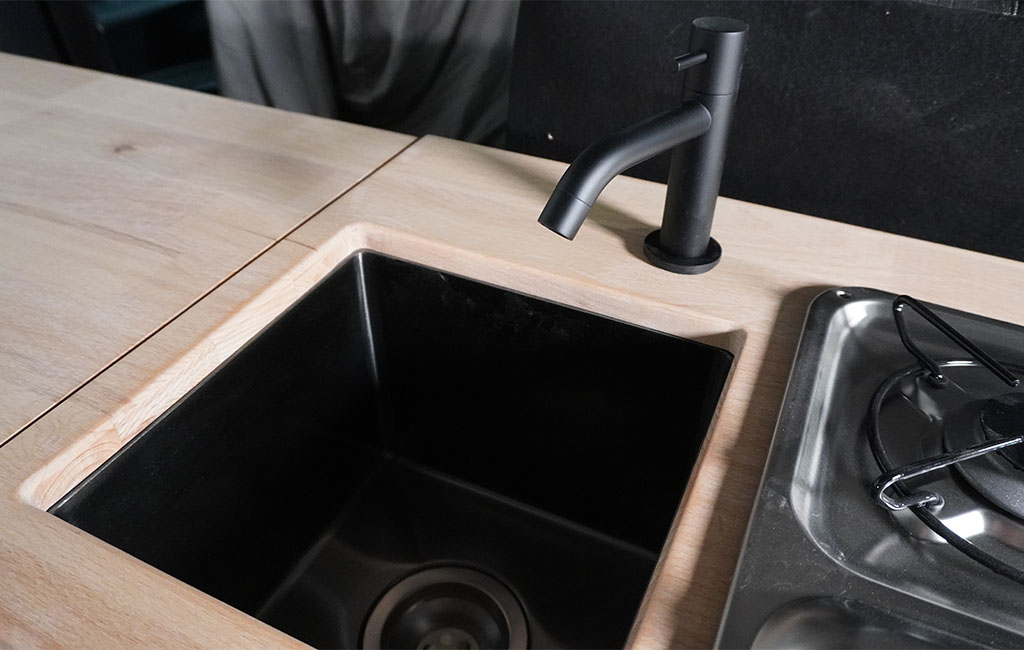
We’re planning to attach the sink to the underside of the worktop using adhesive. To cut out the opening with the jigsaw, we first drill a 10 mm hole into the worktop using a cordless drill. Once the opening for the sink is cut, we smooth the edges with a belt sander. Alternatively, you can use 80-grit followed by 240-grit sandpaper. We then drill an additional hole next to the sink for the tap and secure it in place.
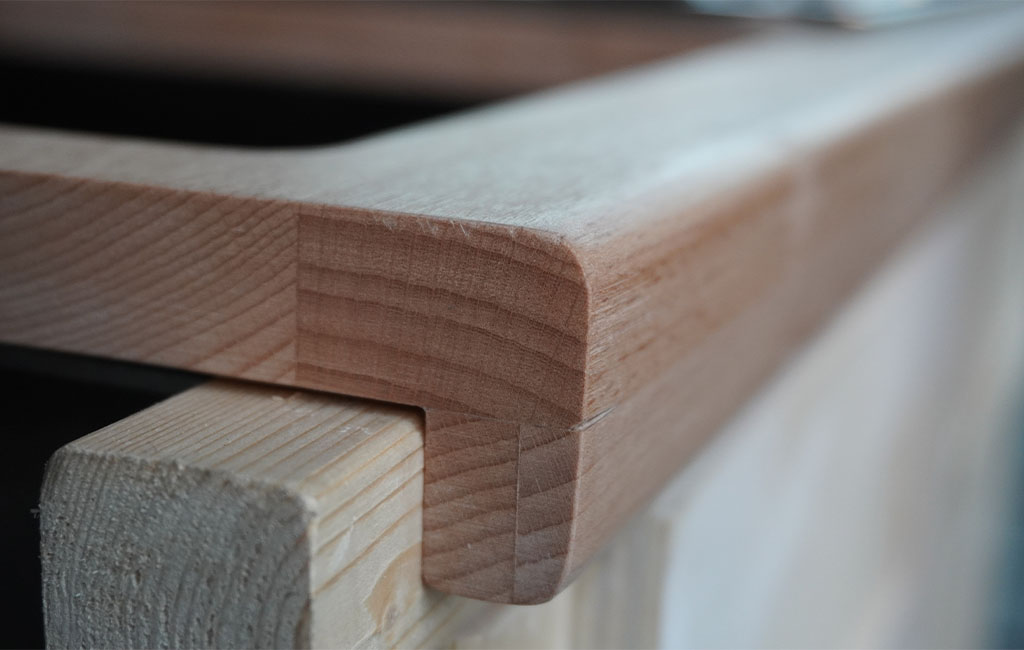
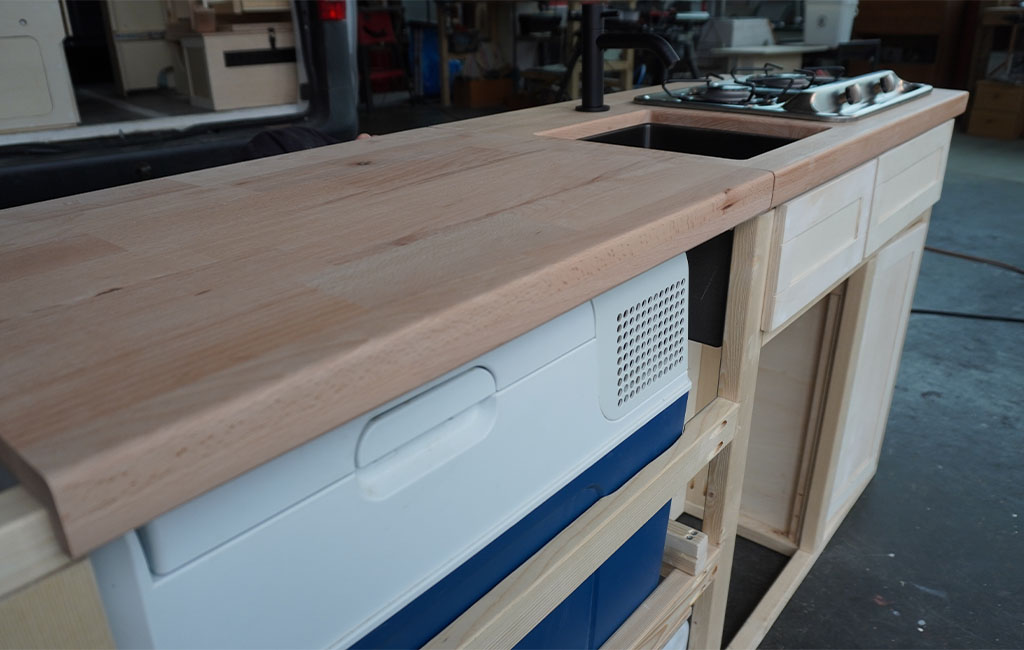
To keep the overall build lightweight, we’re using a thinner laminated wood panel (18 mm) for the right-hand kitchen worktop. To give it the appearance of a thicker worktop, we cut a 15 mm wide strip of beech wood and glue it to the underside of the front edge. We also glue a 20 mm thick beech wood strip to the bottom right edge of the worktop.
⚠️ Warning
It’s essential to use enough clamps during this process to ensure a secure and even bond.
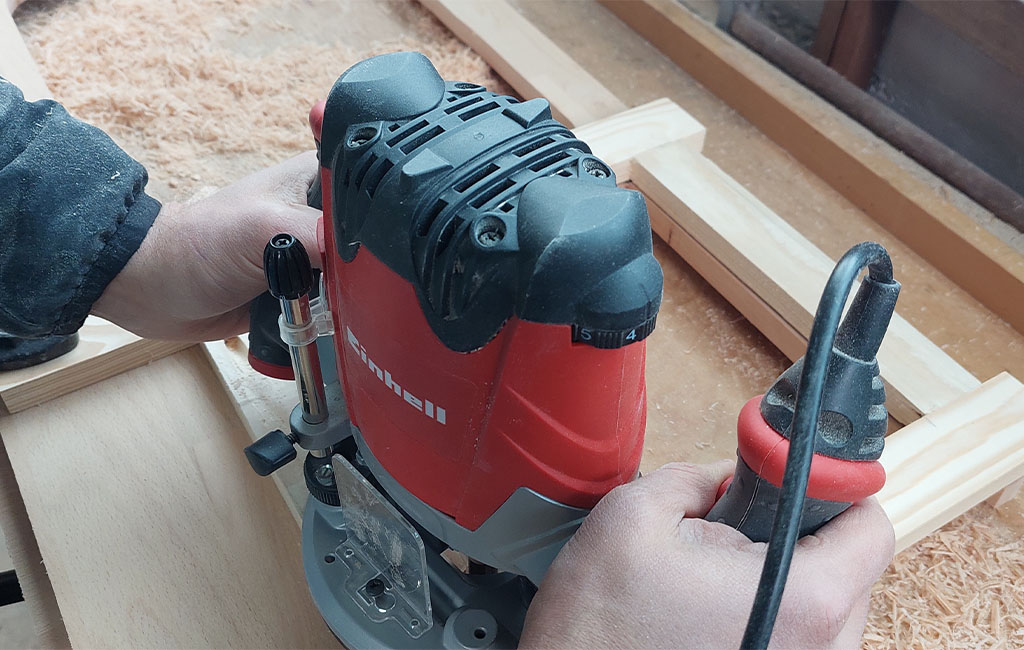
Once the glue has dried, we level the front edge of the kitchen worktop using a belt sander. Then, using a router, we shape a smooth, rounded edge into the wood. We also round off the cut edges of the sink opening with the router for a clean, finished look.
Next, we sand the surface of the worktop smooth using a random orbital sander—starting with 120-grit and then finishing with 240-grit sandpaper. The gas cooker can now be fitted, and the sink can be glued to the underside of the worktop.
We won’t attach the worktop to the top beam just yet, but we’ll go ahead and drill the holes into the beams. These holes will later be used to screw the worktop securely to the frame.
All that’s left now is the worktop section above the cool box. This will be a separate panel mounted to the partition wall. For this, we cut a piece of beech wood measuring 610 mm x 450 mm. The flap is attached using a piano hinge and screws, fixed directly to the top edge of the trimmed partition wall. We also add an additional strip to the front edge of this panel to give it a thicker look, so that it matches the rest of the worktop for a consistent finish.
Now that the worktop is complete, we can go ahead and build the remaining compartments in the base unit.
Step 5: The Gas Box
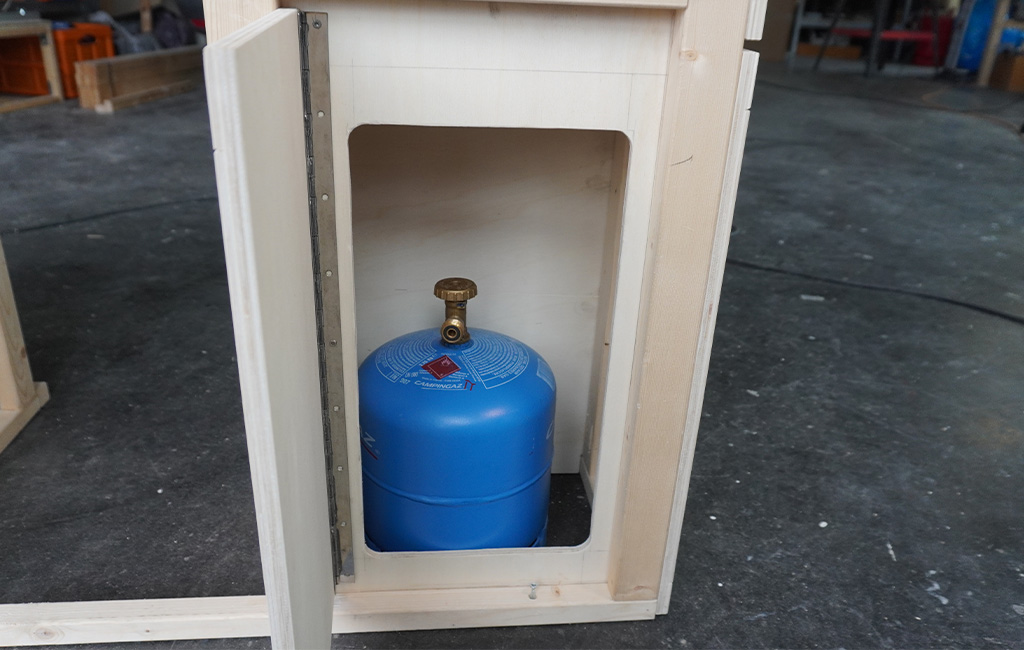
The gas box must be large enough to accommodate at least one gas bottle, a pressure regulator, and a gas hose. For this, we also built a frame using 26 x 45 mm timber and clad it with 8 mm thick poplar plywood. When attaching the cladding, we glue the 8 mm poplar plywood panels to the frame and then fix them in place using a cordless nailer.
The front of the gas box is made from an 8 mm thick poplar plywood panel, into which a large opening is cut. This opening must be at least big enough to allow the gas bottle to pass through. The front panel is then also glued and nailed to the gas box frame. For the gas box door, we also use 8 mm thick poplar plywood, attaching it to the front panel with a piano hinge.
Step 6: Waste Water Compartment
Behind the gas box, we build a compartment for the waste water container. This is once again done using a timber frame. We follow the shape of the partition wall to make use of every available centimetre. The dimensions of this compartment may vary from one build to another – it all depends on the size of your chosen waste water container and what else you intend to store in this space.
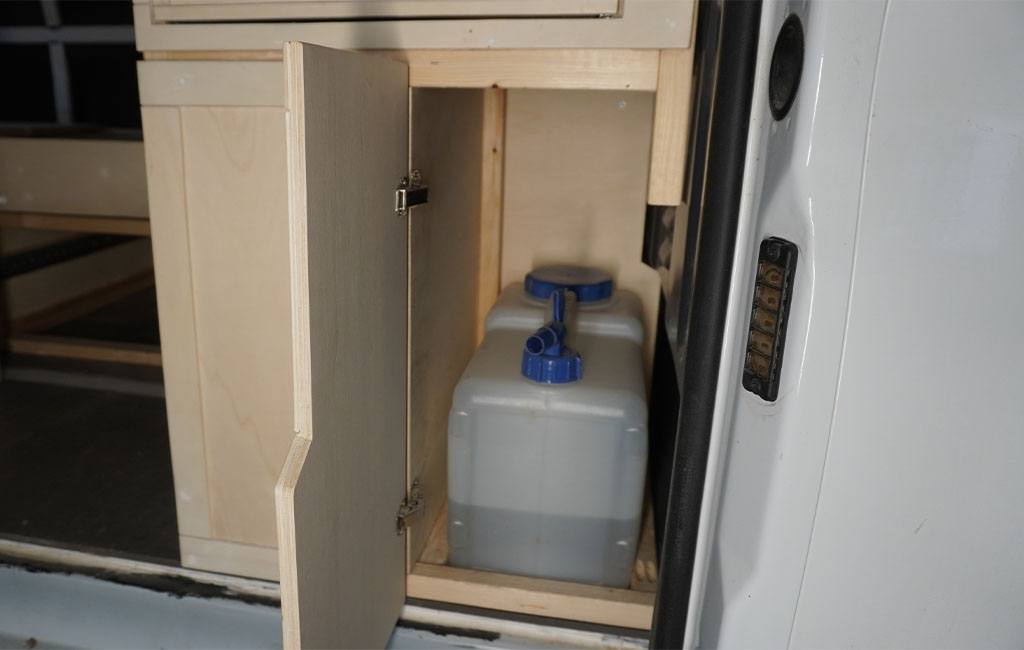
For this frame construction, we use 26 x 45 mm timber and clad the back with 8 mm thick poplar plywood. The compartment door is also made from 8 mm poplar plywood.
The door is then attached to the frame with hinges and held closed using magnetic catches.
💡 Tip
To give the compartment doors a decorative touch, we cut 40 mm wide strips from 4 mm thick poplar plywood and glue them around the edges of the doors. This gives the doors a charming, country-style appearance.
Step 7: Cutlery Drawer
Even the smallest kitchen needs a cutlery drawer – so of course, this camper kitchen includes one too, positioned right beneath the gas cooker.
The drawer is made from 10 mm thick poplar plywood. First, we cut the base and the side panels to size. To make gluing the drawer easier and sturdier, we router 5 mm deep and 5 mm wide recesses into the base and side panels. On the side panels, we leave the top edge uncut when routing. Next, we apply wood glue to the recesses and clamp everything tightly together using screw clamps.
💡 Tip
A filler knife is perfect for removing excess glue from tight spots. This saves you the hassle of sanding off dried glue later on.
Once the glue has dried, we attach 10 mm thick and 25 mm high reinforcement strips to the left and right side walls of the drawer. The drawer runners are then screwed into these reinforcements. Thanks to the added thickness, we can use longer screws, which gives the runners a much stronger and more secure hold.
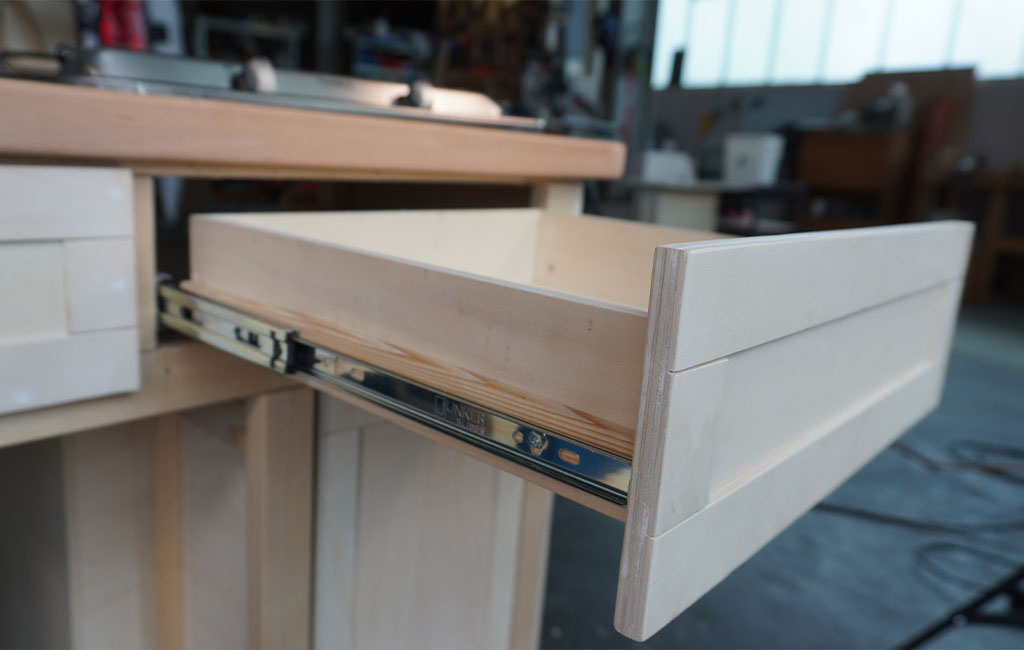
To mount the drawer runners to the kitchen frame, we need to extend the timber framework. For this, we once again use 26 x 45 mm beams and build a structure with two beams positioned exactly where the runners need to be attached.
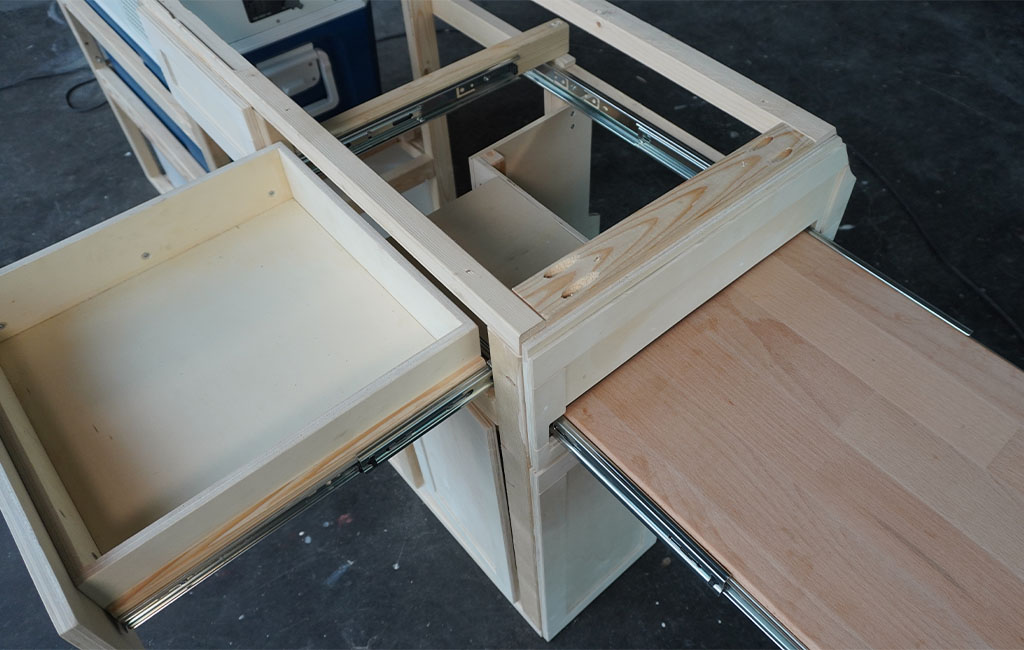
We then attach the outer rails of the runners to this beam, allowing us to insert the drawer. The drawer has been made intentionally shallow, as the gas lines for the cooker will later run behind it.
To match the rest of the kitchen visually, we also make an 8 mm thick front panel for the drawer and glue 40 mm wide poplar plywood strips around the edges. This panel is then glued to the front of the drawer.
💡 Tip
A push-lock ensures that the drawer doesn’t accidentally open while driving.
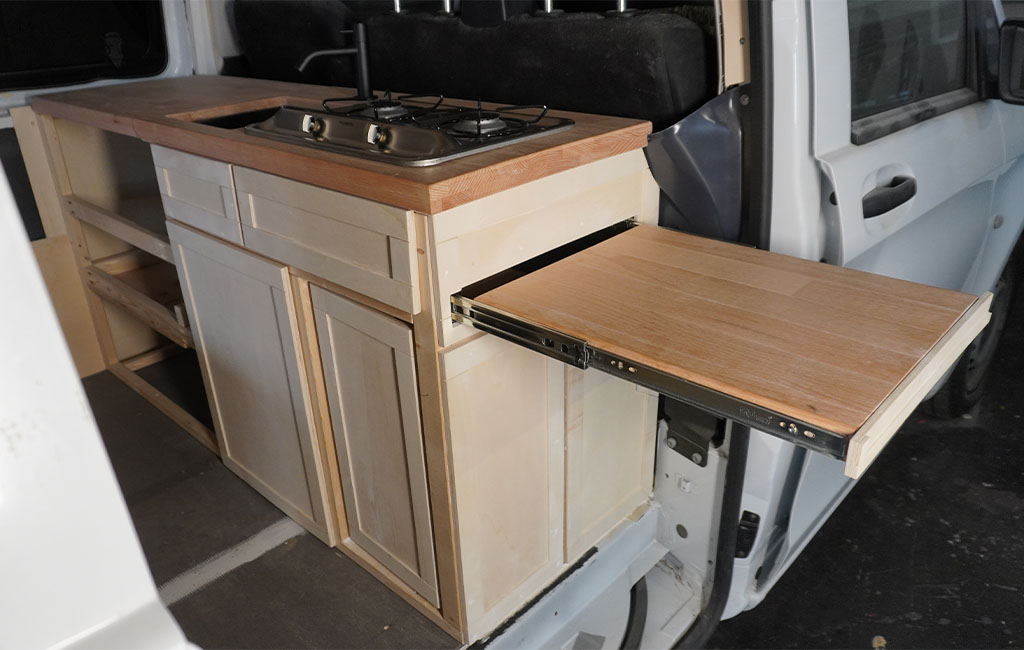
Step 8: Pull-Out Table
Now it’s time to add a pull-out table. It’s positioned below the cutlery drawer and above the gas box.
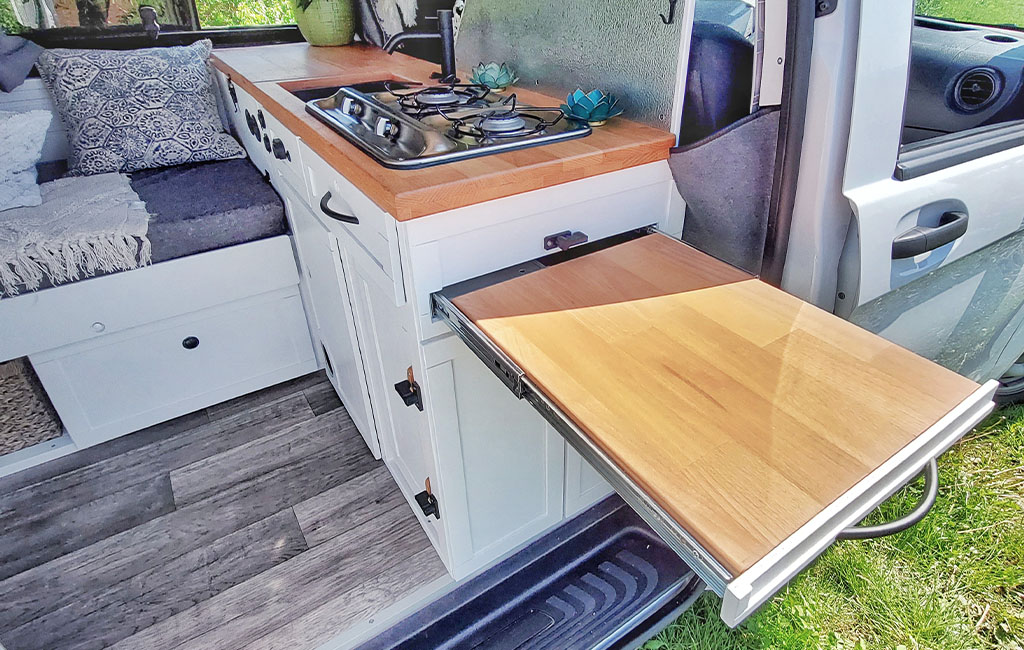
The table is designed to slide out towards the van’s sliding door. In nice weather, it can be pulled outside to extend the kitchen work surface. For this, we use full-extension drawer slides once again.
The table is also made of laminated beech wood and measures 470 mm x 370 mm.
Since the drawer slides are relatively tall and can't be attached directly to the table’s underside, we screw timber battens beneath the tabletop, which serve as the mounting points for the slides.
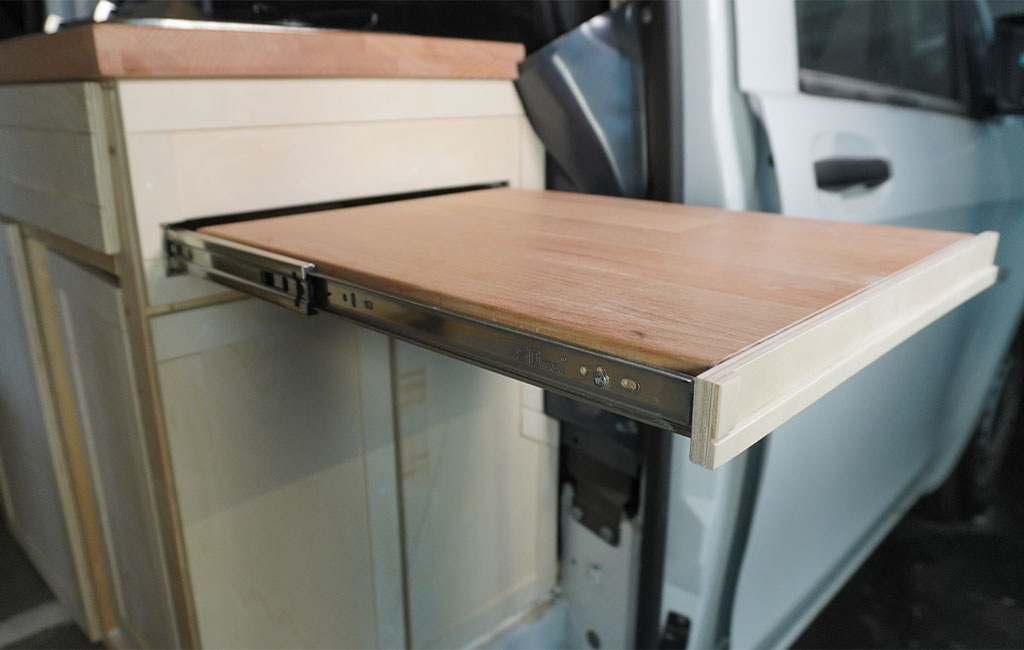
To mount the slides to the kitchen framework, we cut 26 x 45 mm beams to size and screw them onto the vertical beams of the kitchen structure. To ensure the front of the table matches the rest of the kitchen, we also make a decorative front panel, which we glue and nail onto the front edge of the tabletop.
💡 Tip
We glue almost every joint, as nothing should move or creak while driving.
Step 9: Flaps & Panels
The sink takes up a lot of vertical space, so there’s no room for compartments in that area. That’s why we simply install a panel made from 8 mm thick poplar plywood in front of the sink. The compartment beneath the sink – intended for the electrics, heater, and water/waste water lines – remains open for now. All that’s left is to add a flap for this section. To do that, we cut a matching piece of 8 mm poplar plywood and decorate it with thin plywood strips, just like the other doors, for a cohesive look.
We then attach the door to the beam using two hinges. Magnets are used to keep the door securely closed while driving. The left side of the kitchen is clad with 4 mm thick poplar plywood. The only thing missing is a front panel for the cool box. However, since we don’t yet know how high the pull-out bed will be, we’ll wait until the end of the camper build to make that panel.
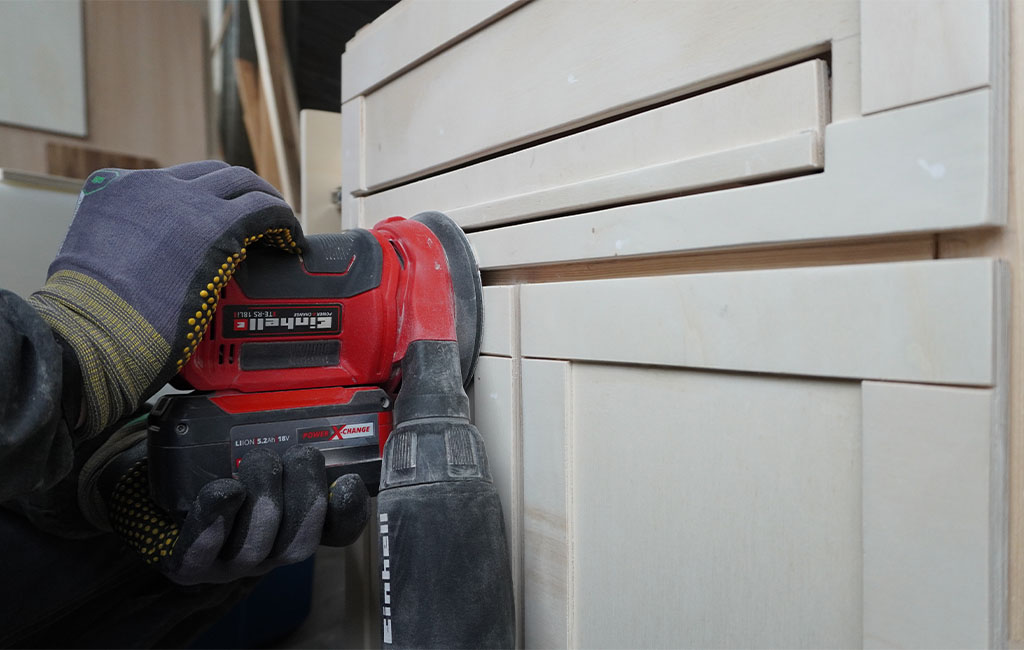
Step 10: Wood Finishing
The small kitchen unit can easily be taken out of the vehicle for painting. Before applying any finish, we break all the sharp edges and fill in all nail holes with wood filler. Then we sand the entire surface using a random orbital sander with 240-grit sandpaper. Next comes the painting. For the finish, you can use water-based paints or oil-wax combinations, depending on the look and level of protection you prefer.
💡 Tip
We recommend treating the wood to protect it from moisture and extend its durability, especially in a camper environment where humidity and temperature changes are common.
Für die Küchenarbeitsplatte verwenden wir sehr gerne farbloses Hartwachsöl. Das sickert schön in das Buchenholz hinein und gibt dem Holz einen schönen Ton. Erst wenn alles gut getrocknet ist, sollte die Arbeitsplatte mit dem Balkengestell verschraubt werden. Die Trennwand kann dann ebenfalls mit dem hinteren Balken der Küchenkonstruktion verschraubt werden.
Fazit
The kitchen is tailored to suit the specific layout of the vehicle and the components we’ve chosen. However, this construction method can easily be adapted to fit any type of vehicle. The big advantages are the sturdy timber frame design and the overall lightweight nature of the kitchen. You can also follow the project step by step on our YouTube channel – feel free to check it out!
We wish you loads of fun and success recreating this build!
Tools Used
Here you’ll find the Einhell tools that were used during the build.


Product was added to the comparison list.
Product was removed from the comparison list.
Open comparison listIn this article you will learn all about:

Published on 10.06.2022
Alina Miller and Timo Ettlich of Sprintour are passionate vanlife enthusiasts with a technical background. After completing their engineering degrees and spending a year travelling through Europe in their self-converted Sprinter, they founded their own camper conversion business. They’re currently on an extended journey along the Pan-American Highway. On www.sprintour.de, Instagram (@sprintour) and in the Einhell Blog, they share their experiences of life on the road and all things related to van conversions.